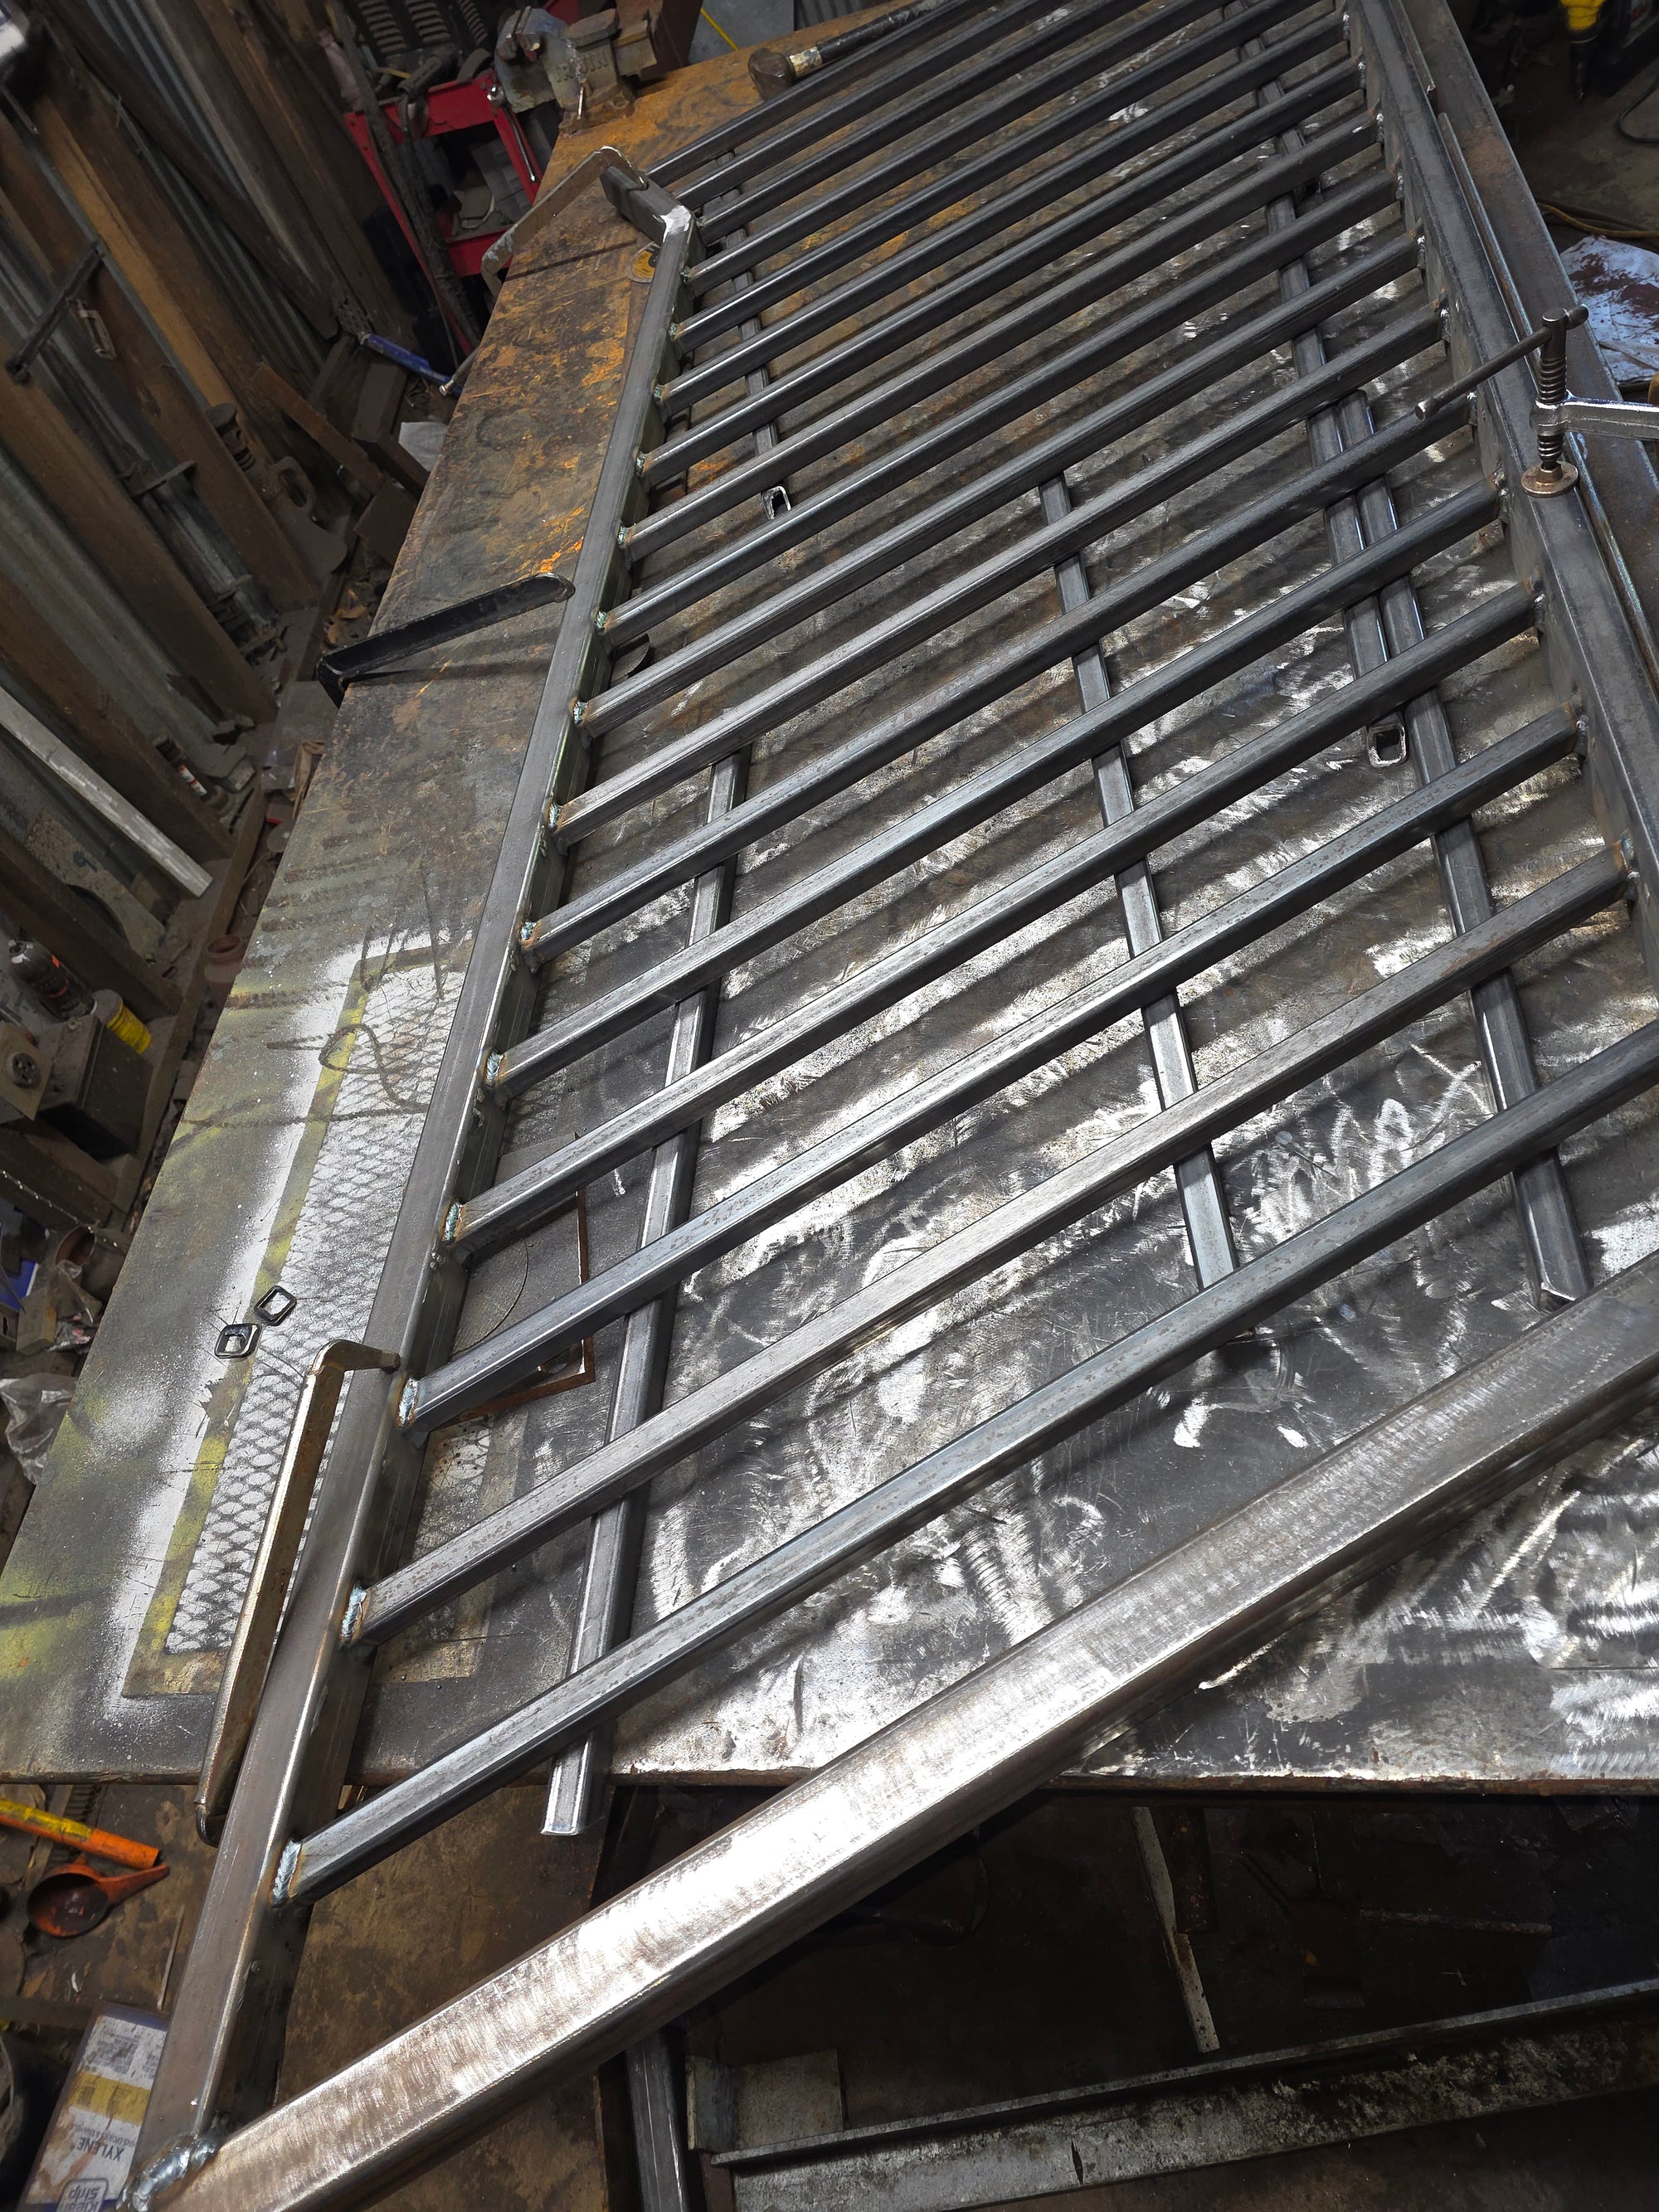
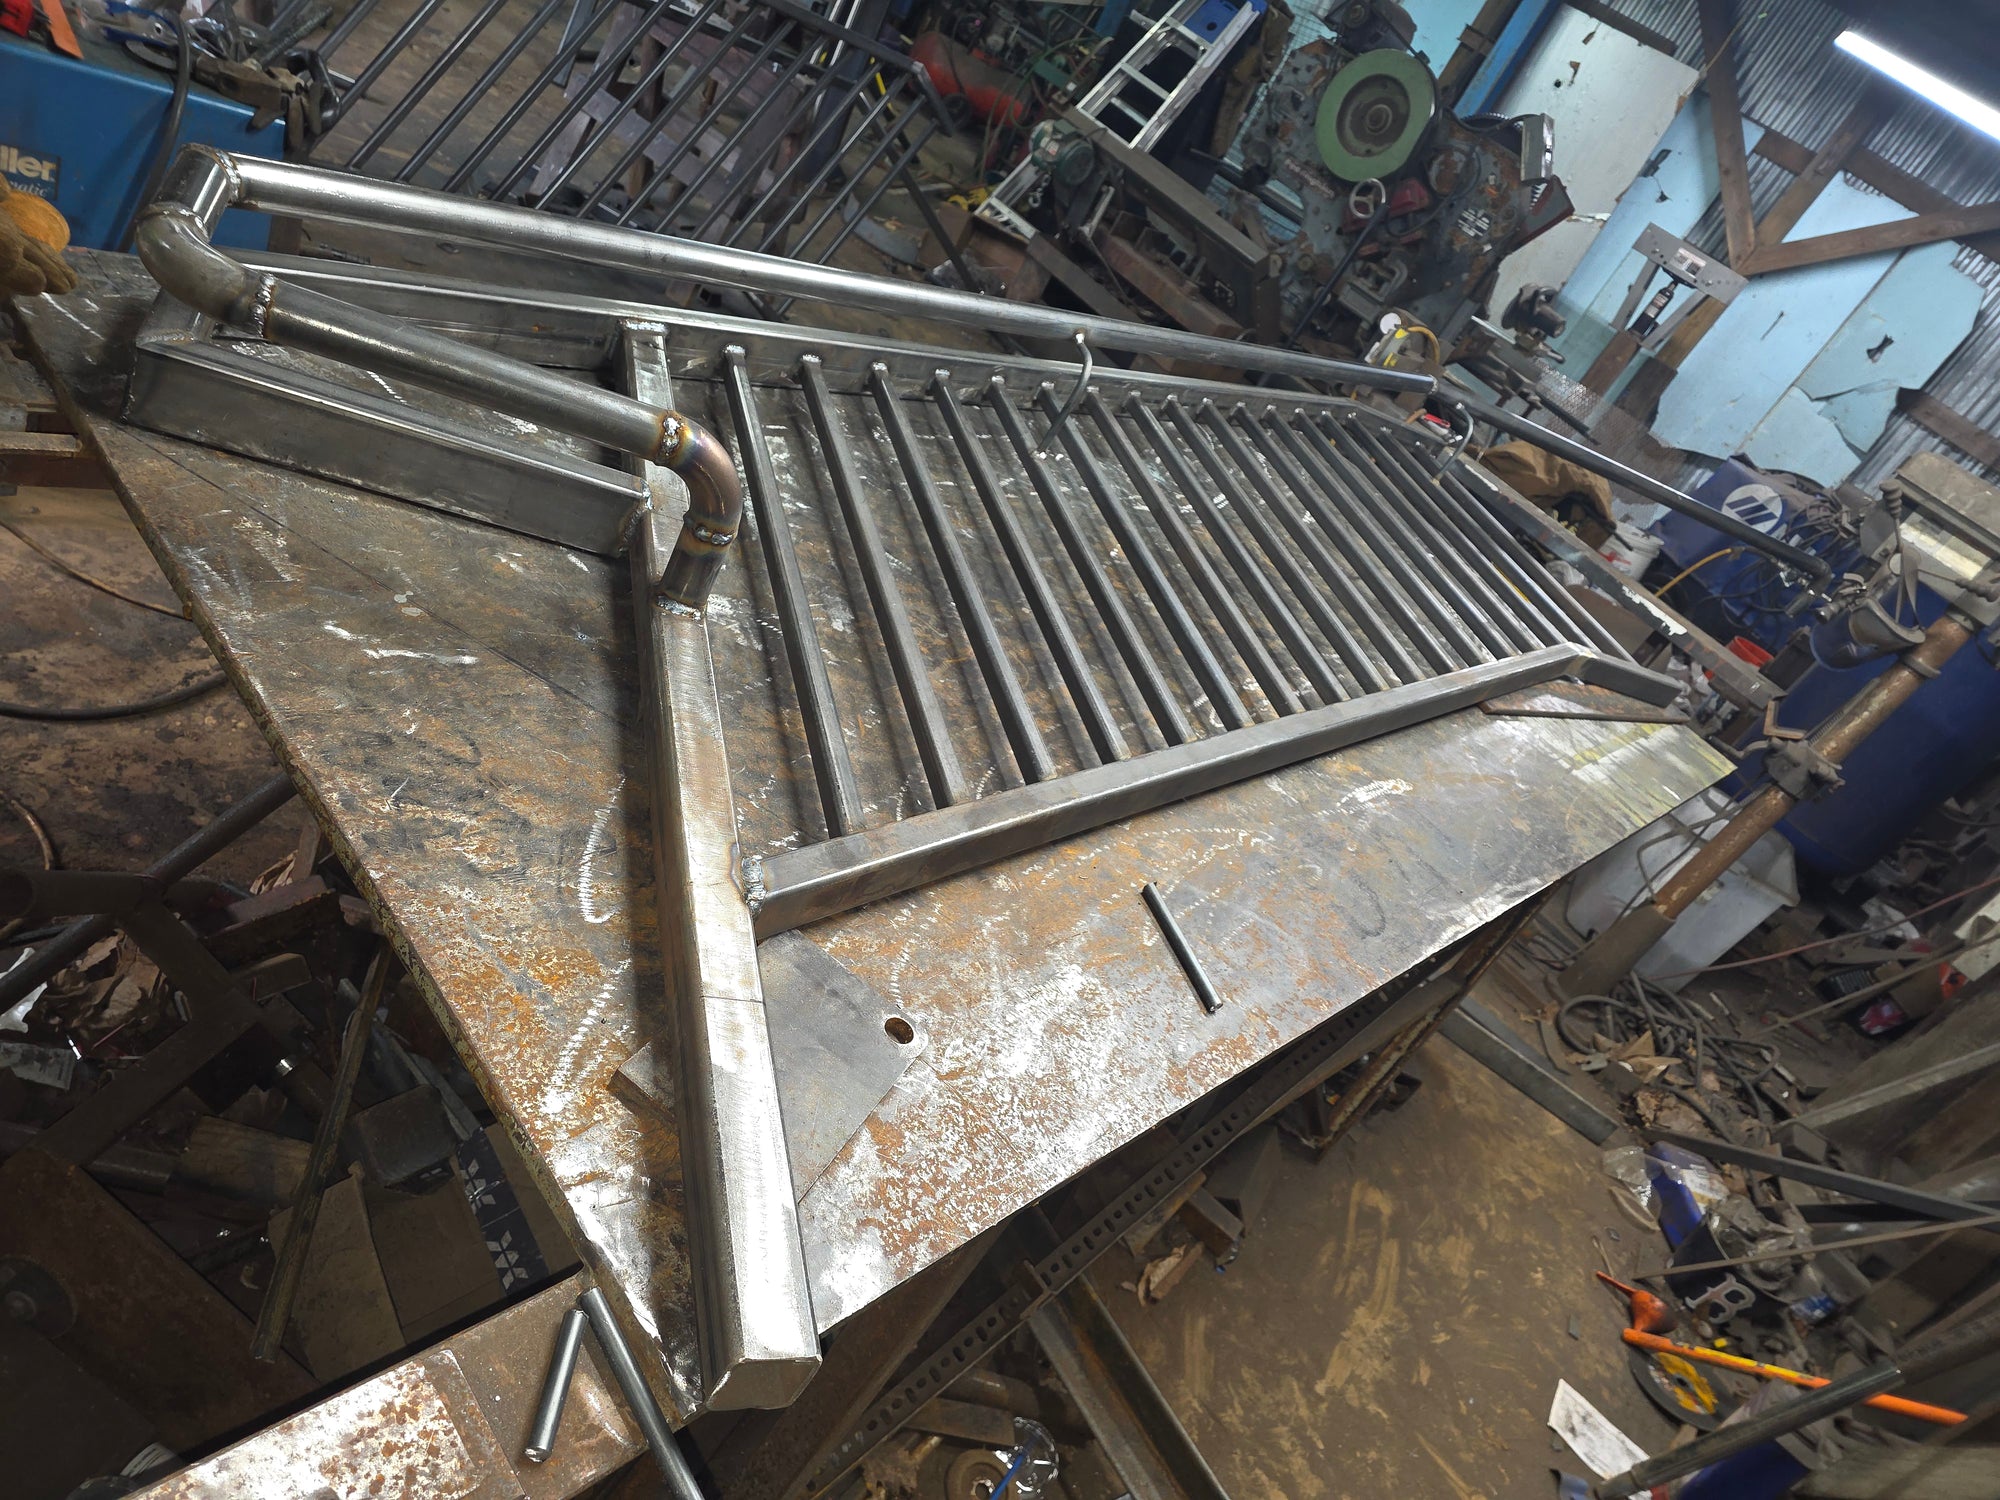
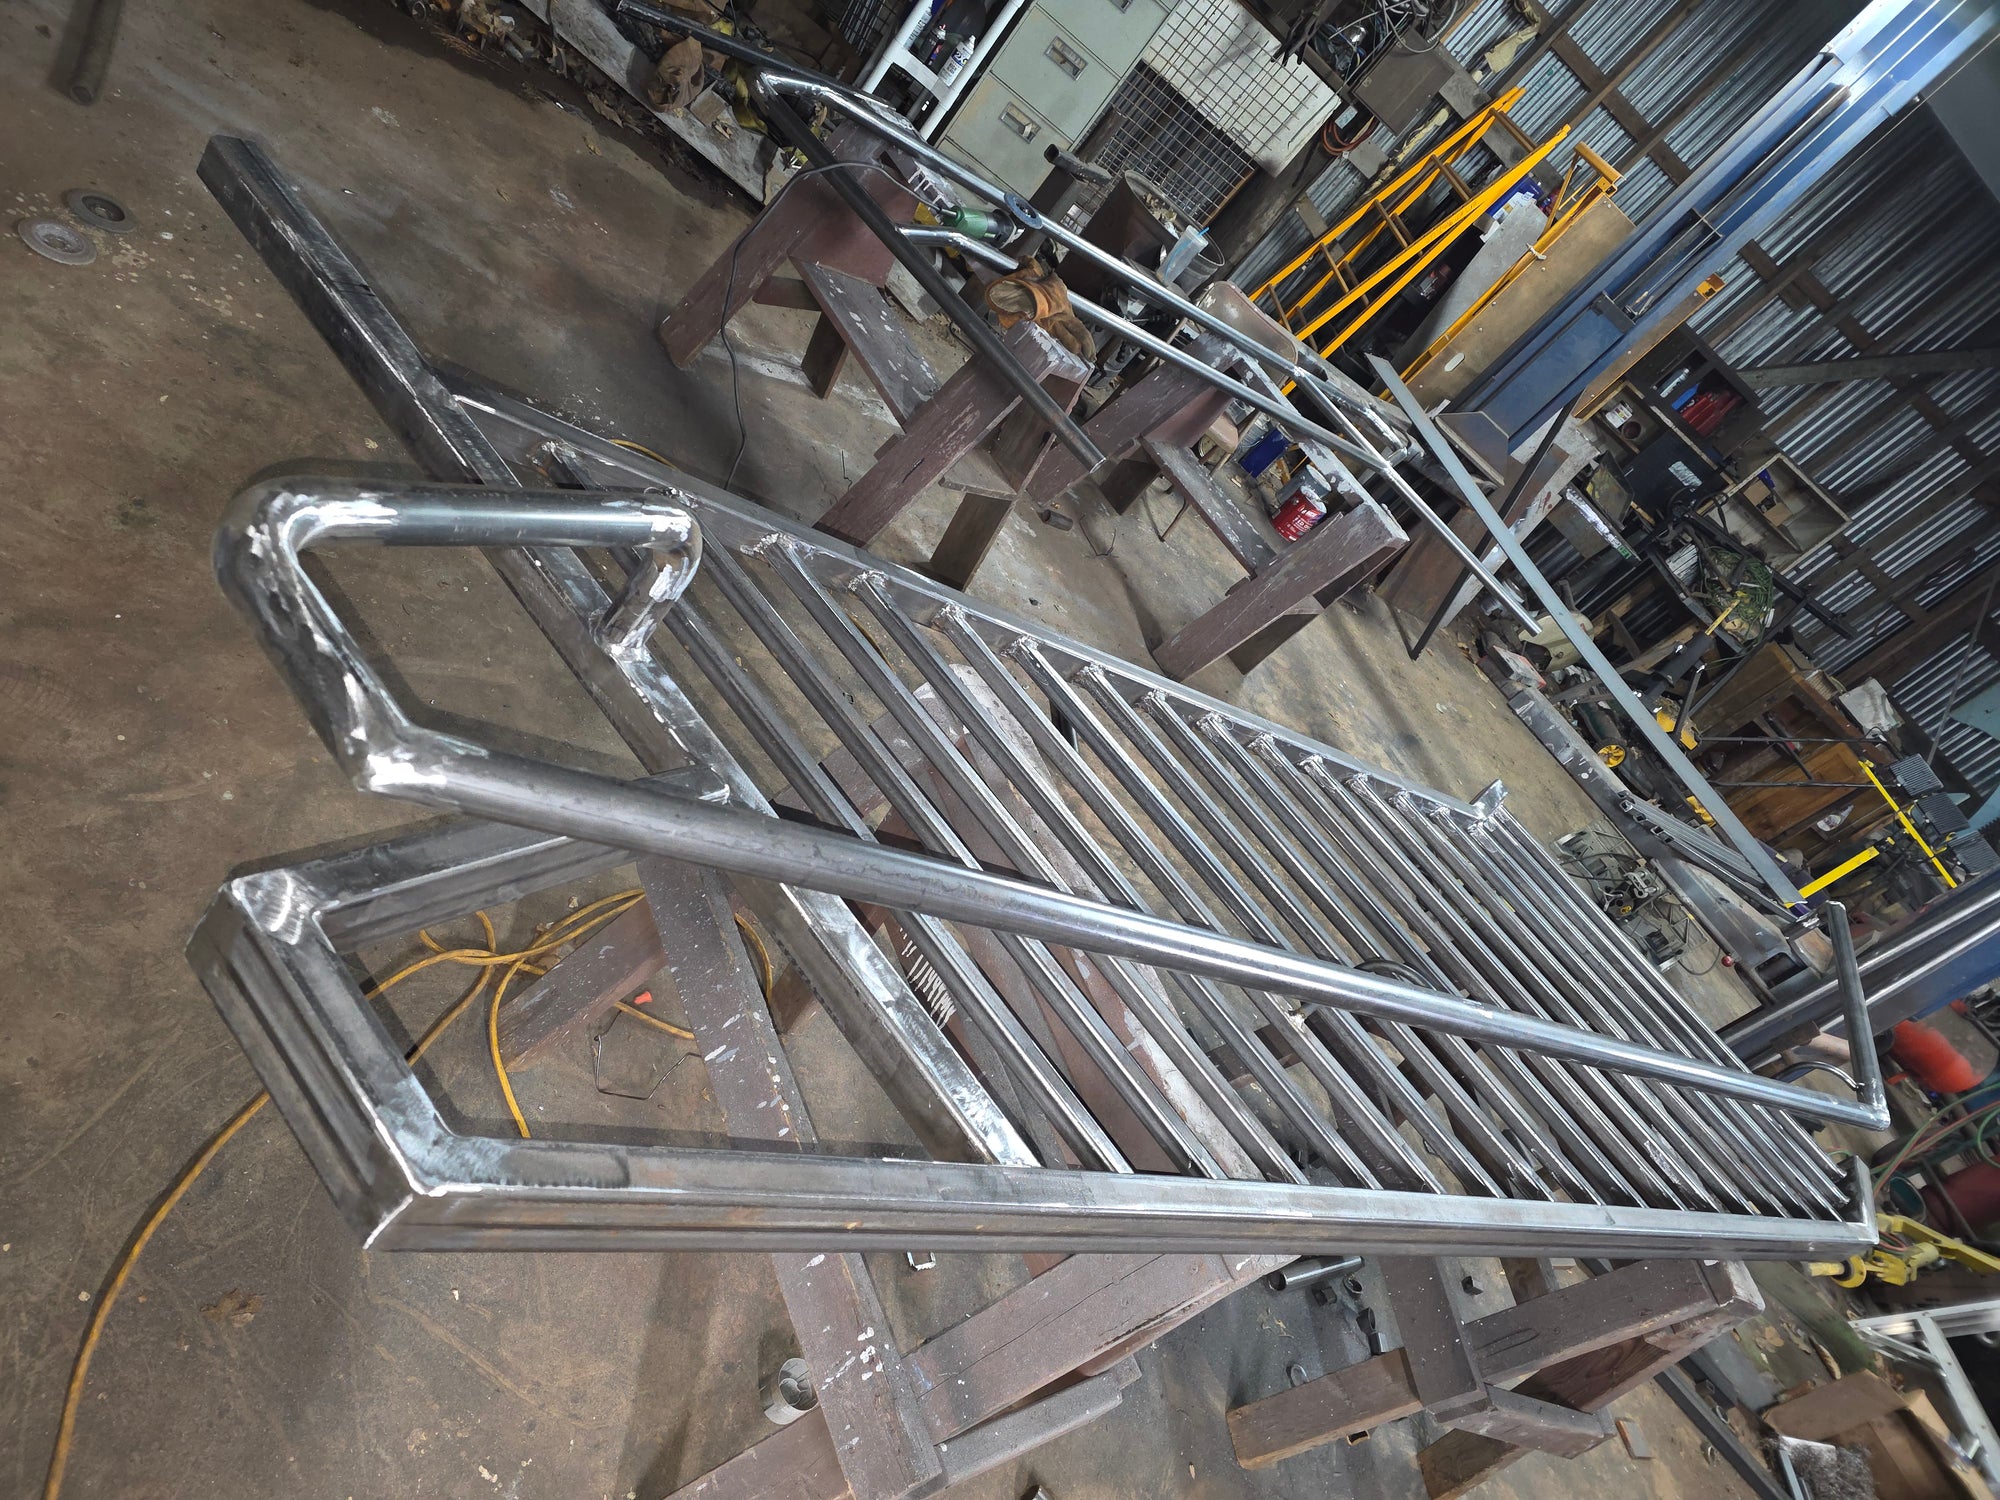
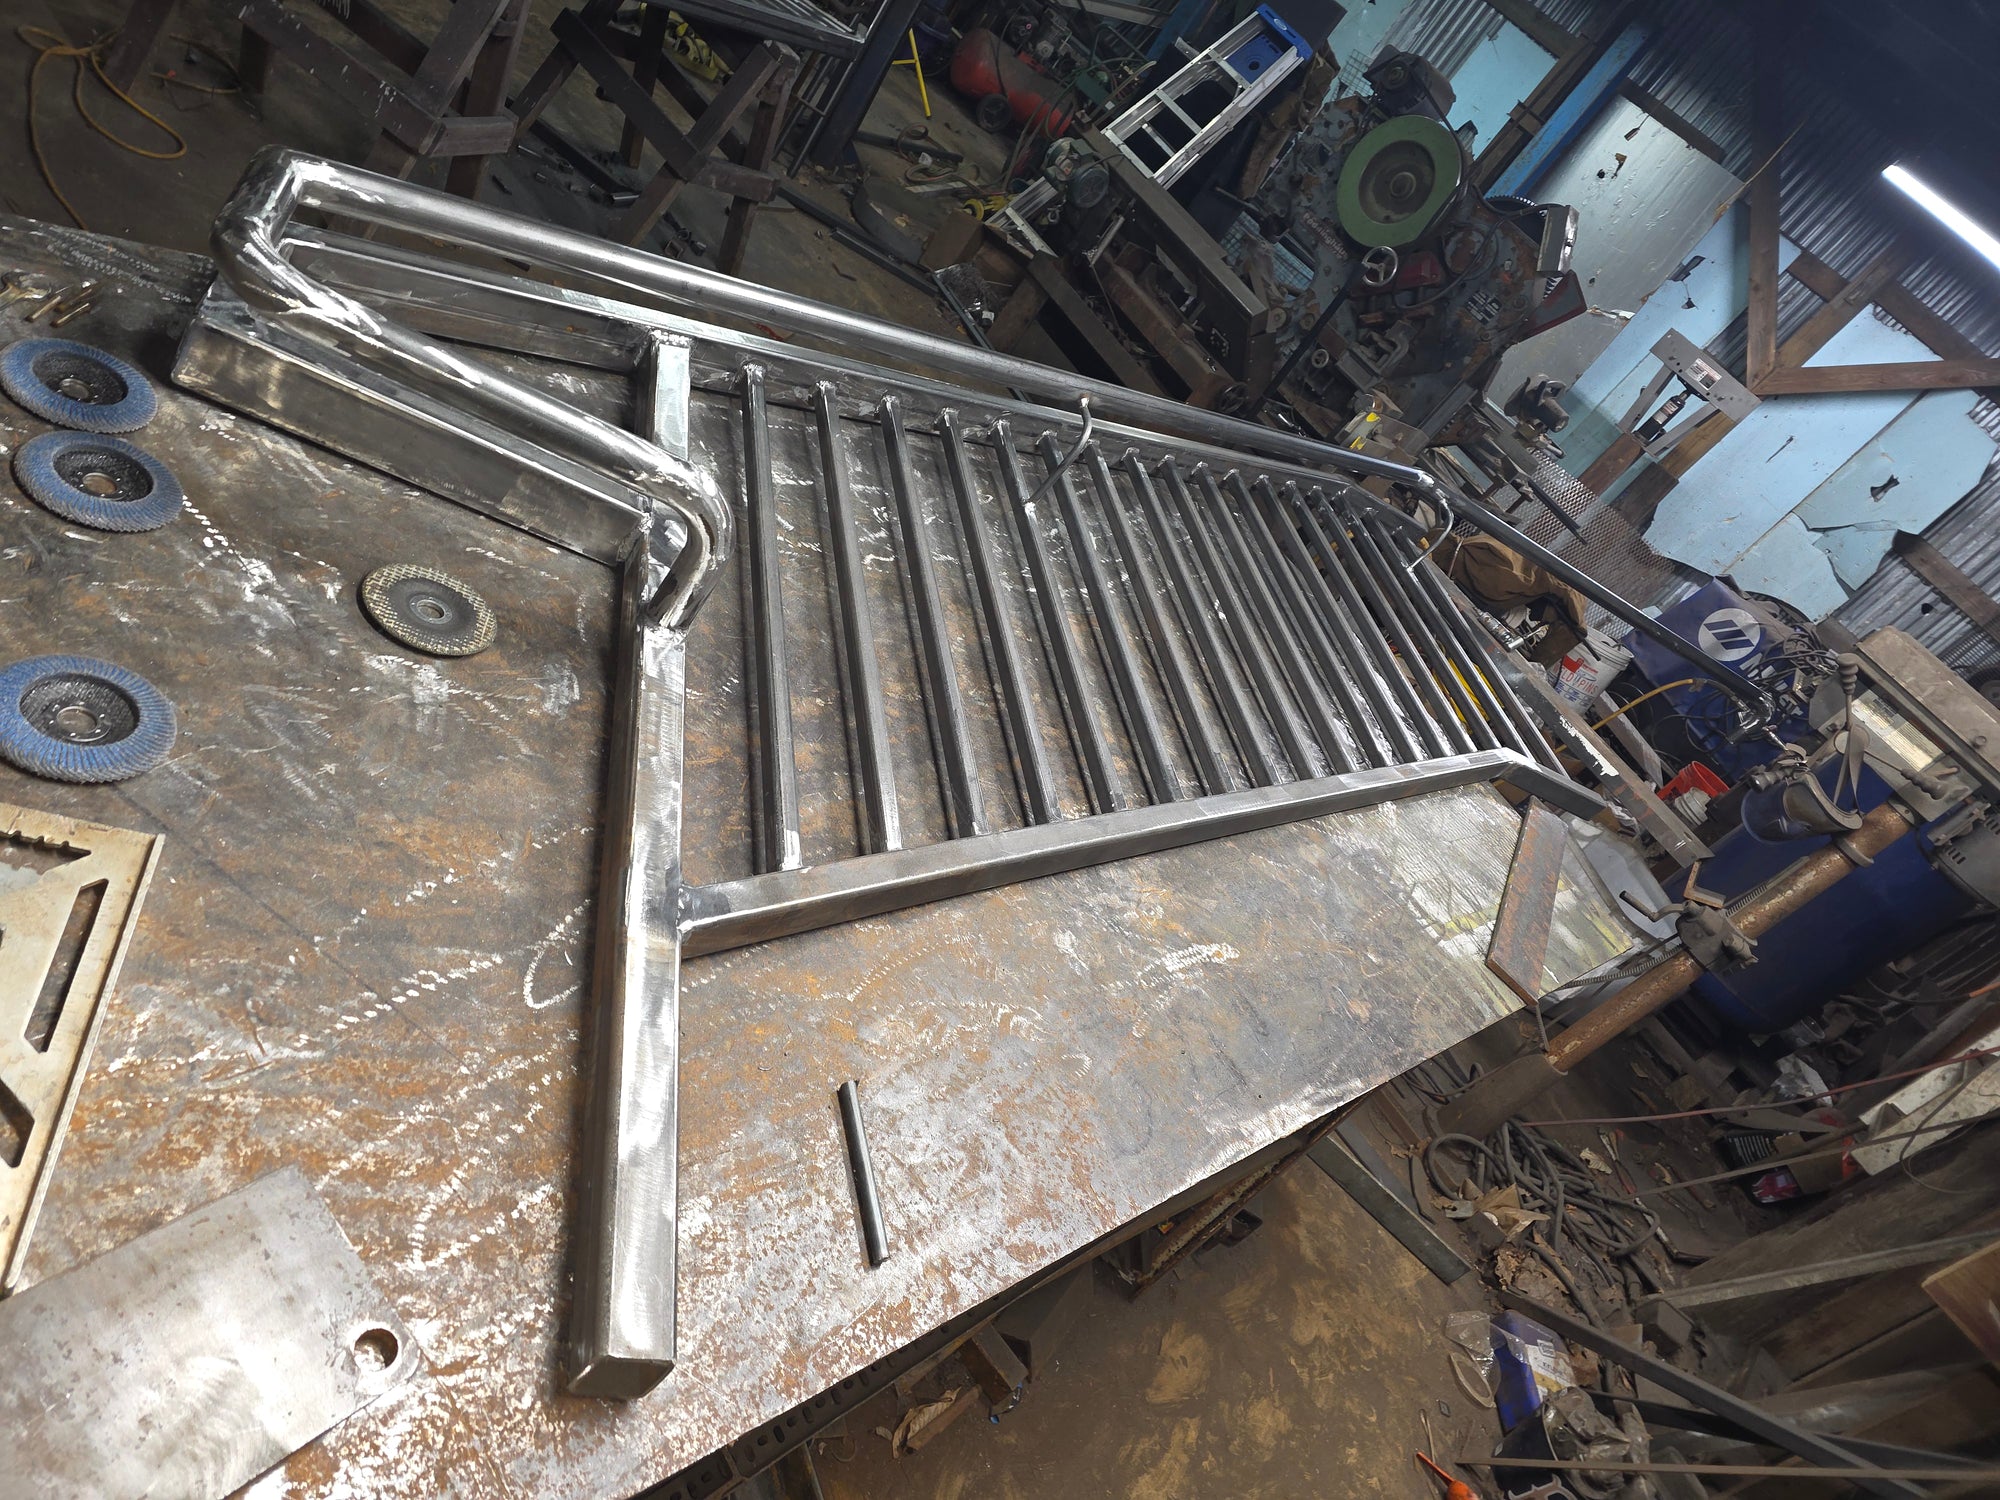
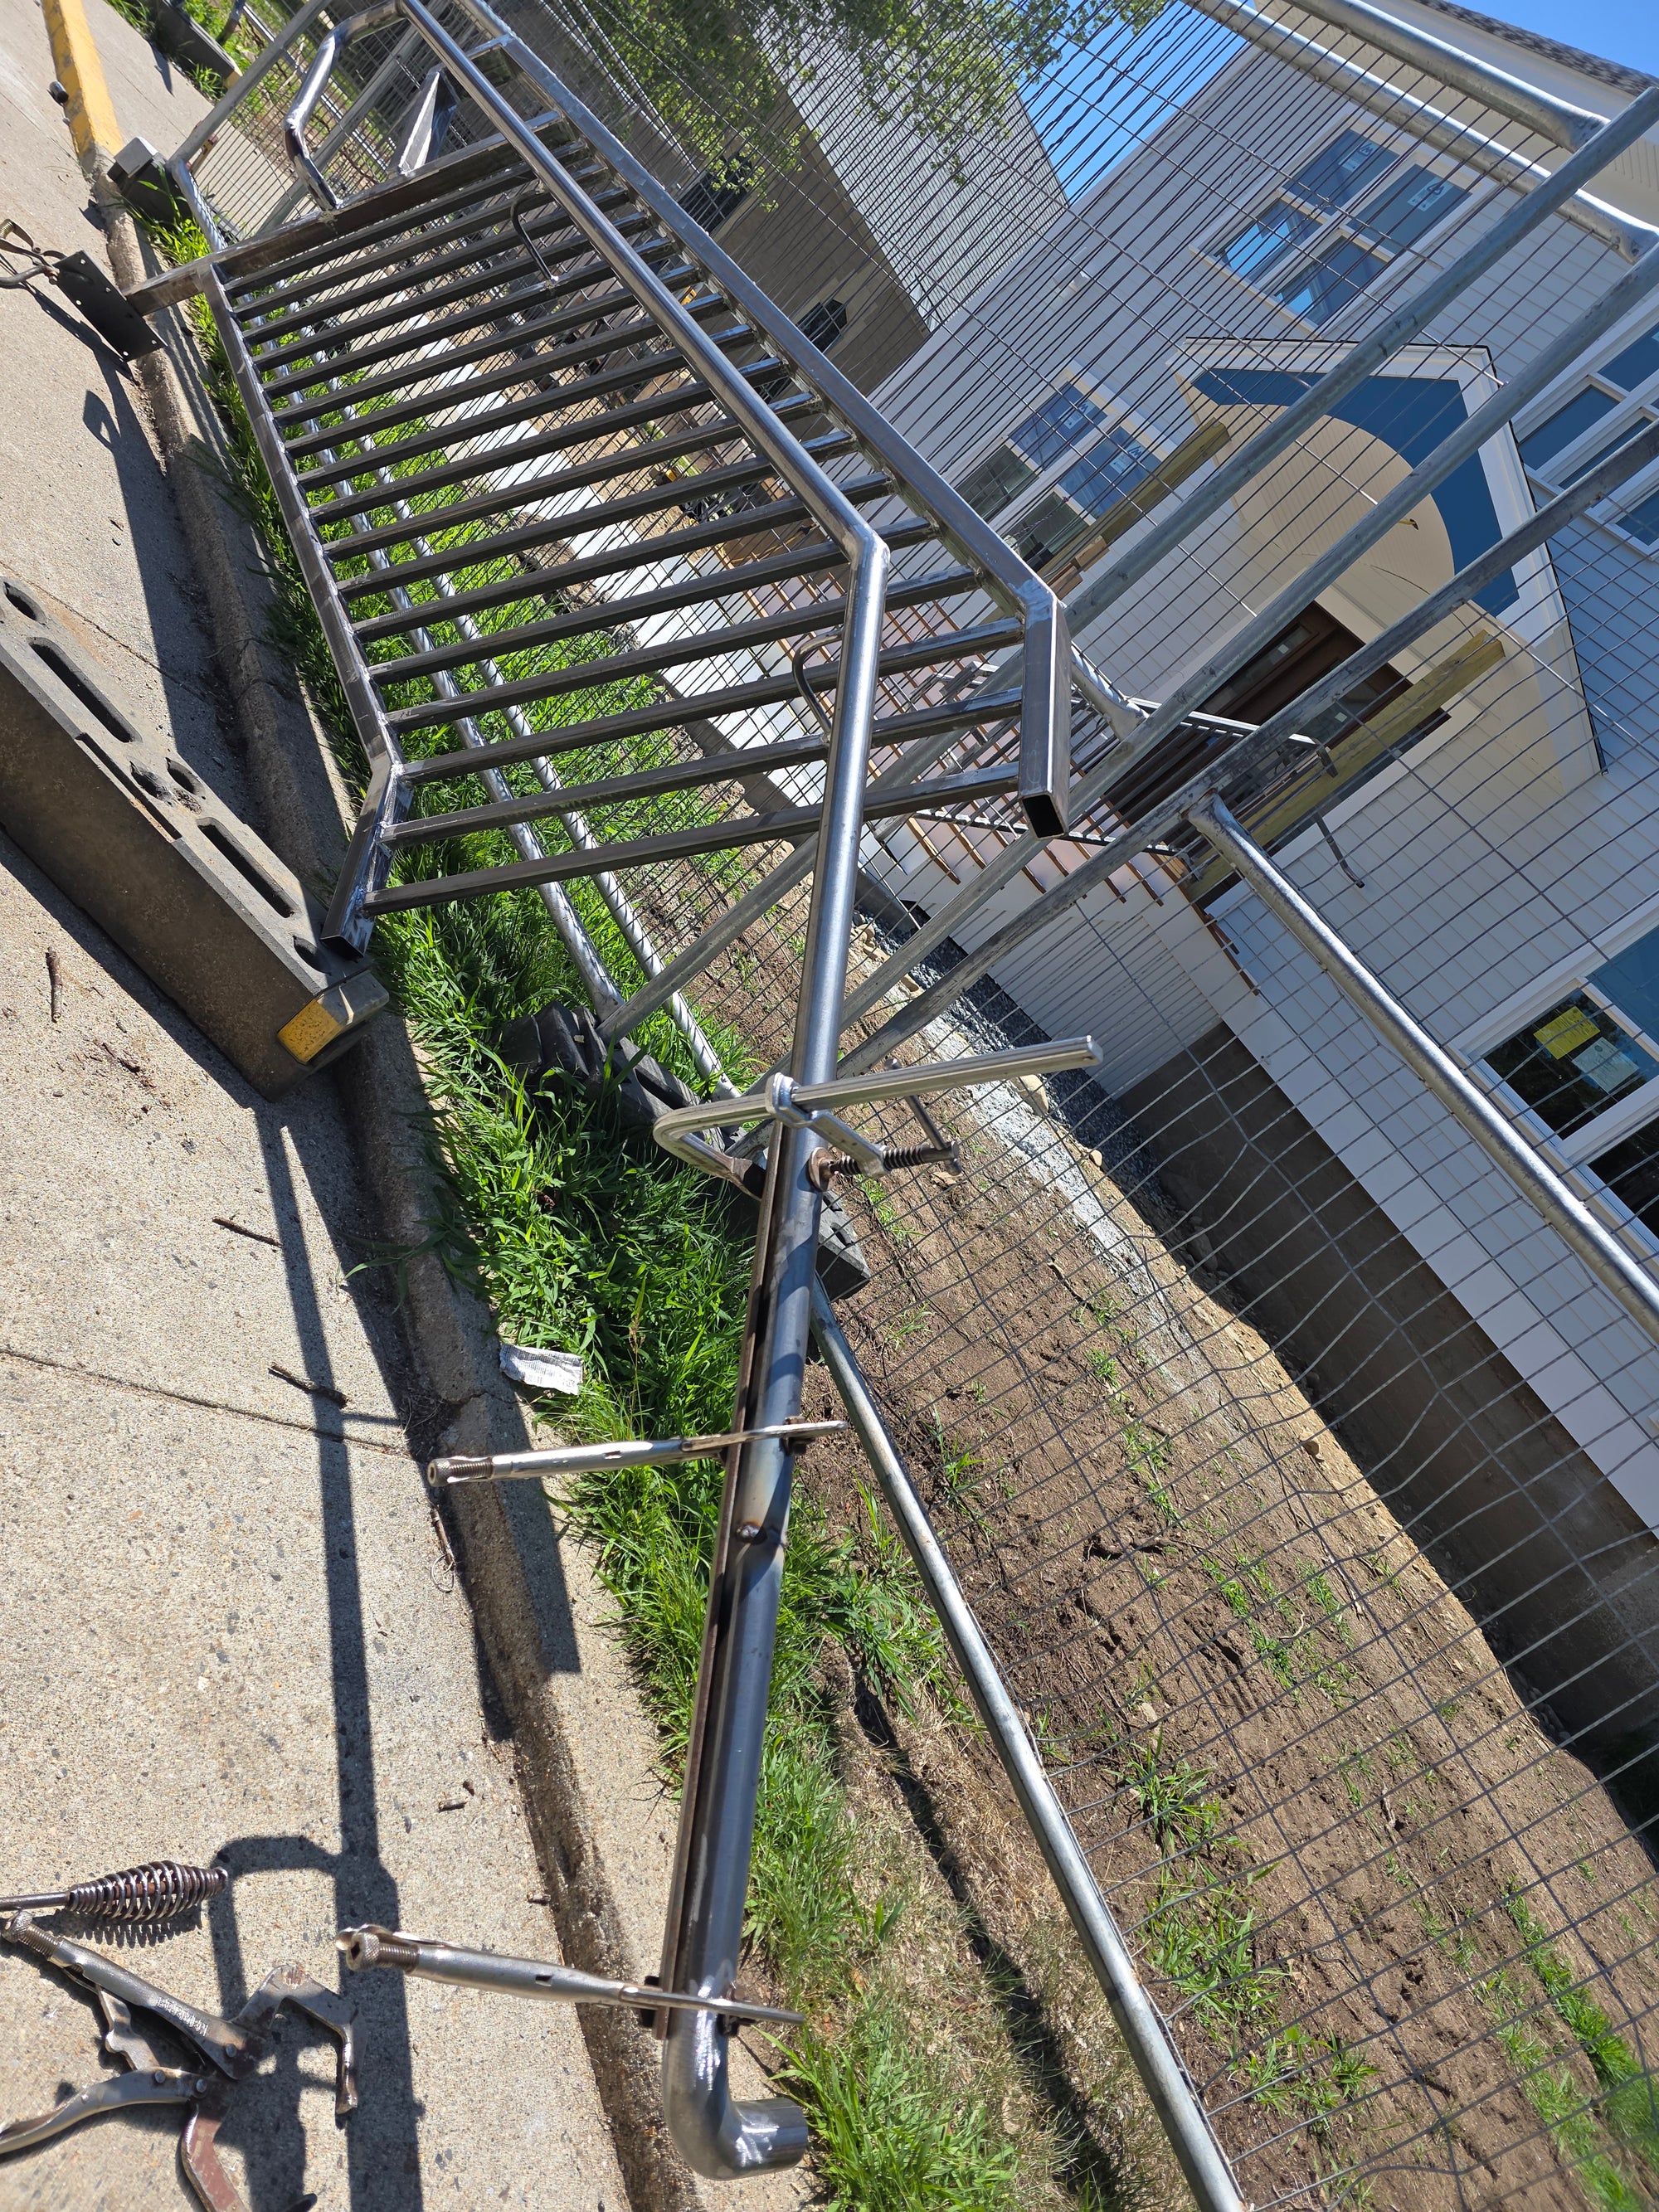
These guard railings were fabricated with rectangle tubing. It really gives the top and bottom rails a nice touch. The pickets are 1" sq. tube with 3/16" wall. Heavy stuff all around.
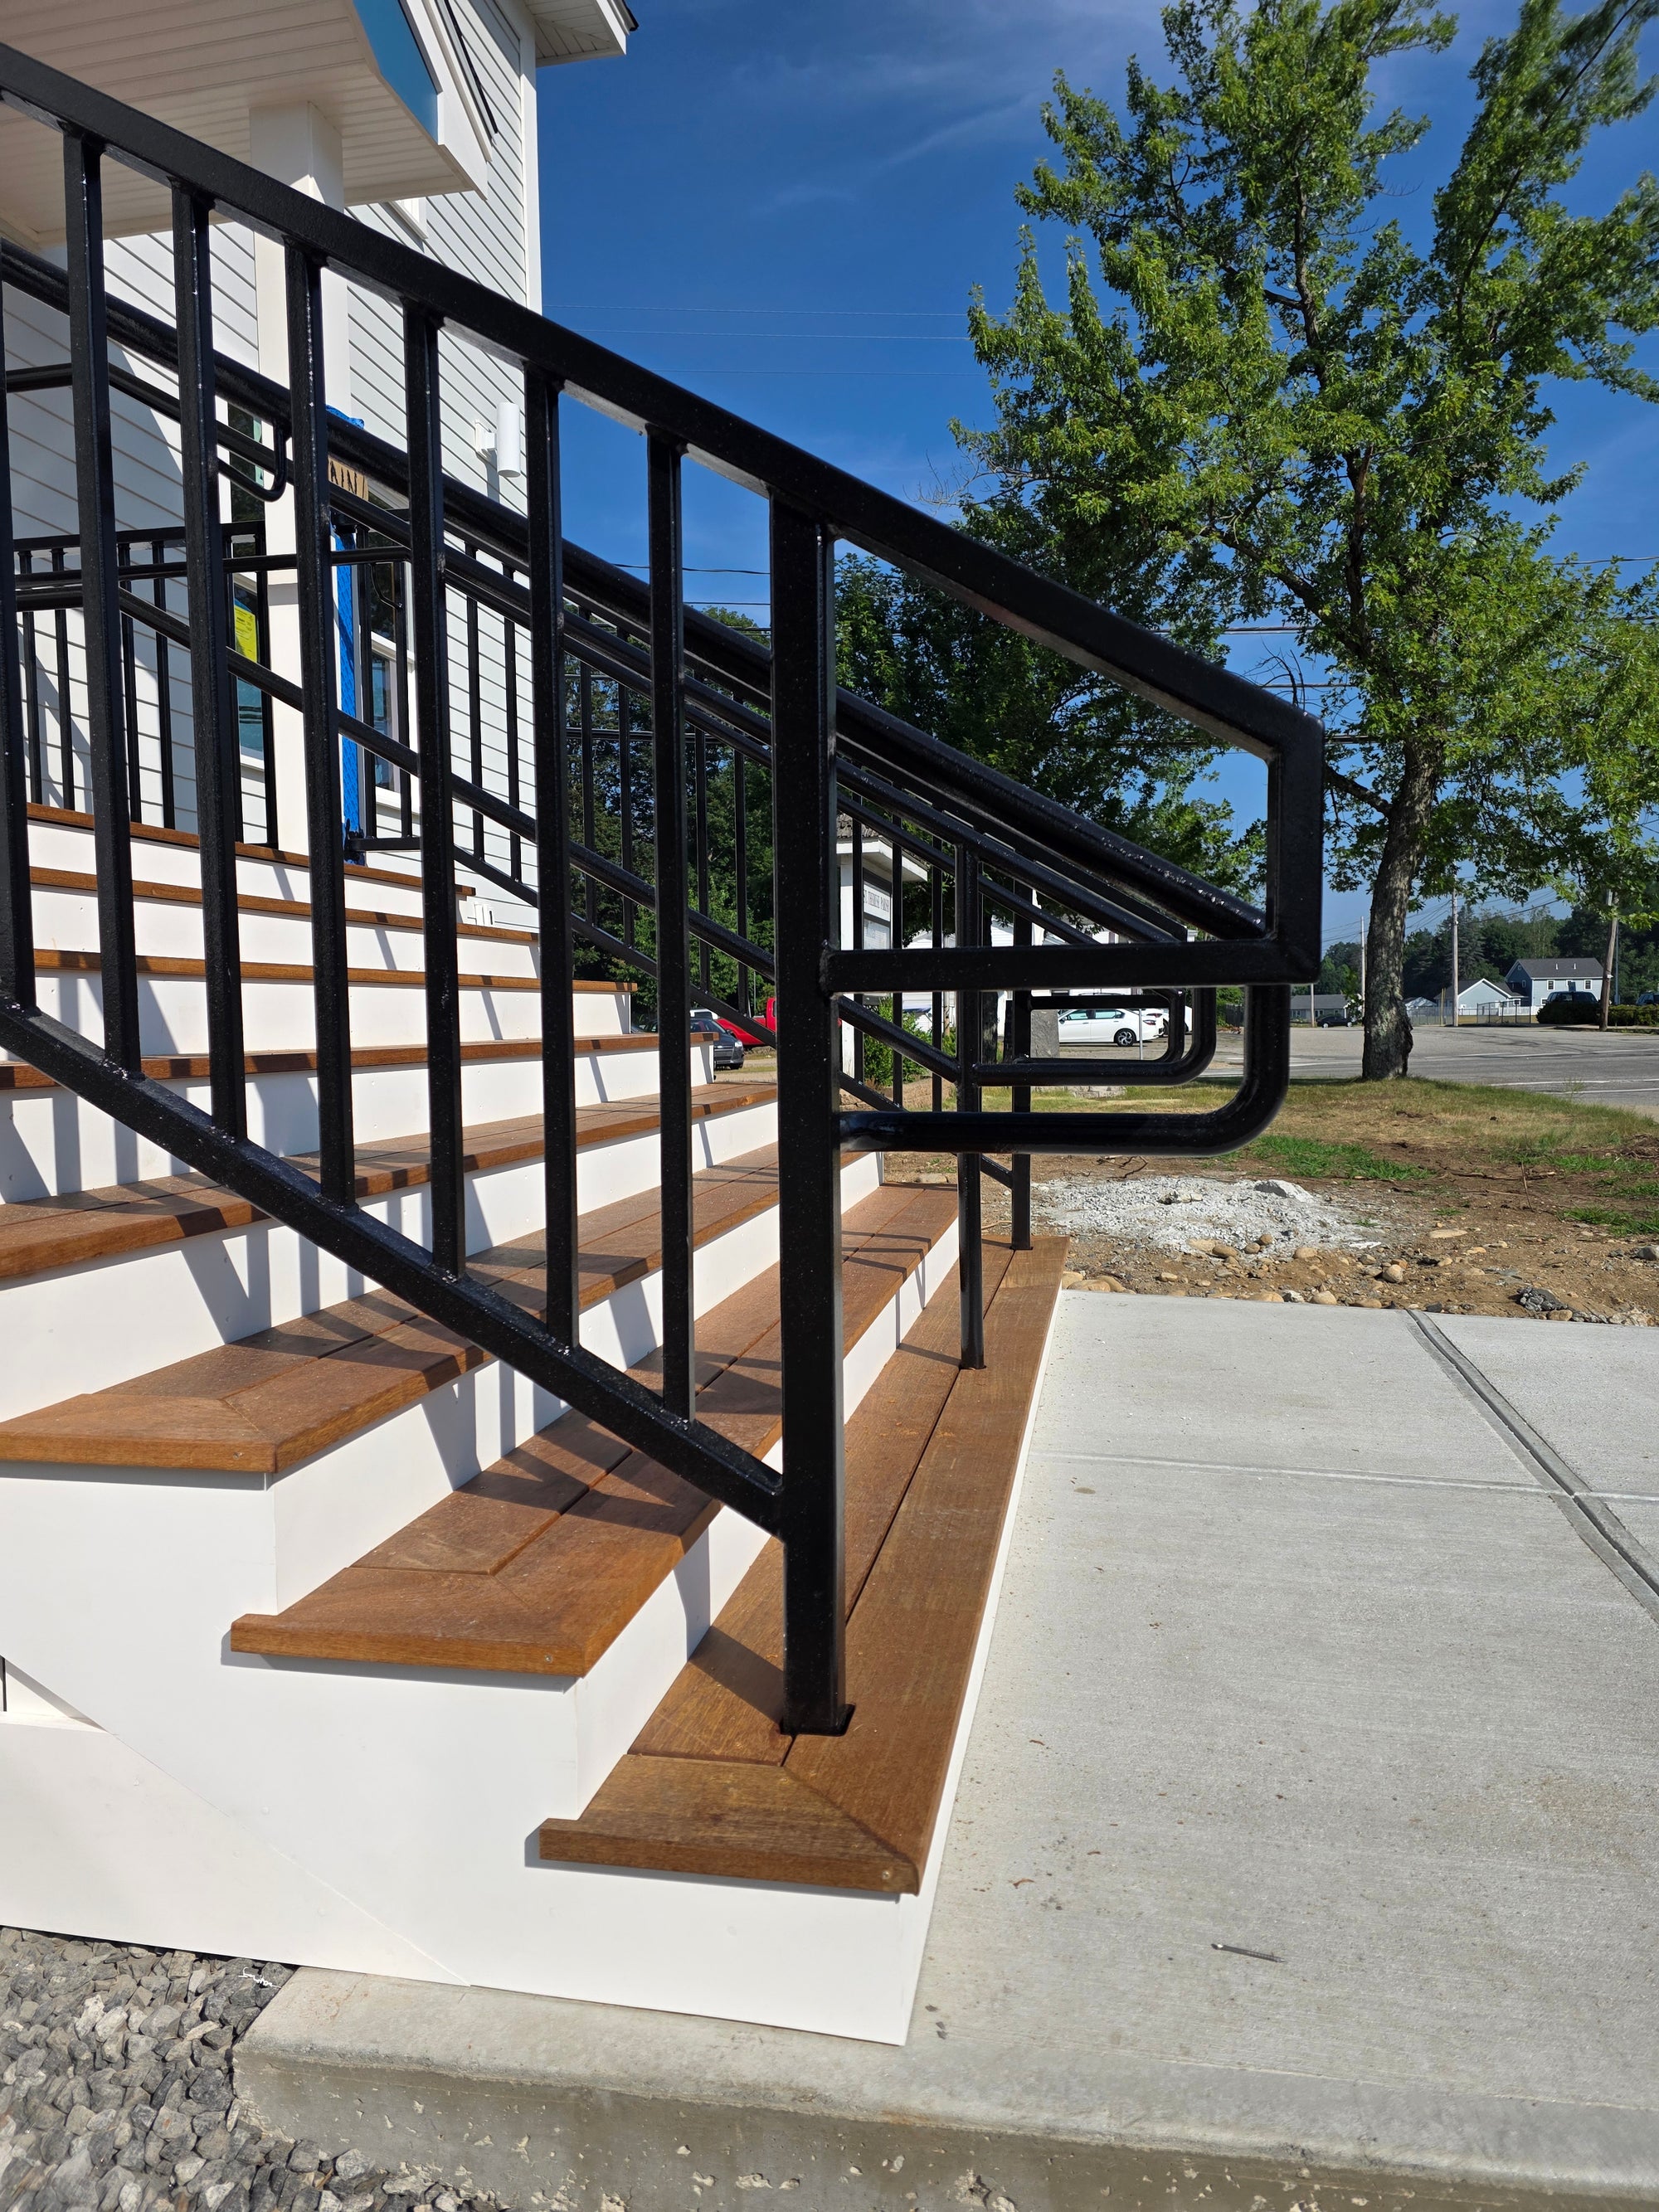
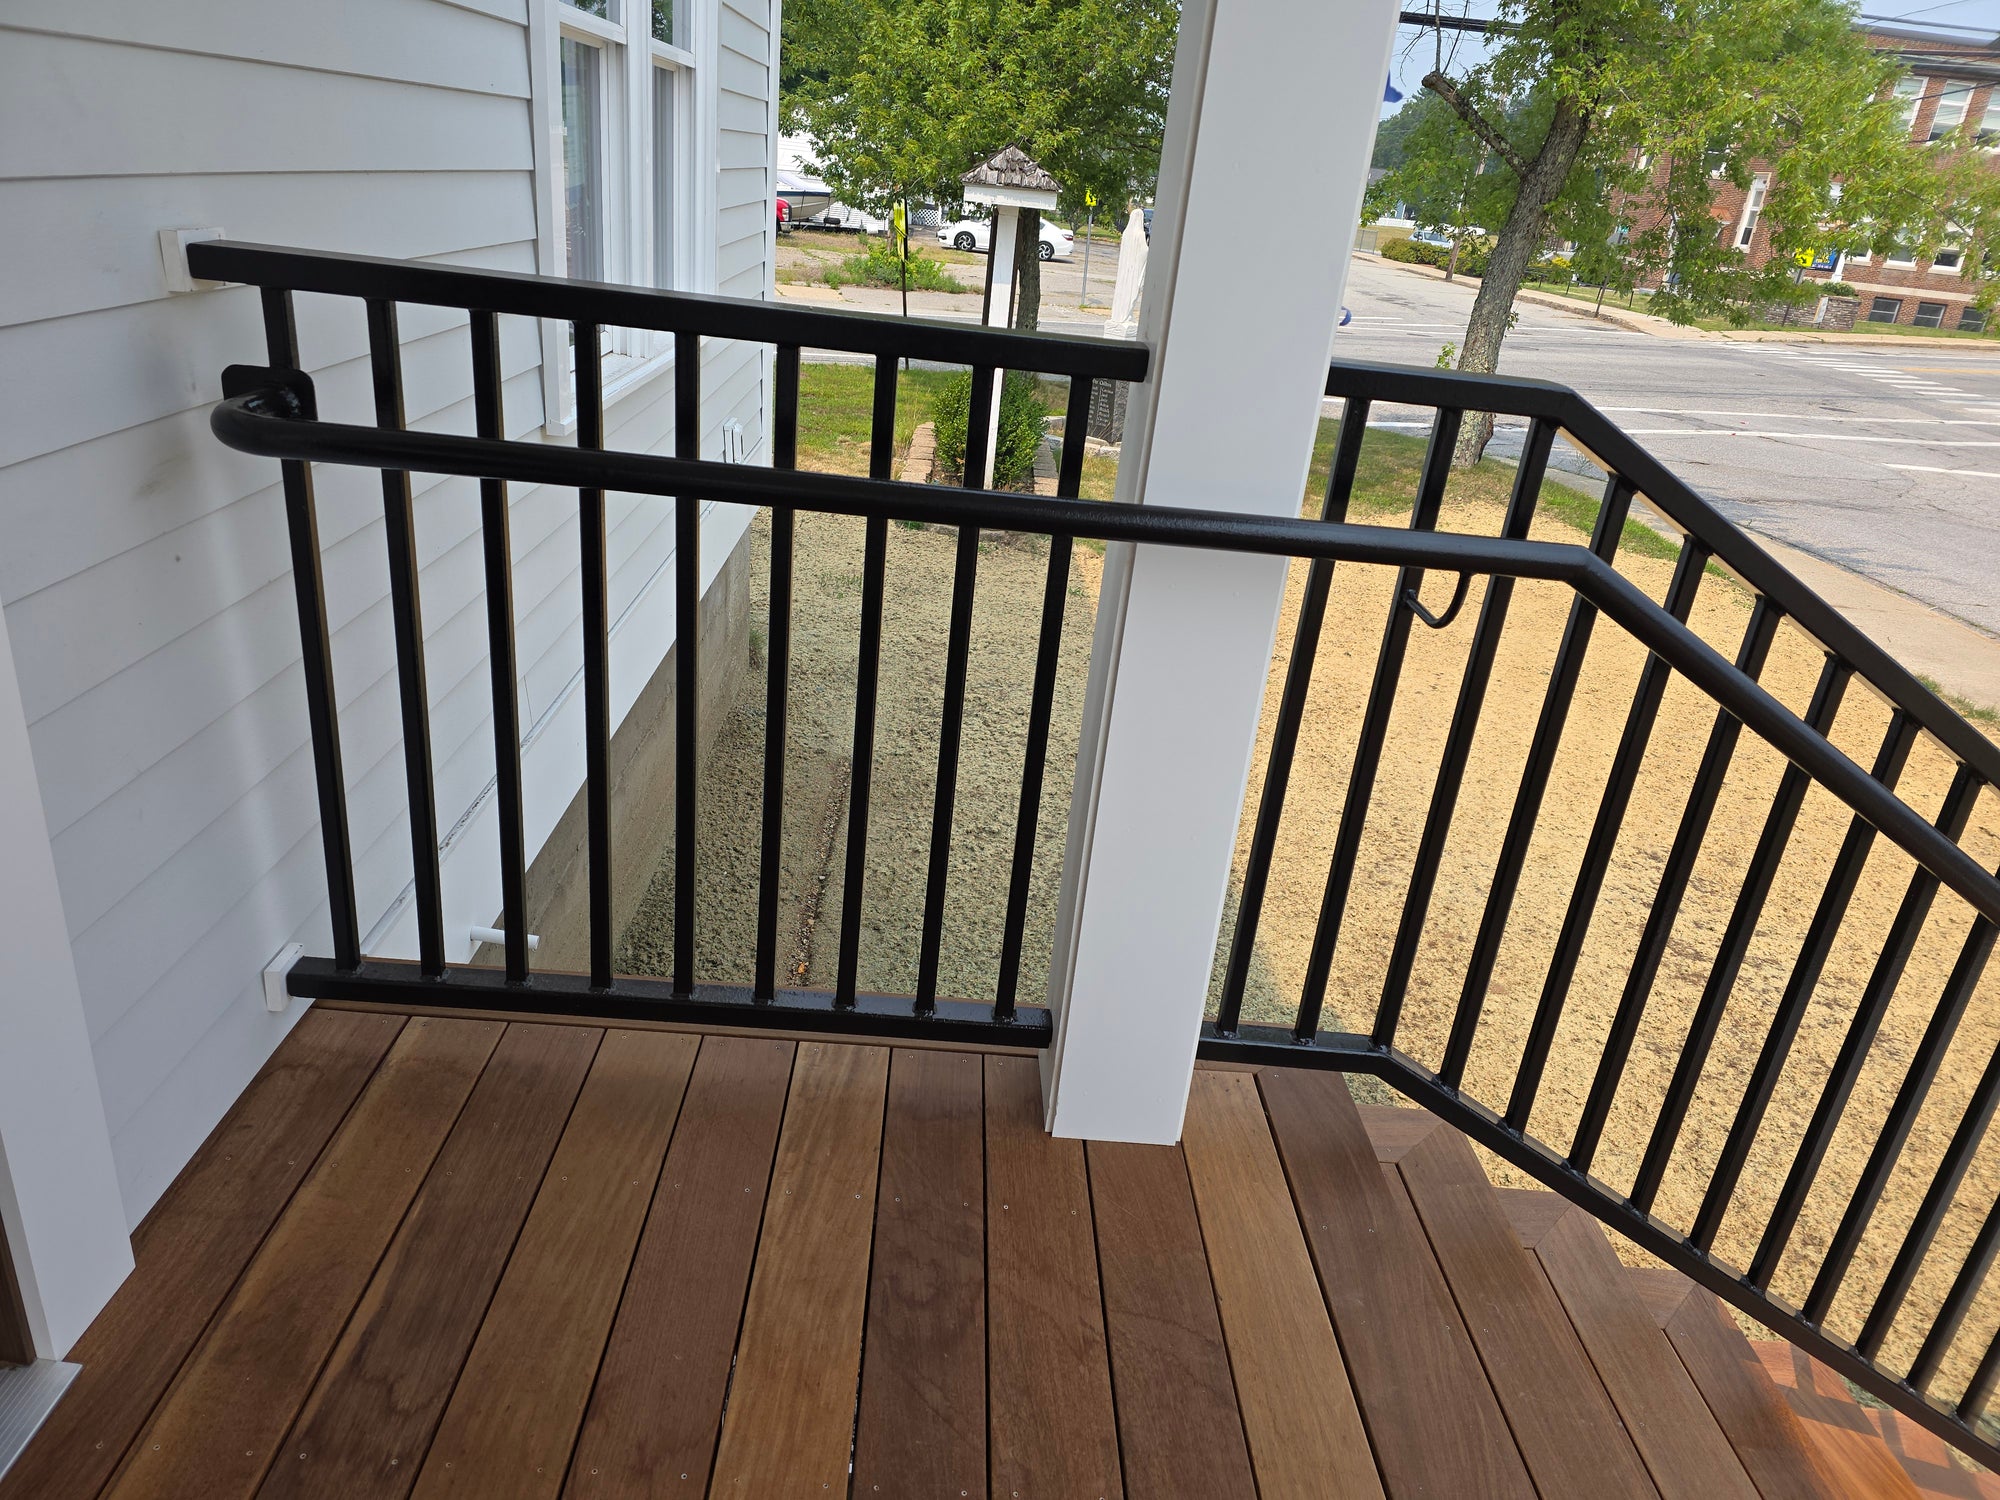
Here's the landing end of the same guard railing. It's a 30 degree stair so subtract from 180 to get your obtuse angle for the landing.
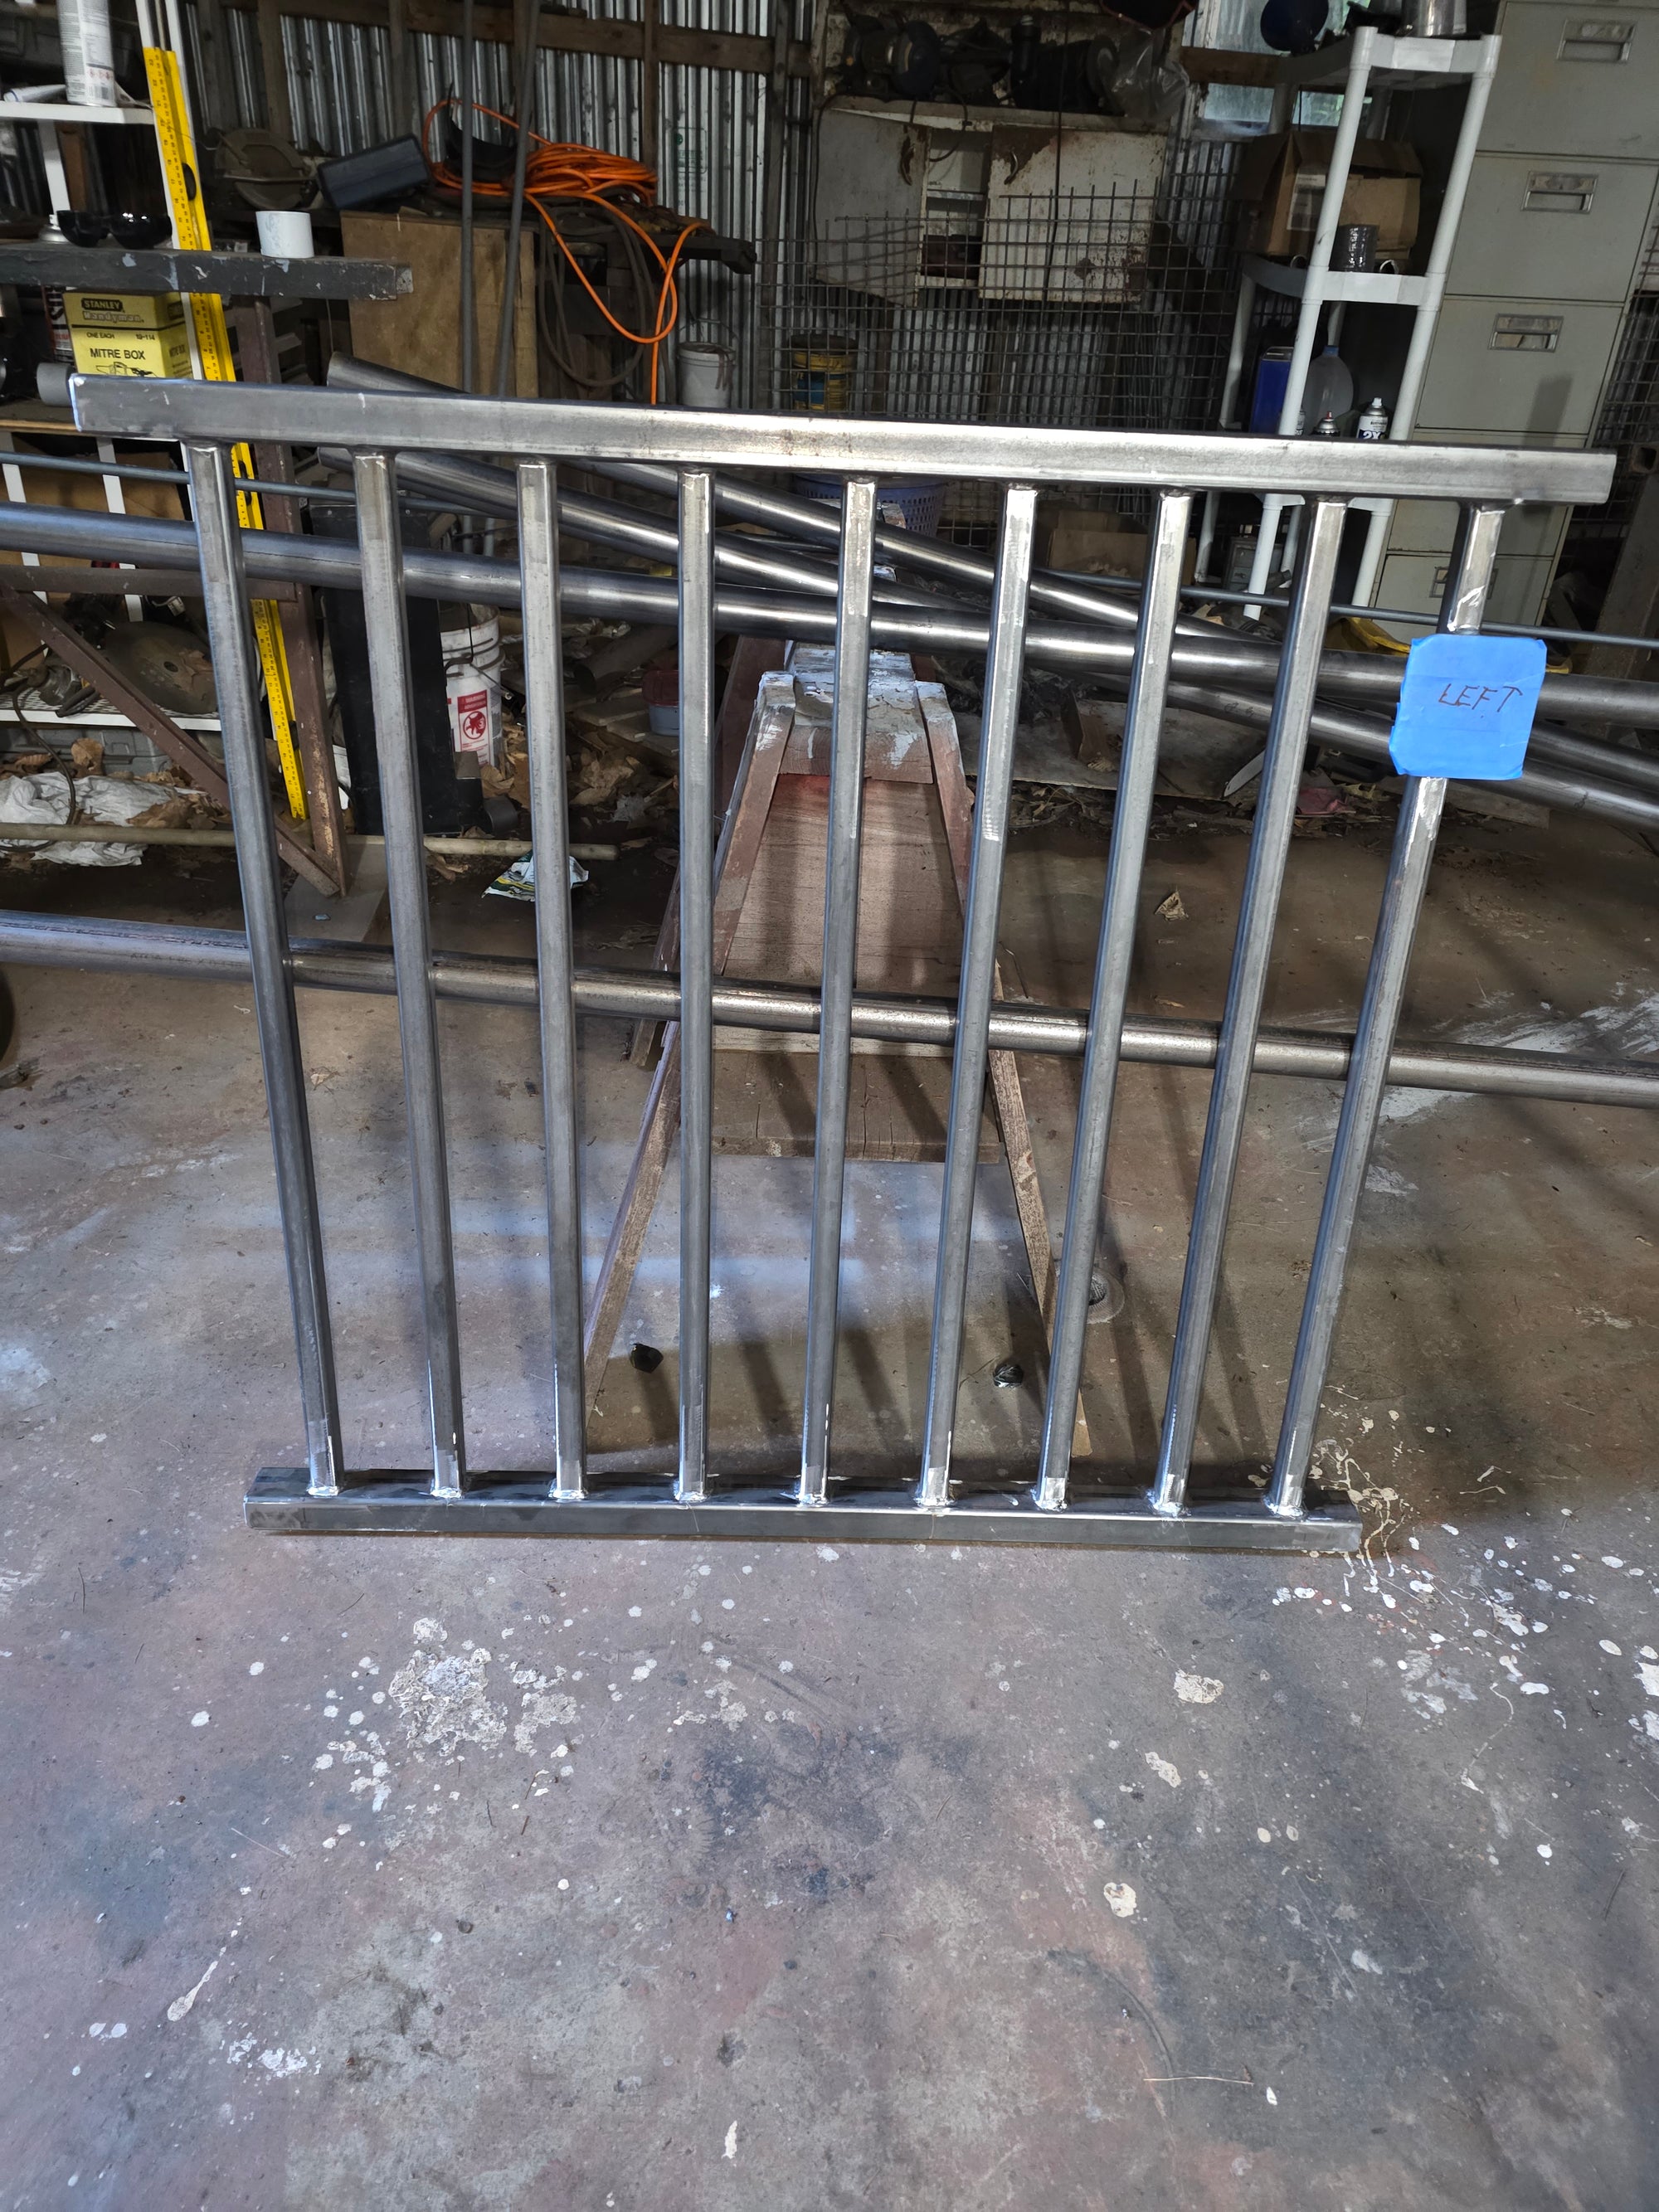
This section of guardrail is the rest of the landing that's beyond the pair of columns at the entrance. The left and right guard railings were the first things fabricated for this project.
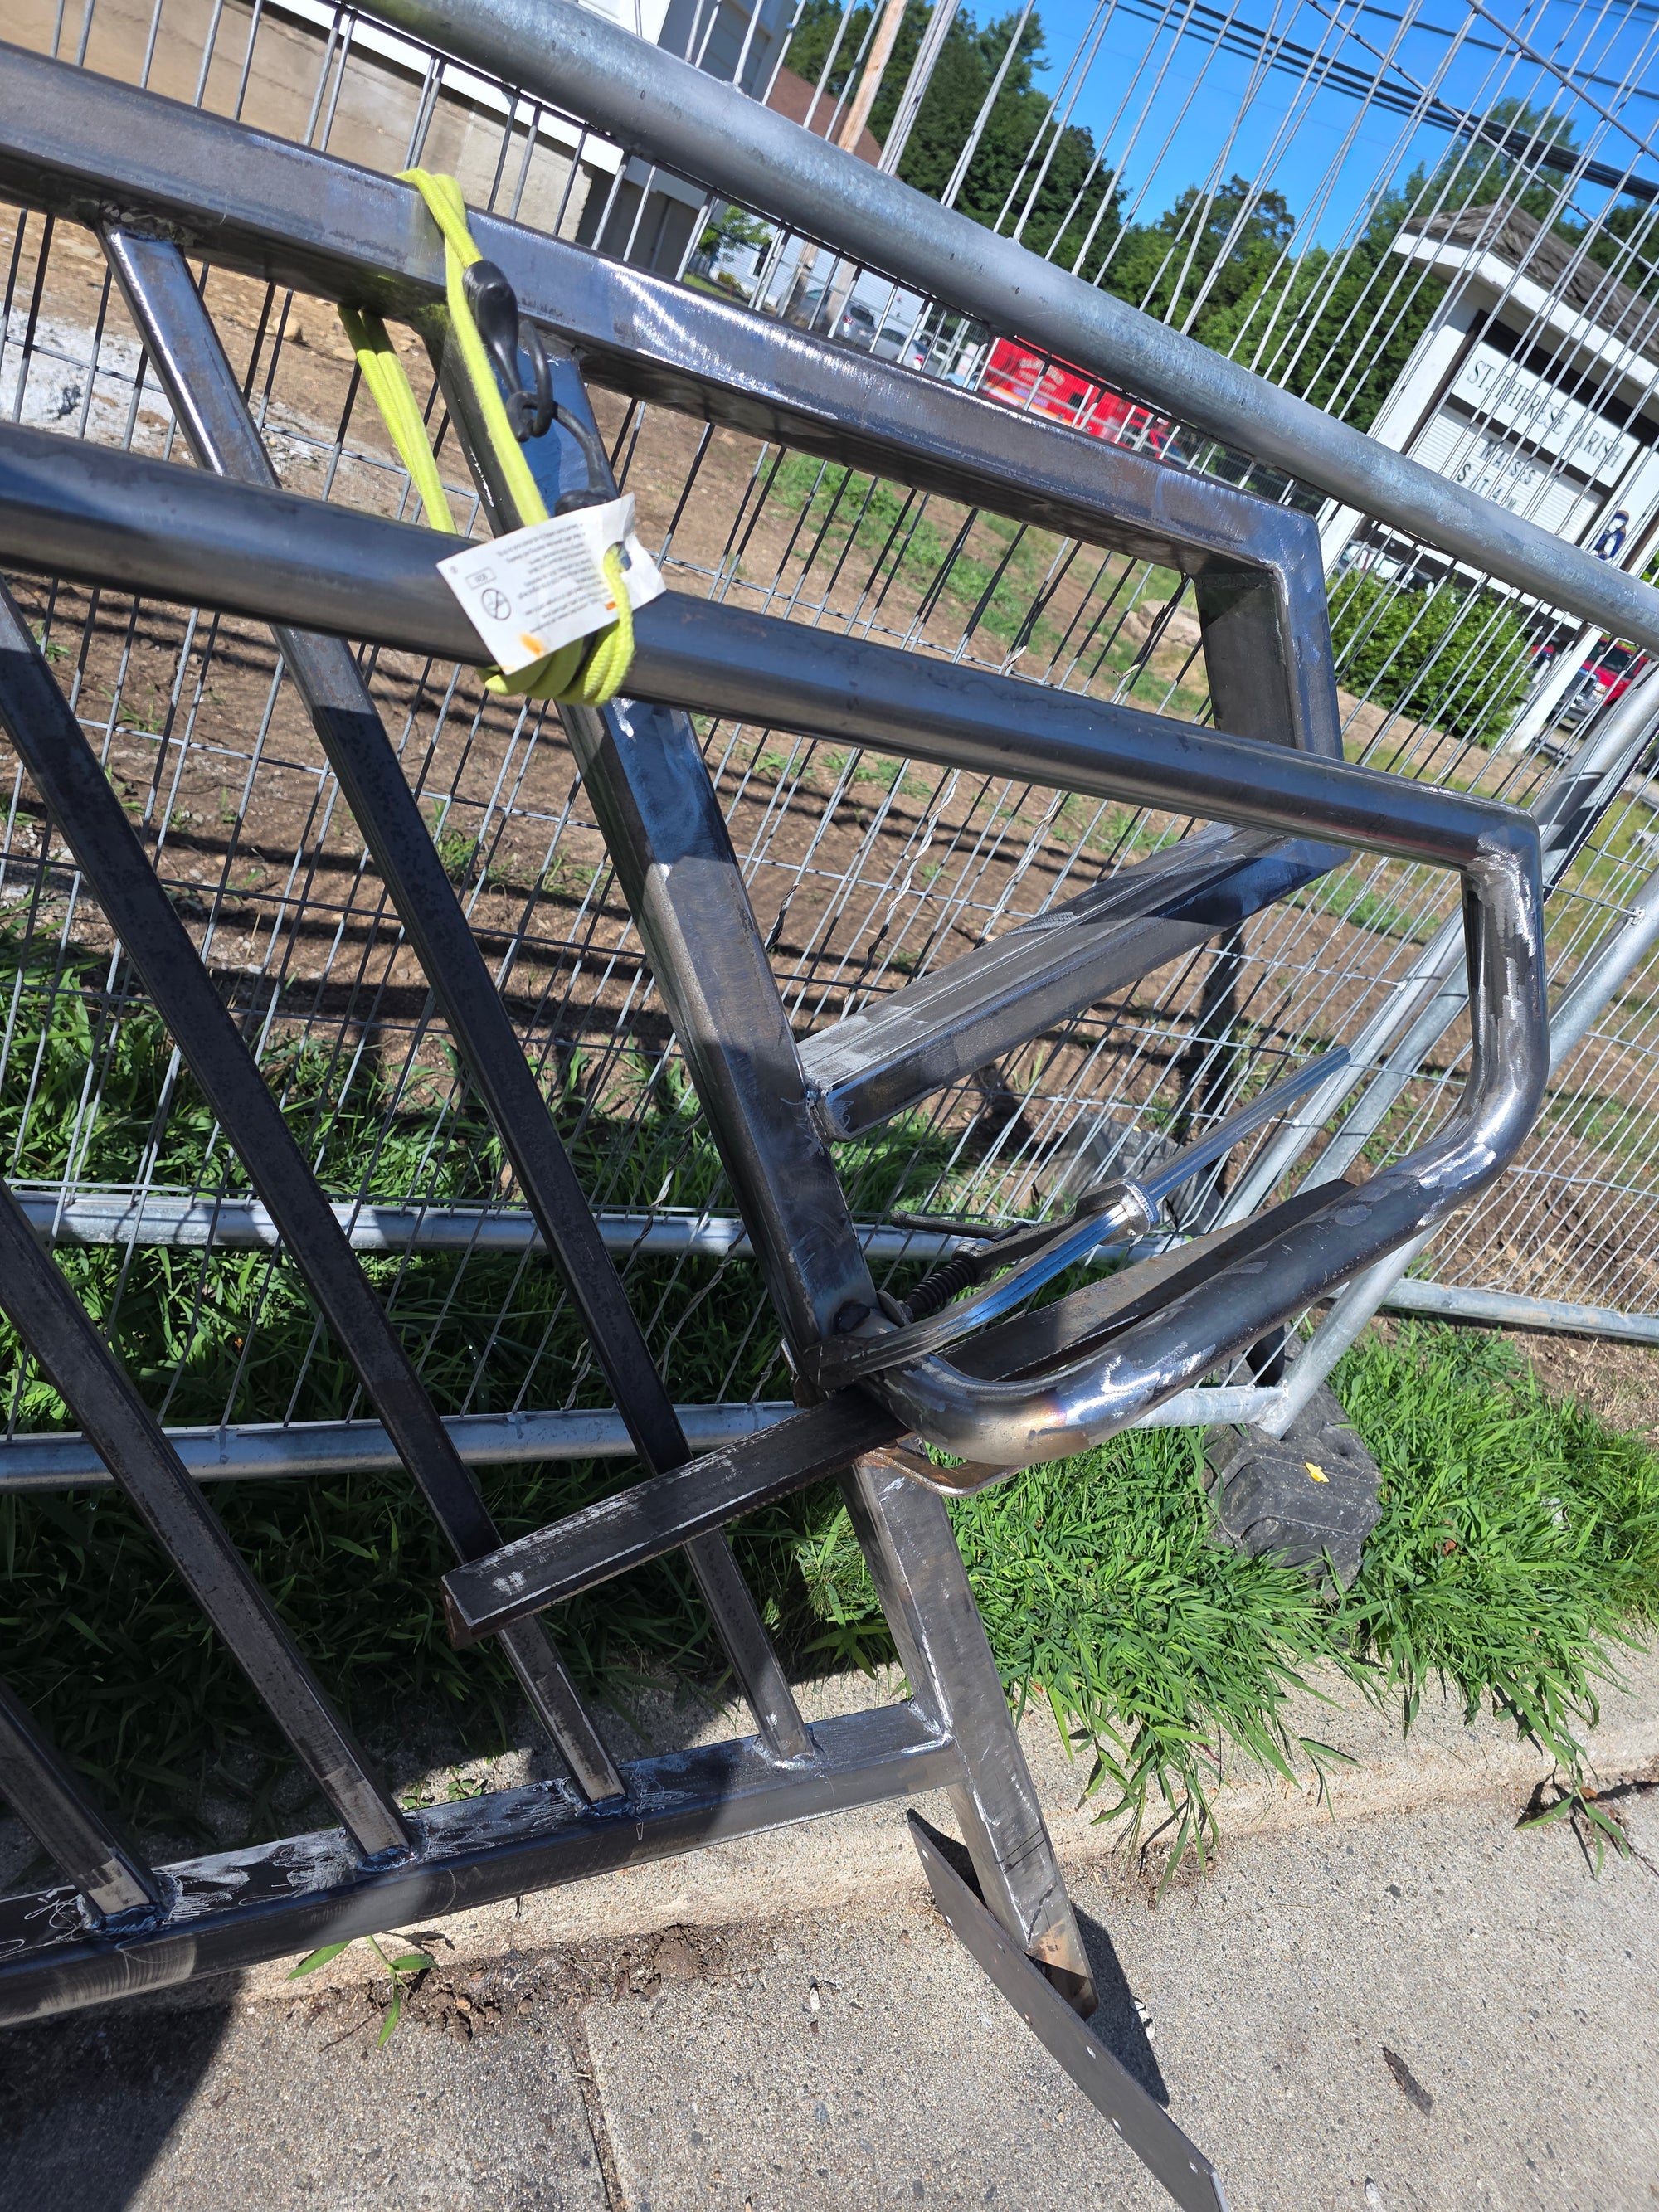
They are hard to see and I should have zoomed in on one for a better idea but there are slots on the undersides of the top and bottom tubes on both ends. It was a crafty design by the GC. The design was a bit of a curveball for me but well worth it in the end.
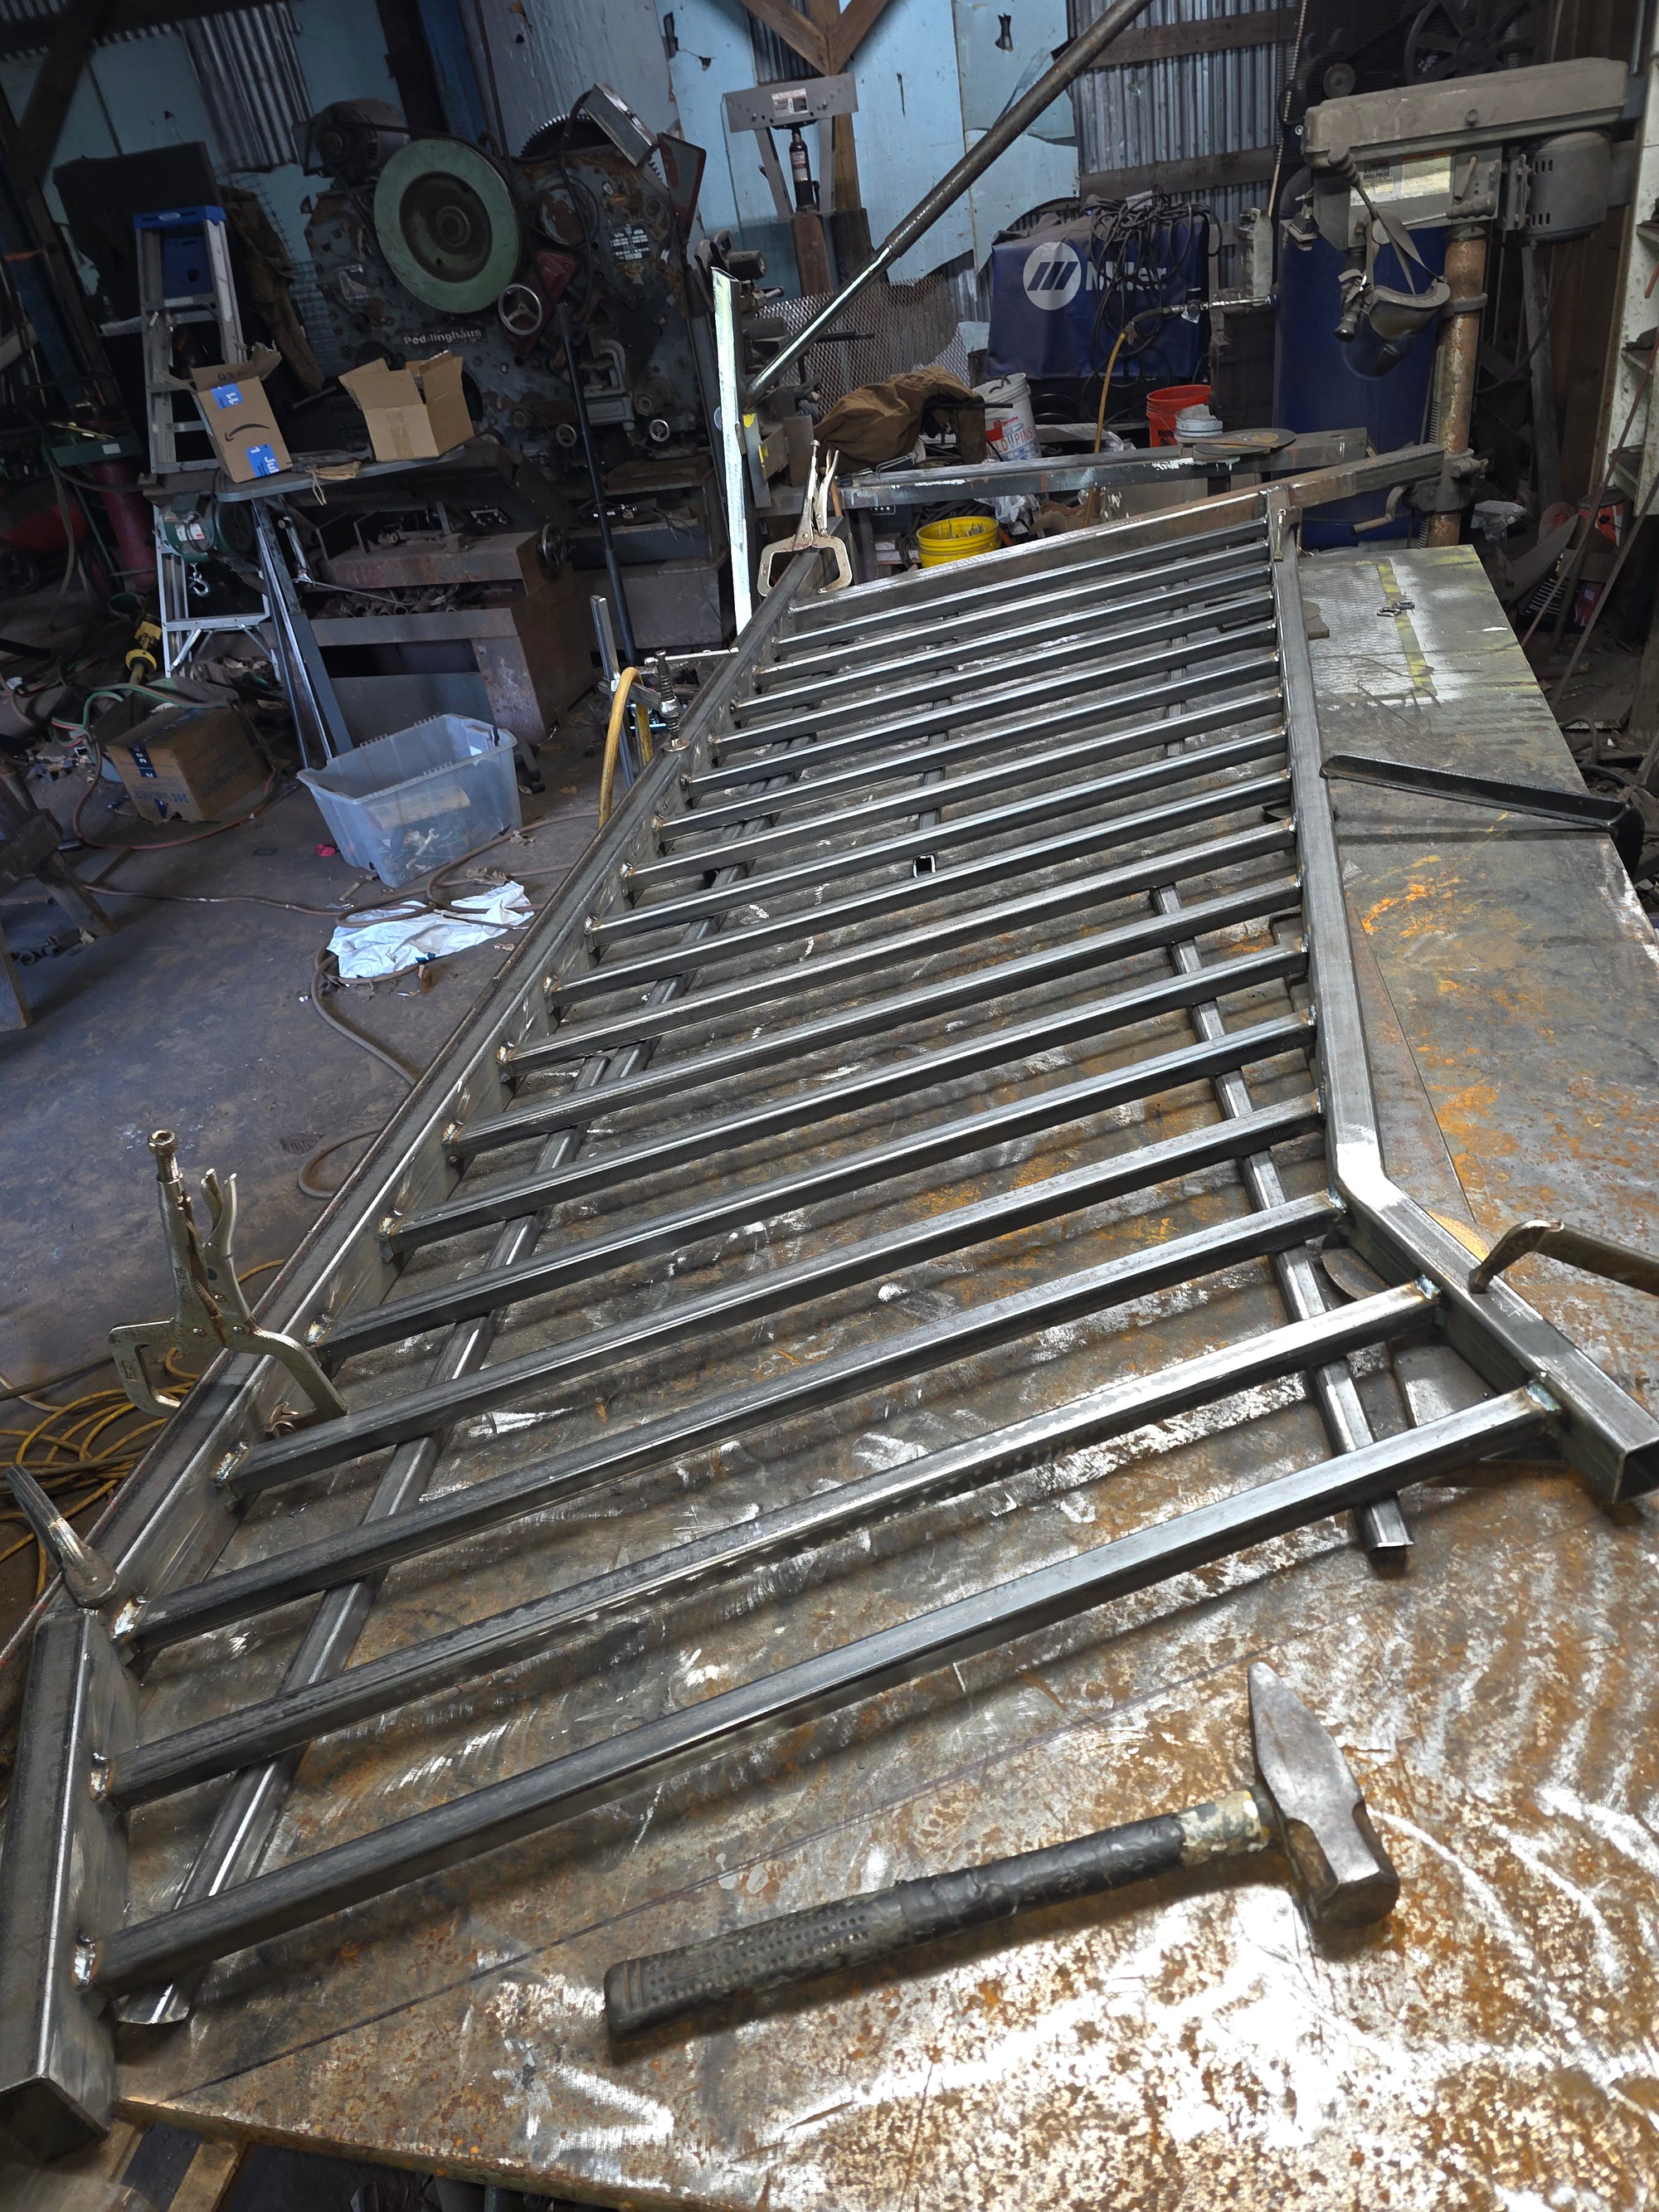
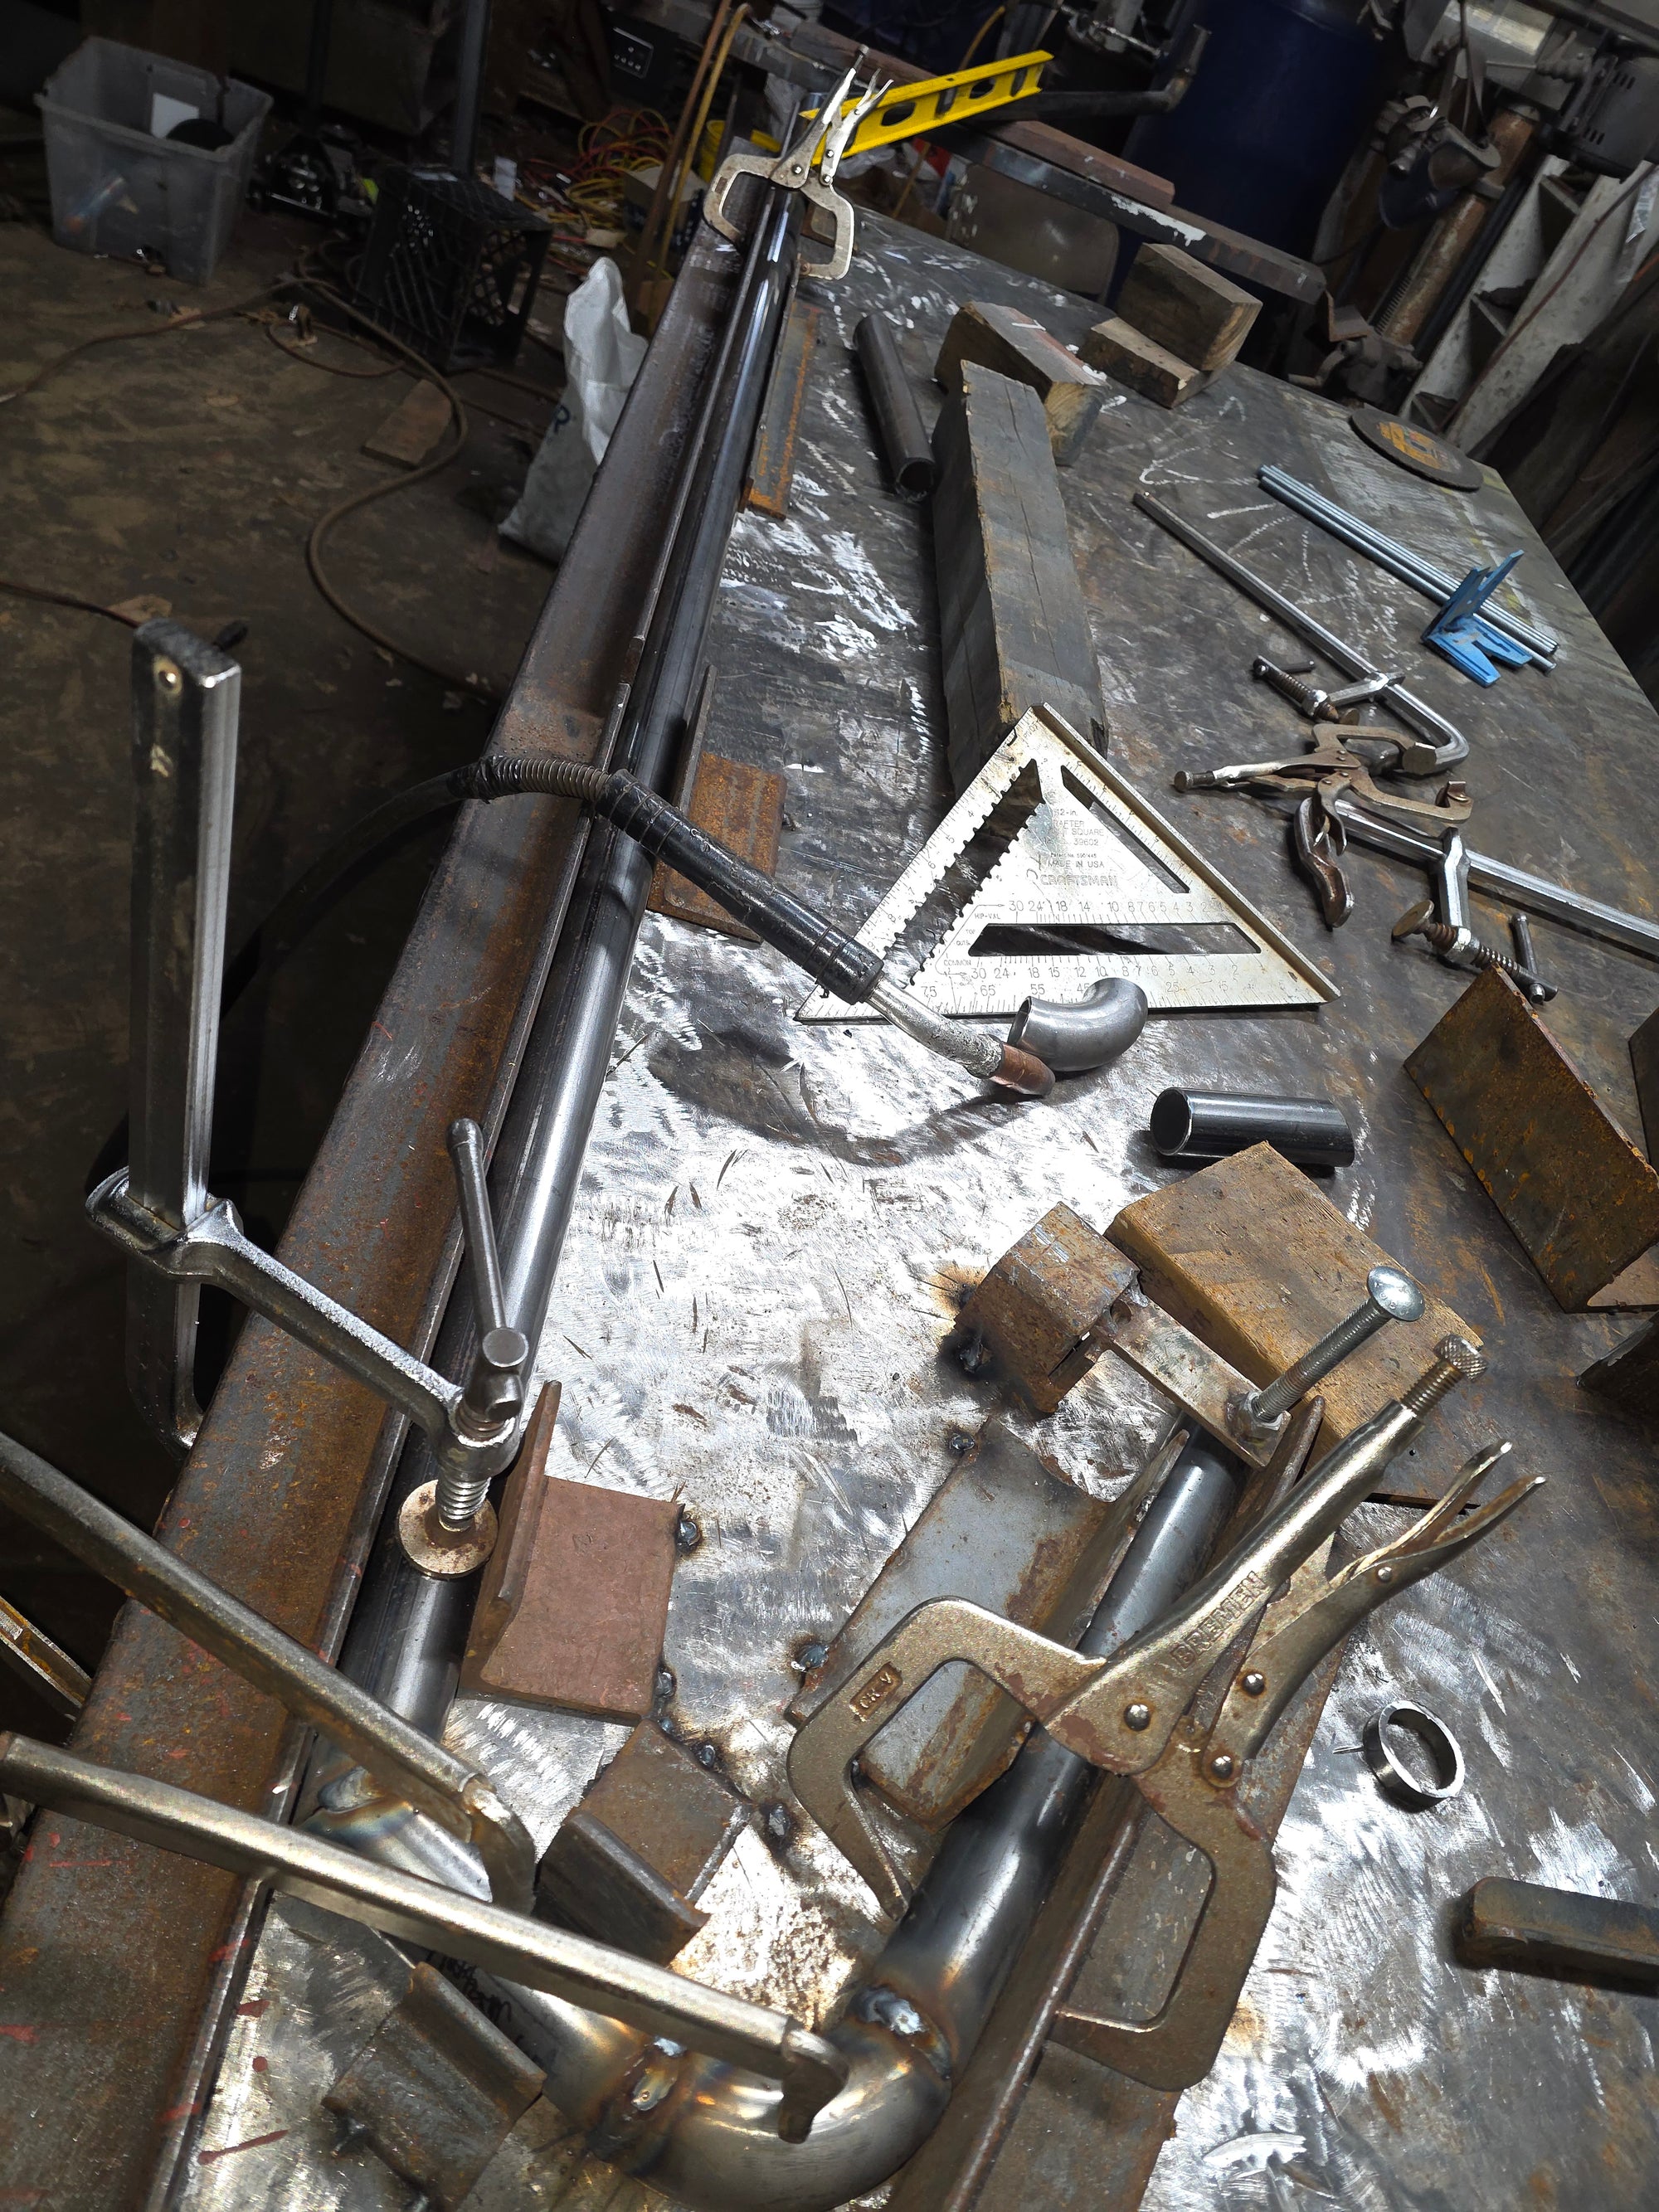
The returns for the guardrails were put together after all the pickets were evenly spaced and welded all the way around.
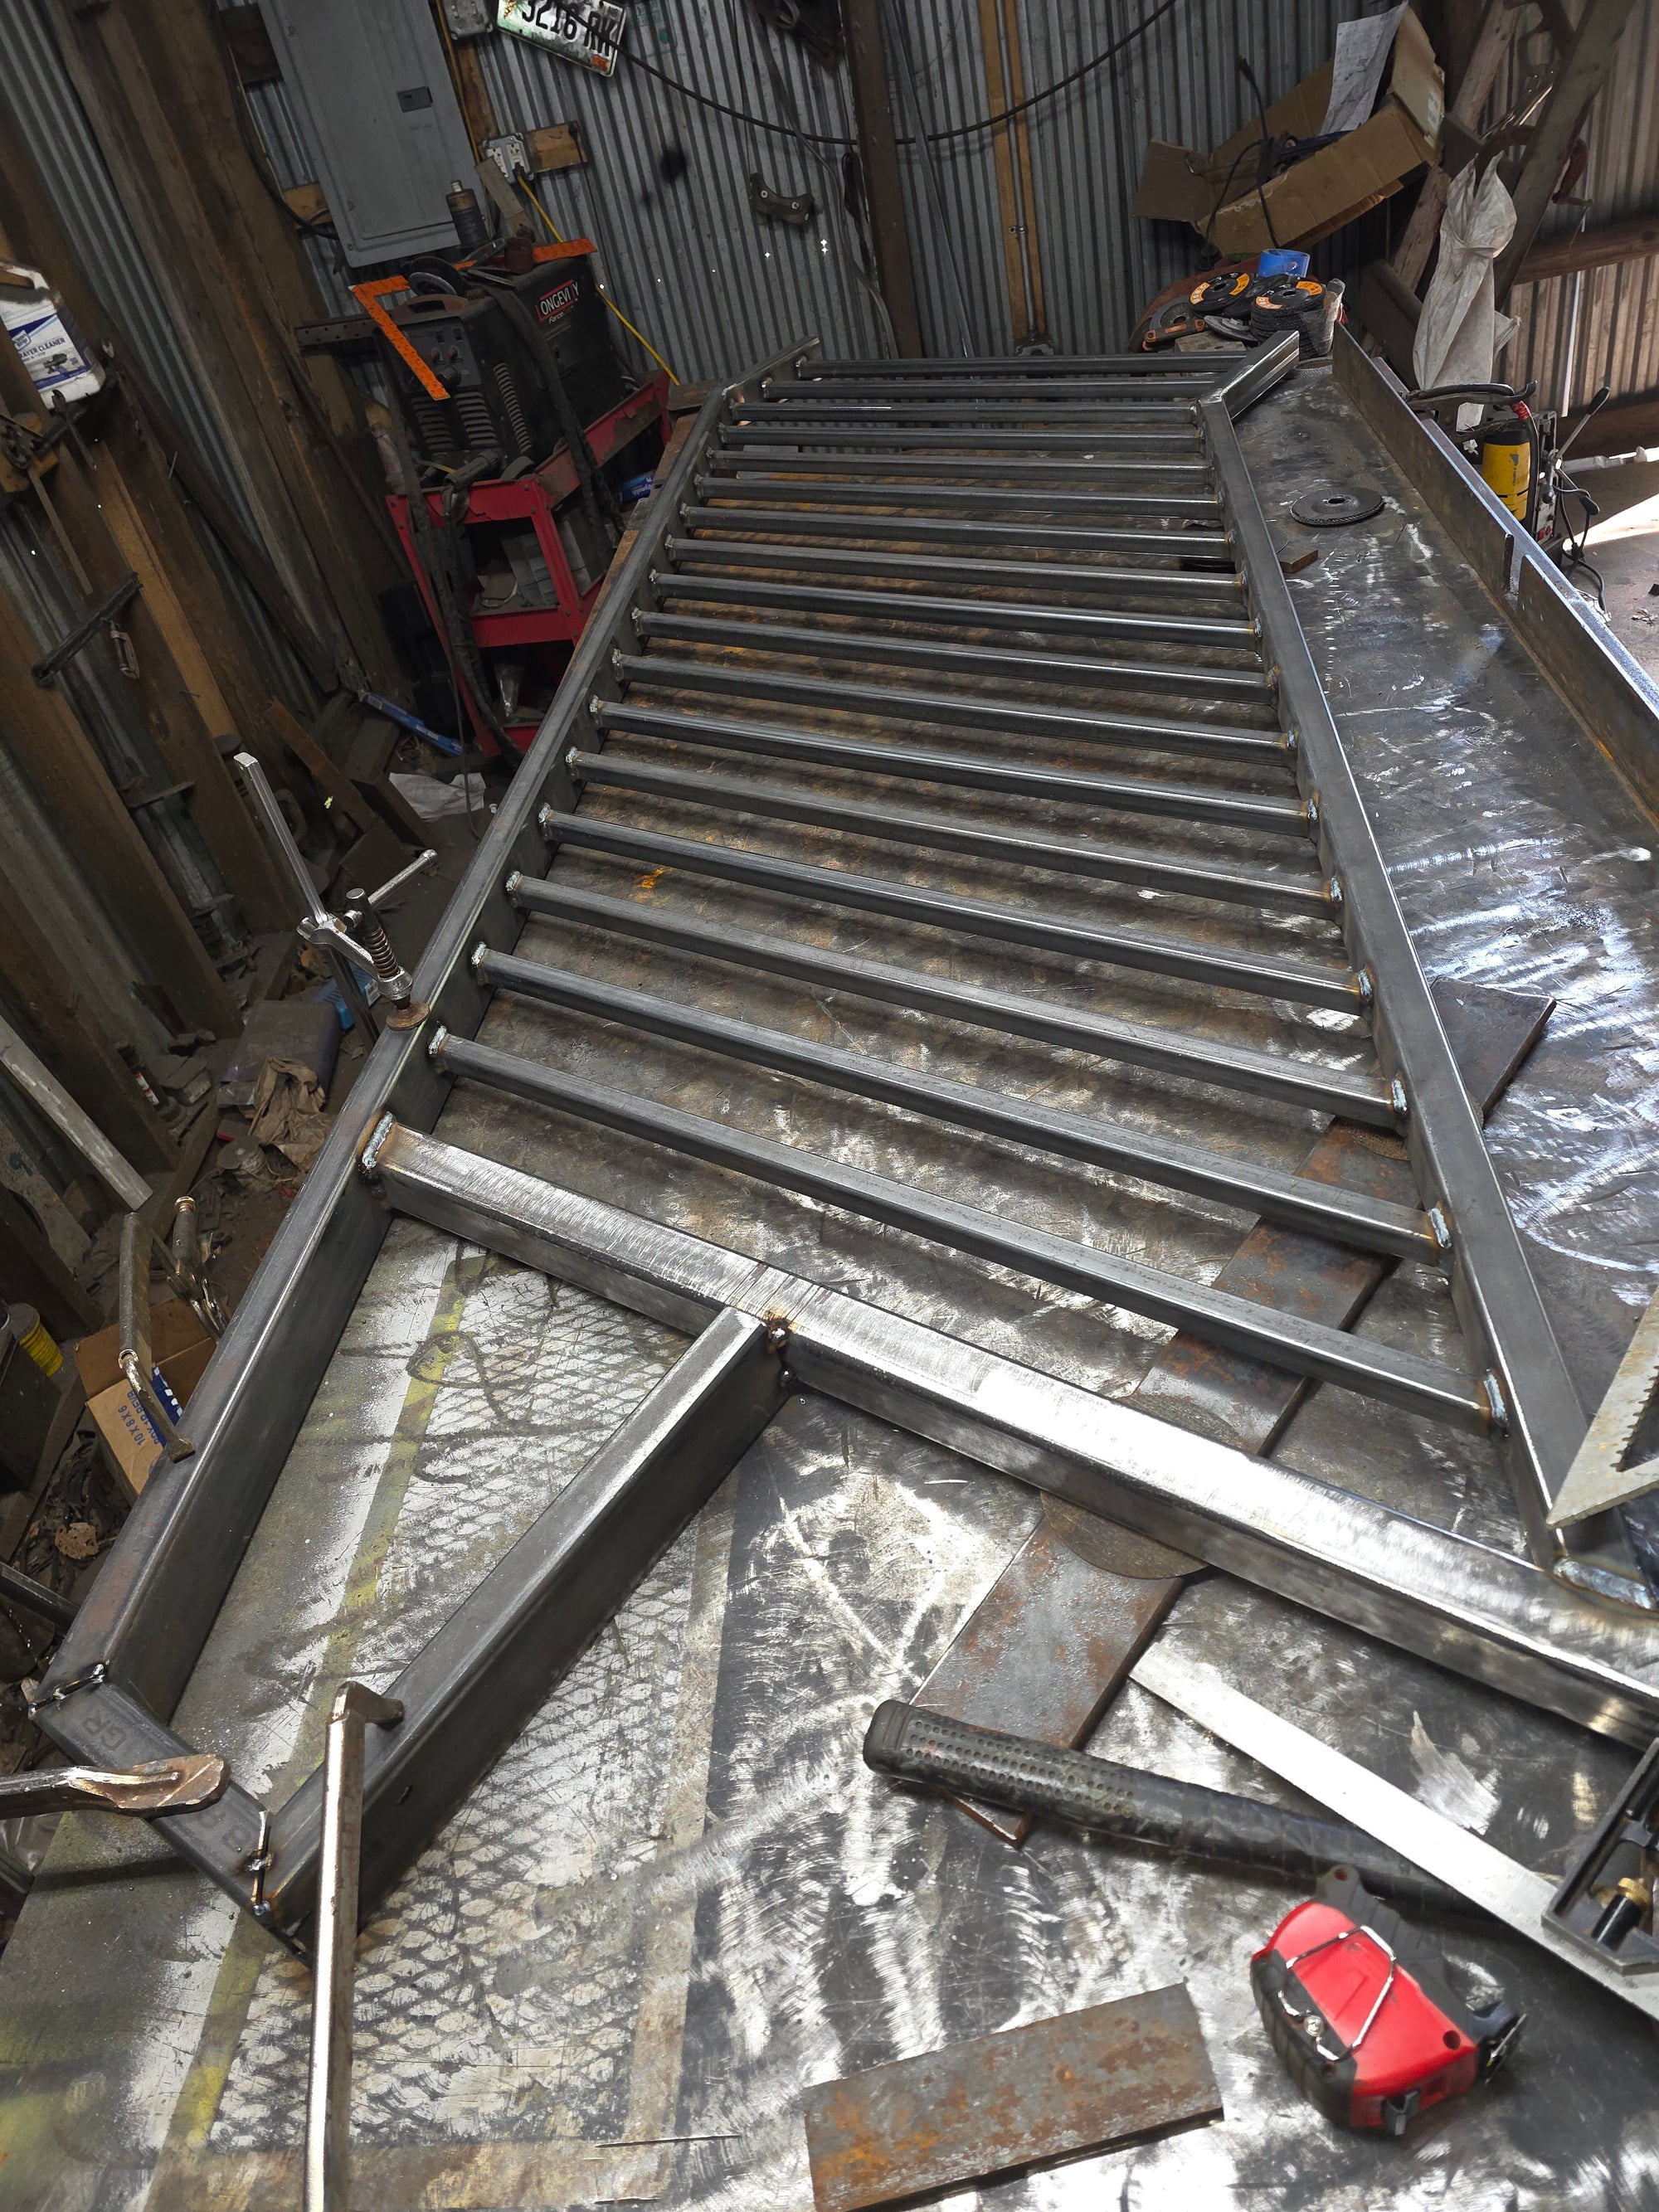
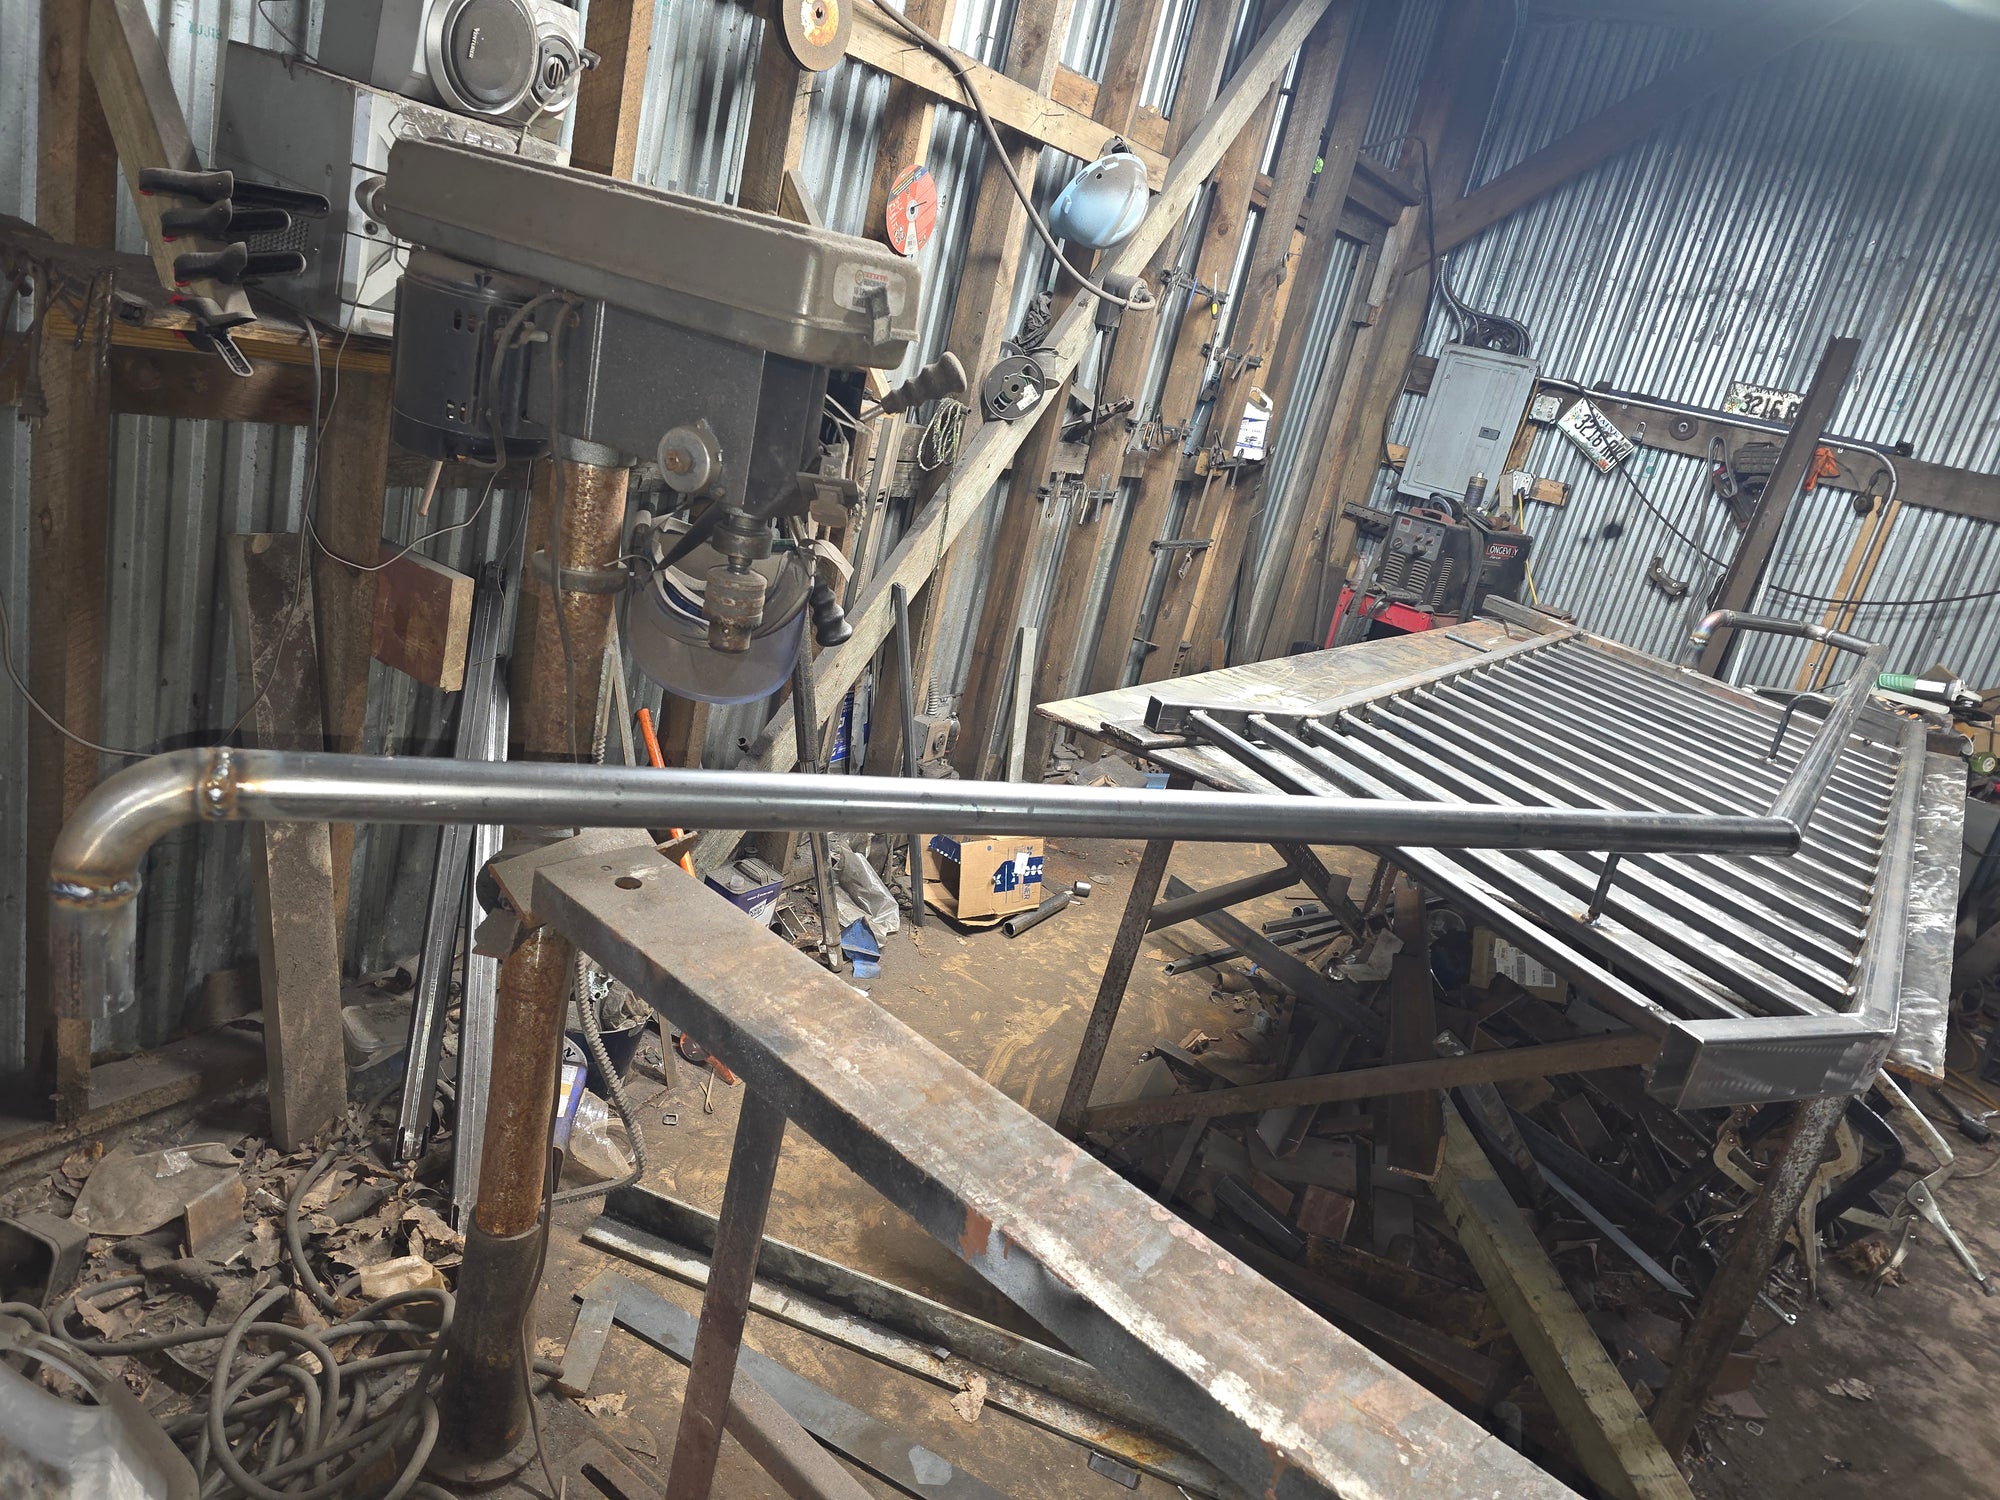
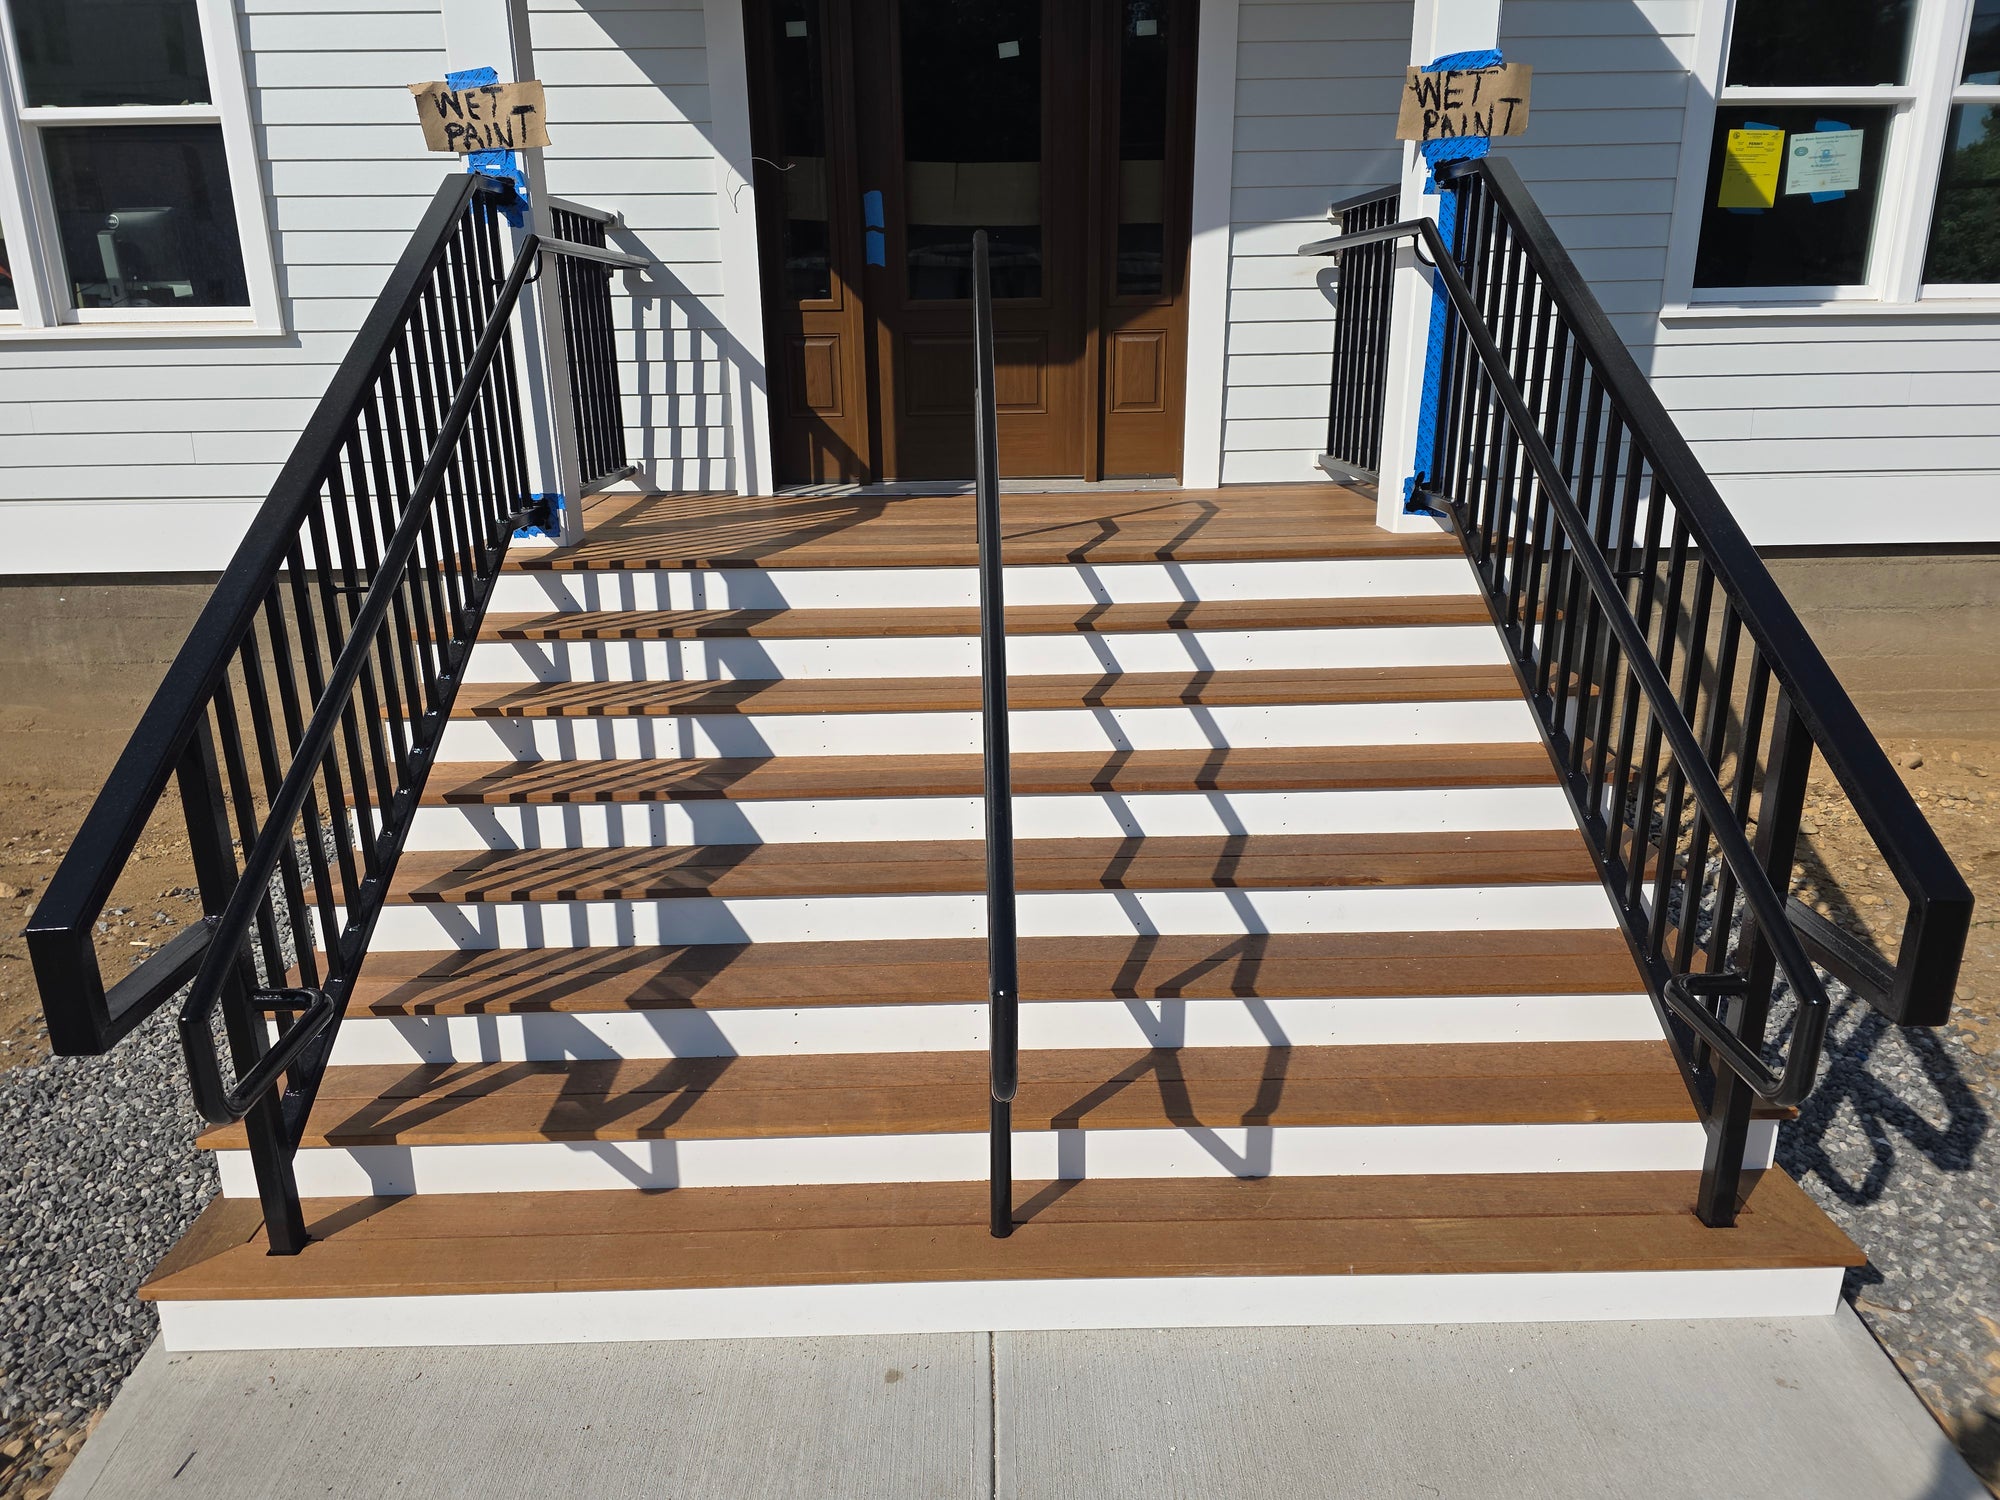
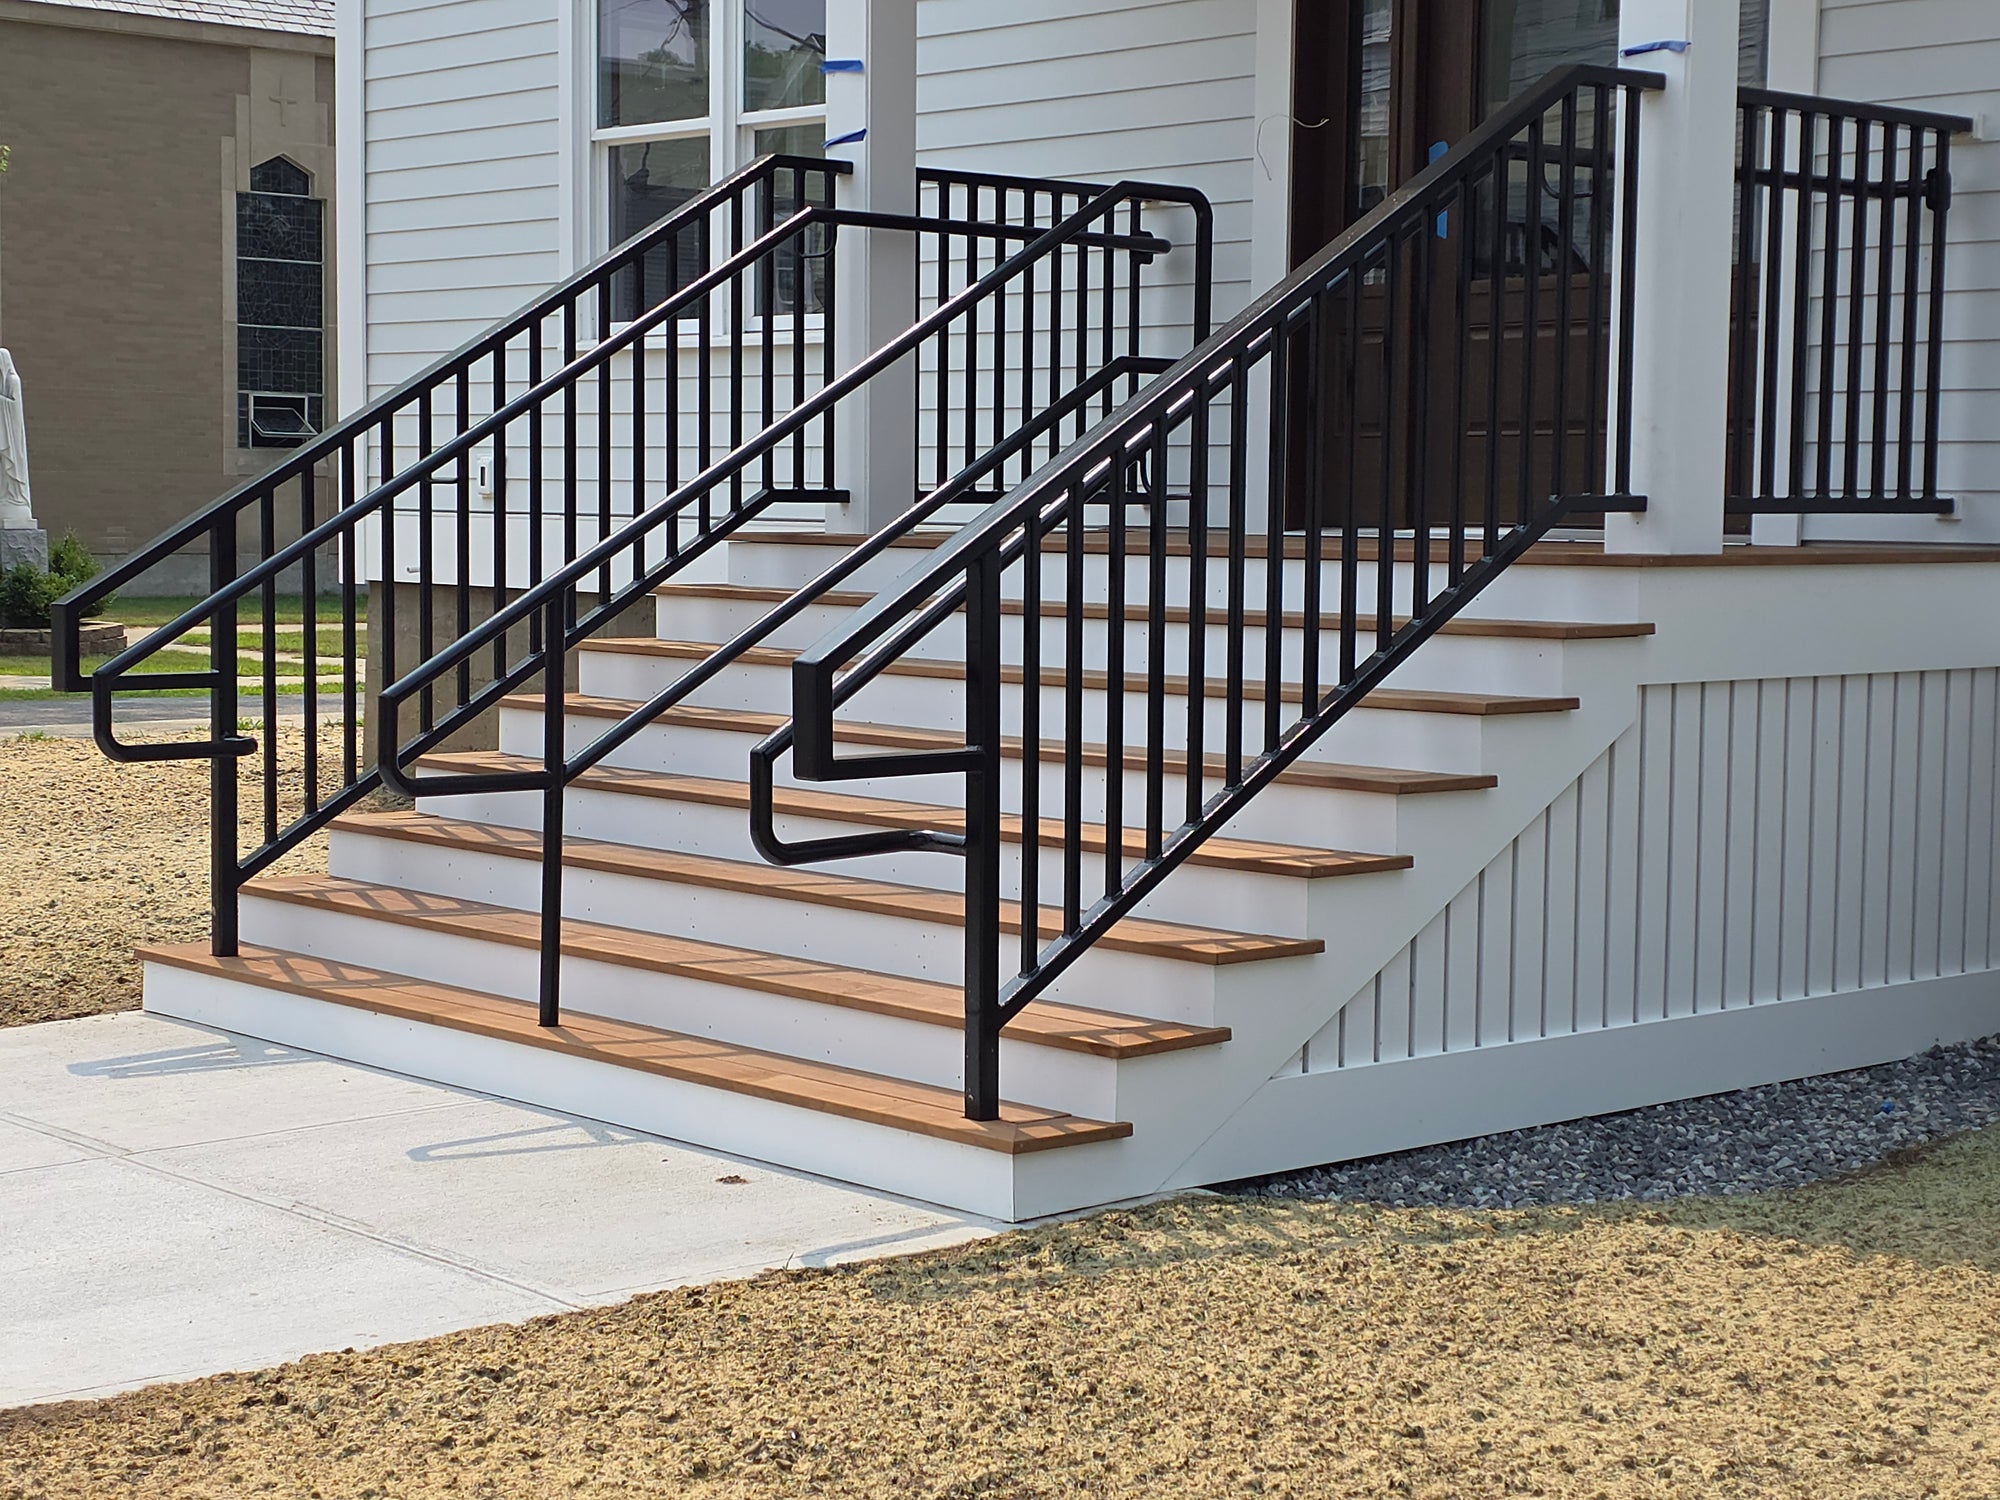
The middle hand-railing was done next. The guard railings need to be 42 inches because they are guarding an edge. The middle railing only needs to be at handrailing height which is 34 to 38 inches. I often opt for 36.
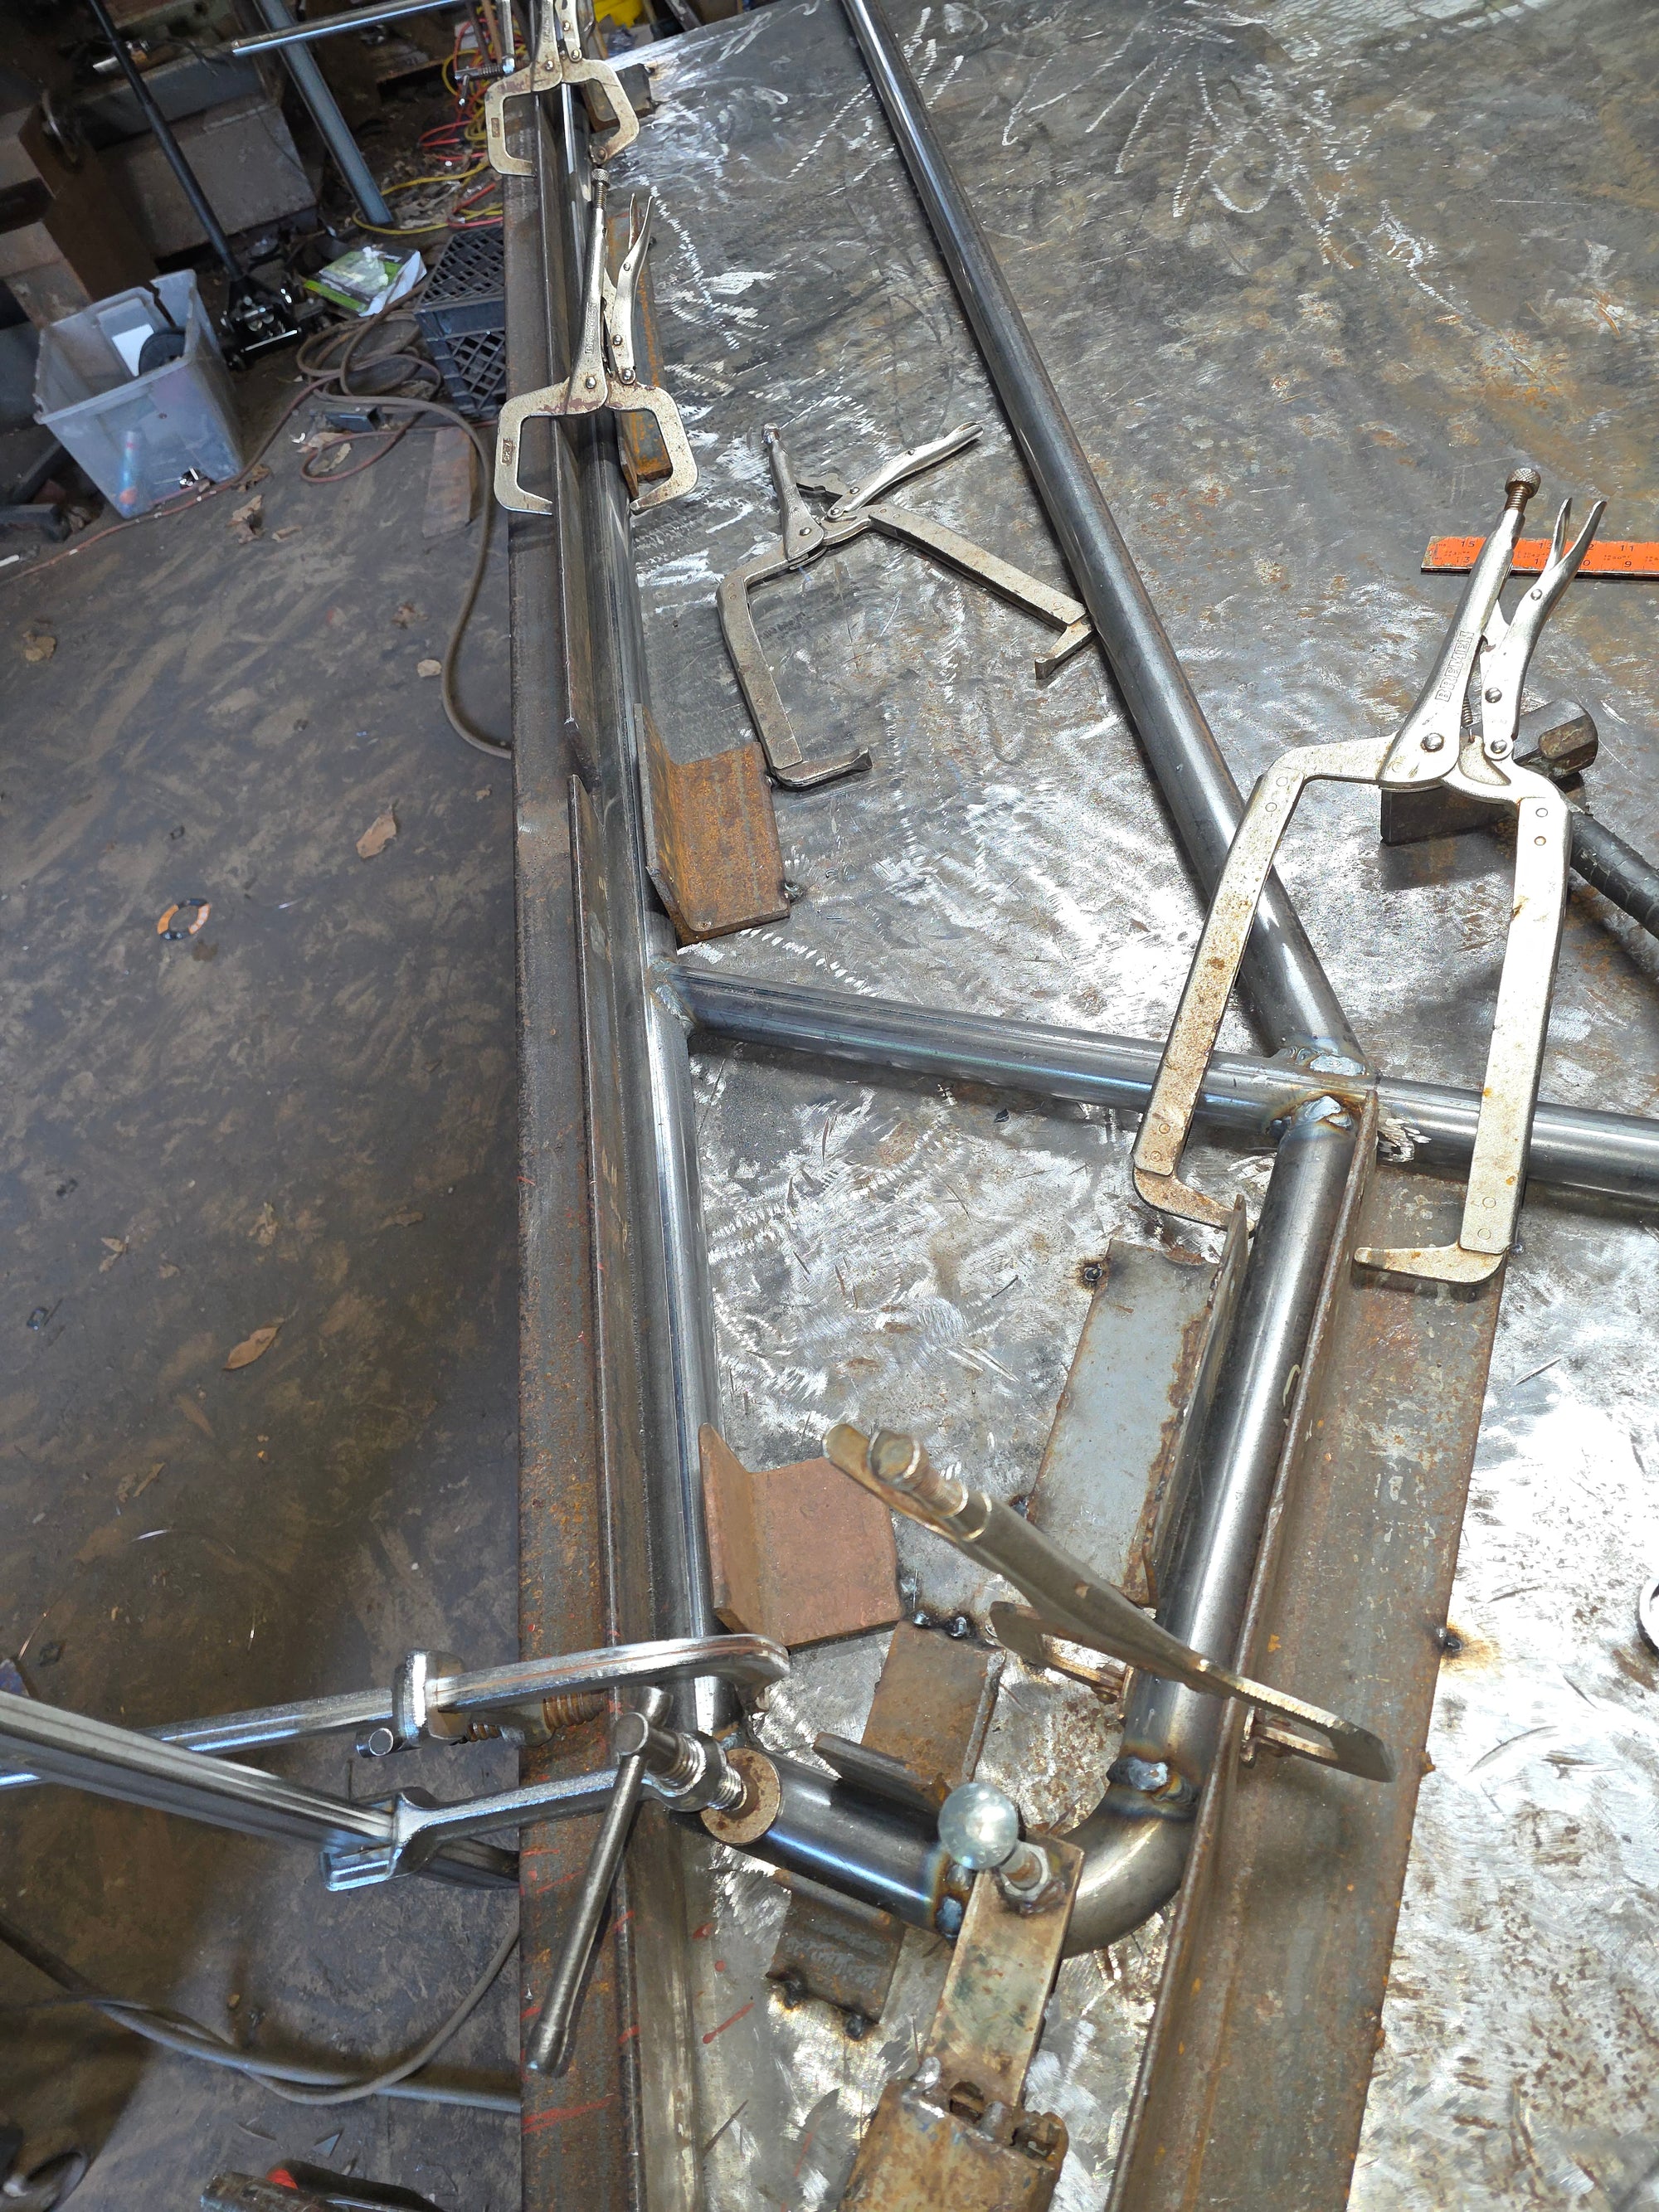
These rear returns back into guardrail are longer than normal. The purpose is to account for the width of the wooden columns/posts on the landing of the entrance way. A custom fixture was needed. The normal 1-3/4 inch spacing would have hit the posts.
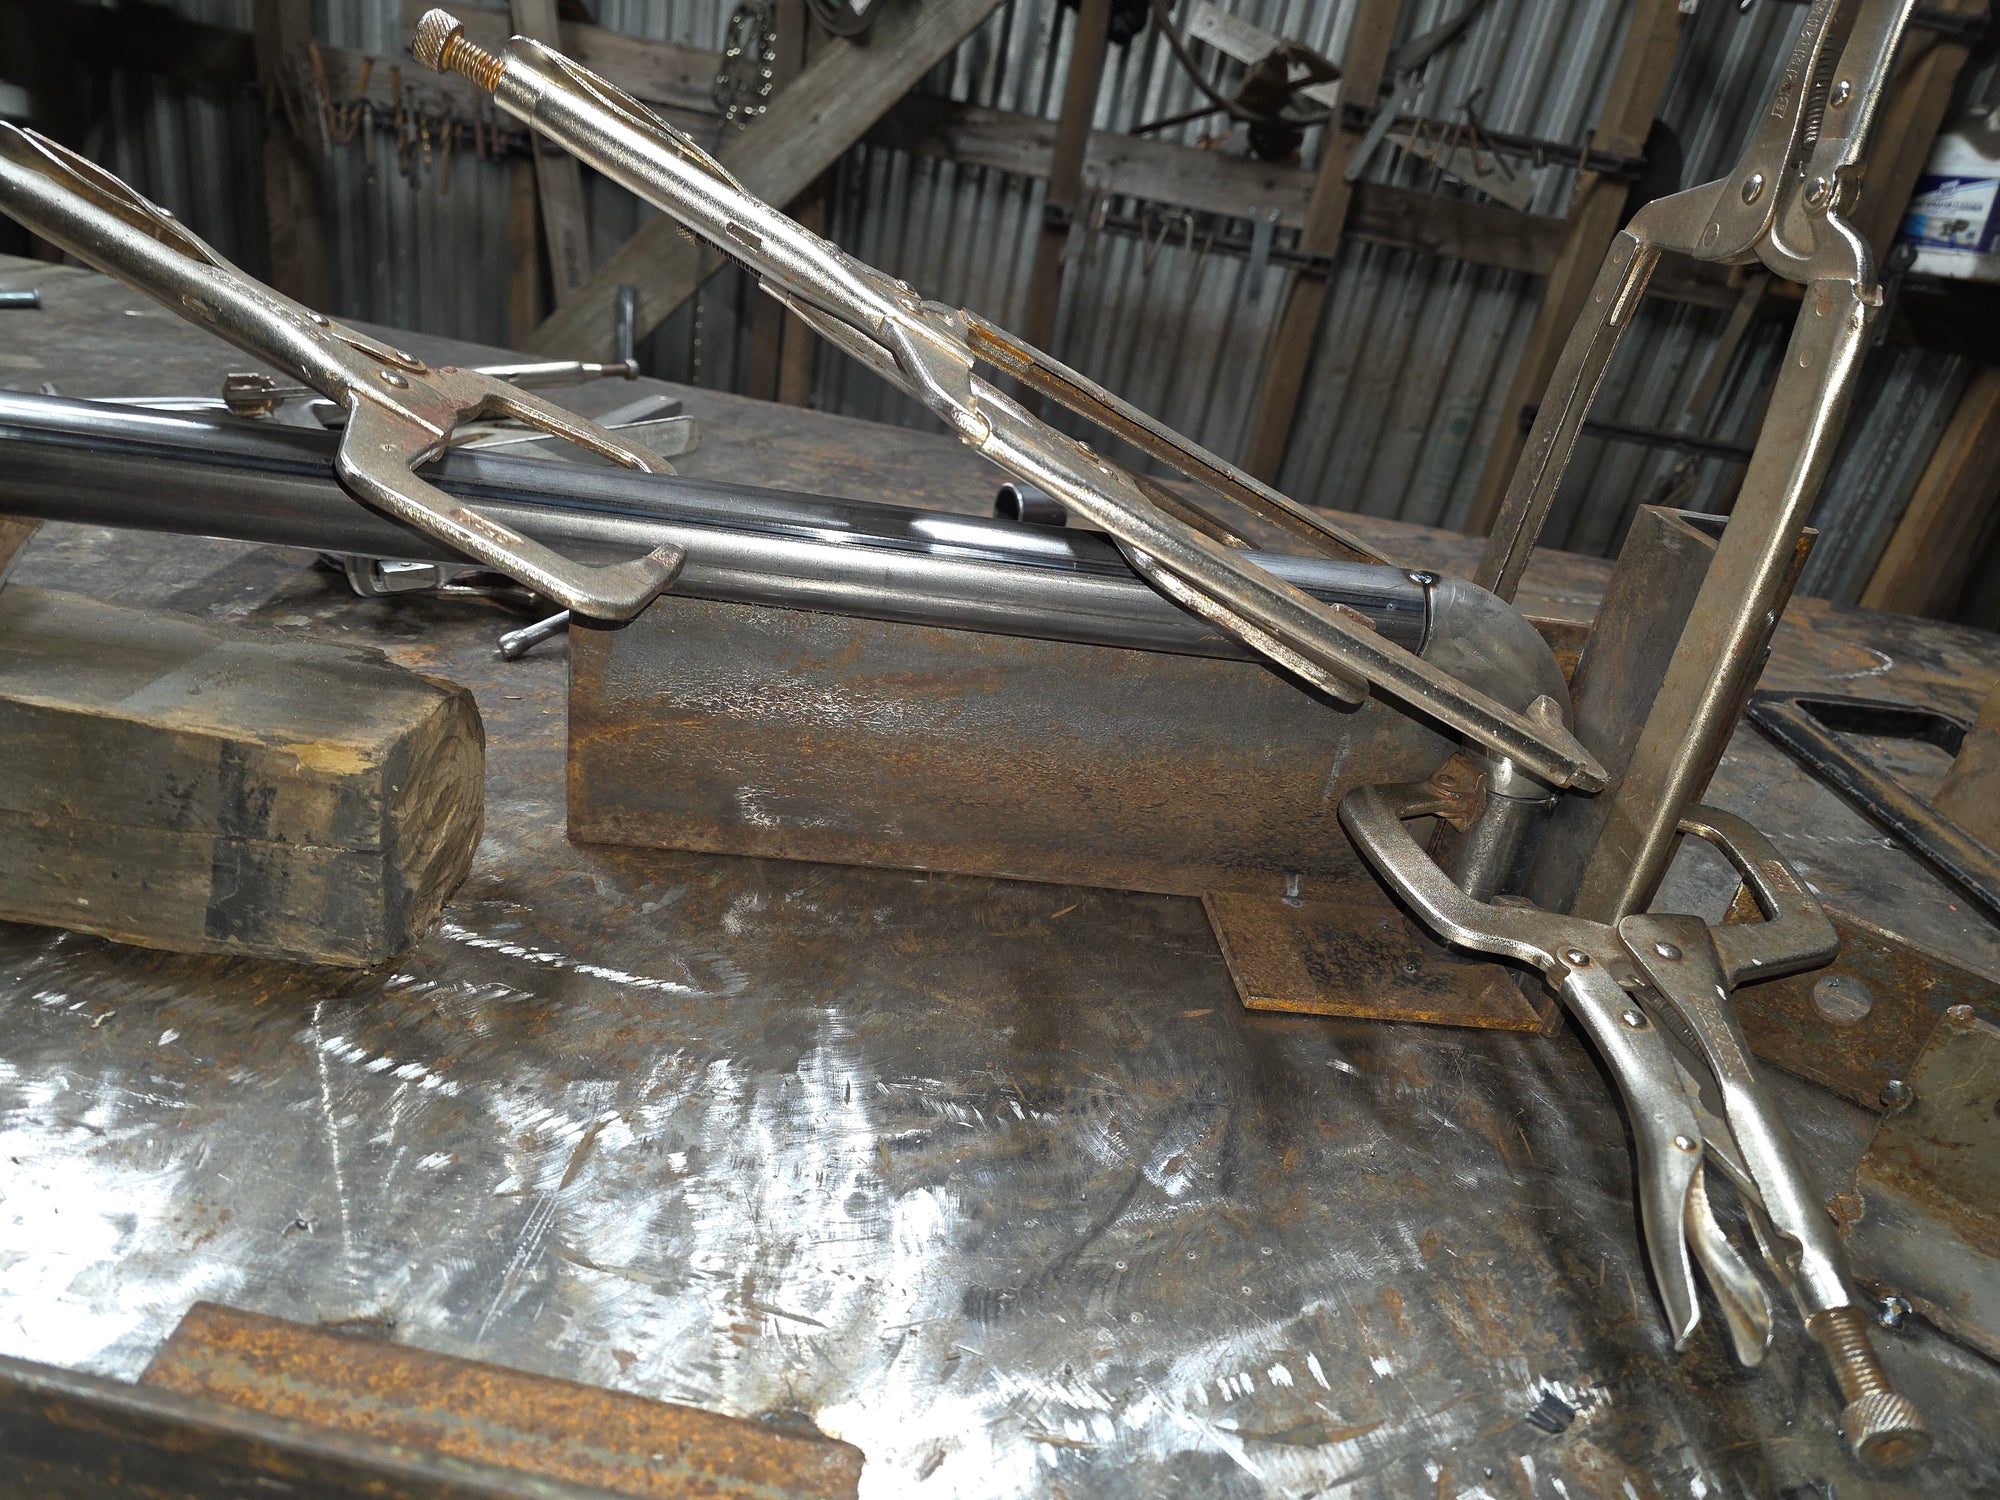
This is a front return for one of the hand railings being put together. Clamp it, fasten it, weld it to the nines so nothing moves.
After both hand railings were made, the next step was to weld the hand railings onto the guard railings.
The handrail for the landing extends that far to tie into the rear guard railings on the landing. Those were two welds done in the field.
Here's a Guard/Hand railing combination after grinding, sanding and spatter removal.
Here is the other. Before prime and paint, a dry fit up needed to be done.
Naturally, mistakes happen on jobs like this. One of my hand railings was lower than the other by about an inch in the front. If only A.I. could do all the work for me and I'd still make money. (keep dreaming). Fortunately, mistakes can be fixed with some thinking and teamwork.
The other mistake I made was on both rear handrailings. I accounted for the inch and a half plus spacing everywhere else besides where your hands would meet the surface of the building. That spacing is critical for a person's knuckles to not scrape whatever the railing is parallel to in any given spot.
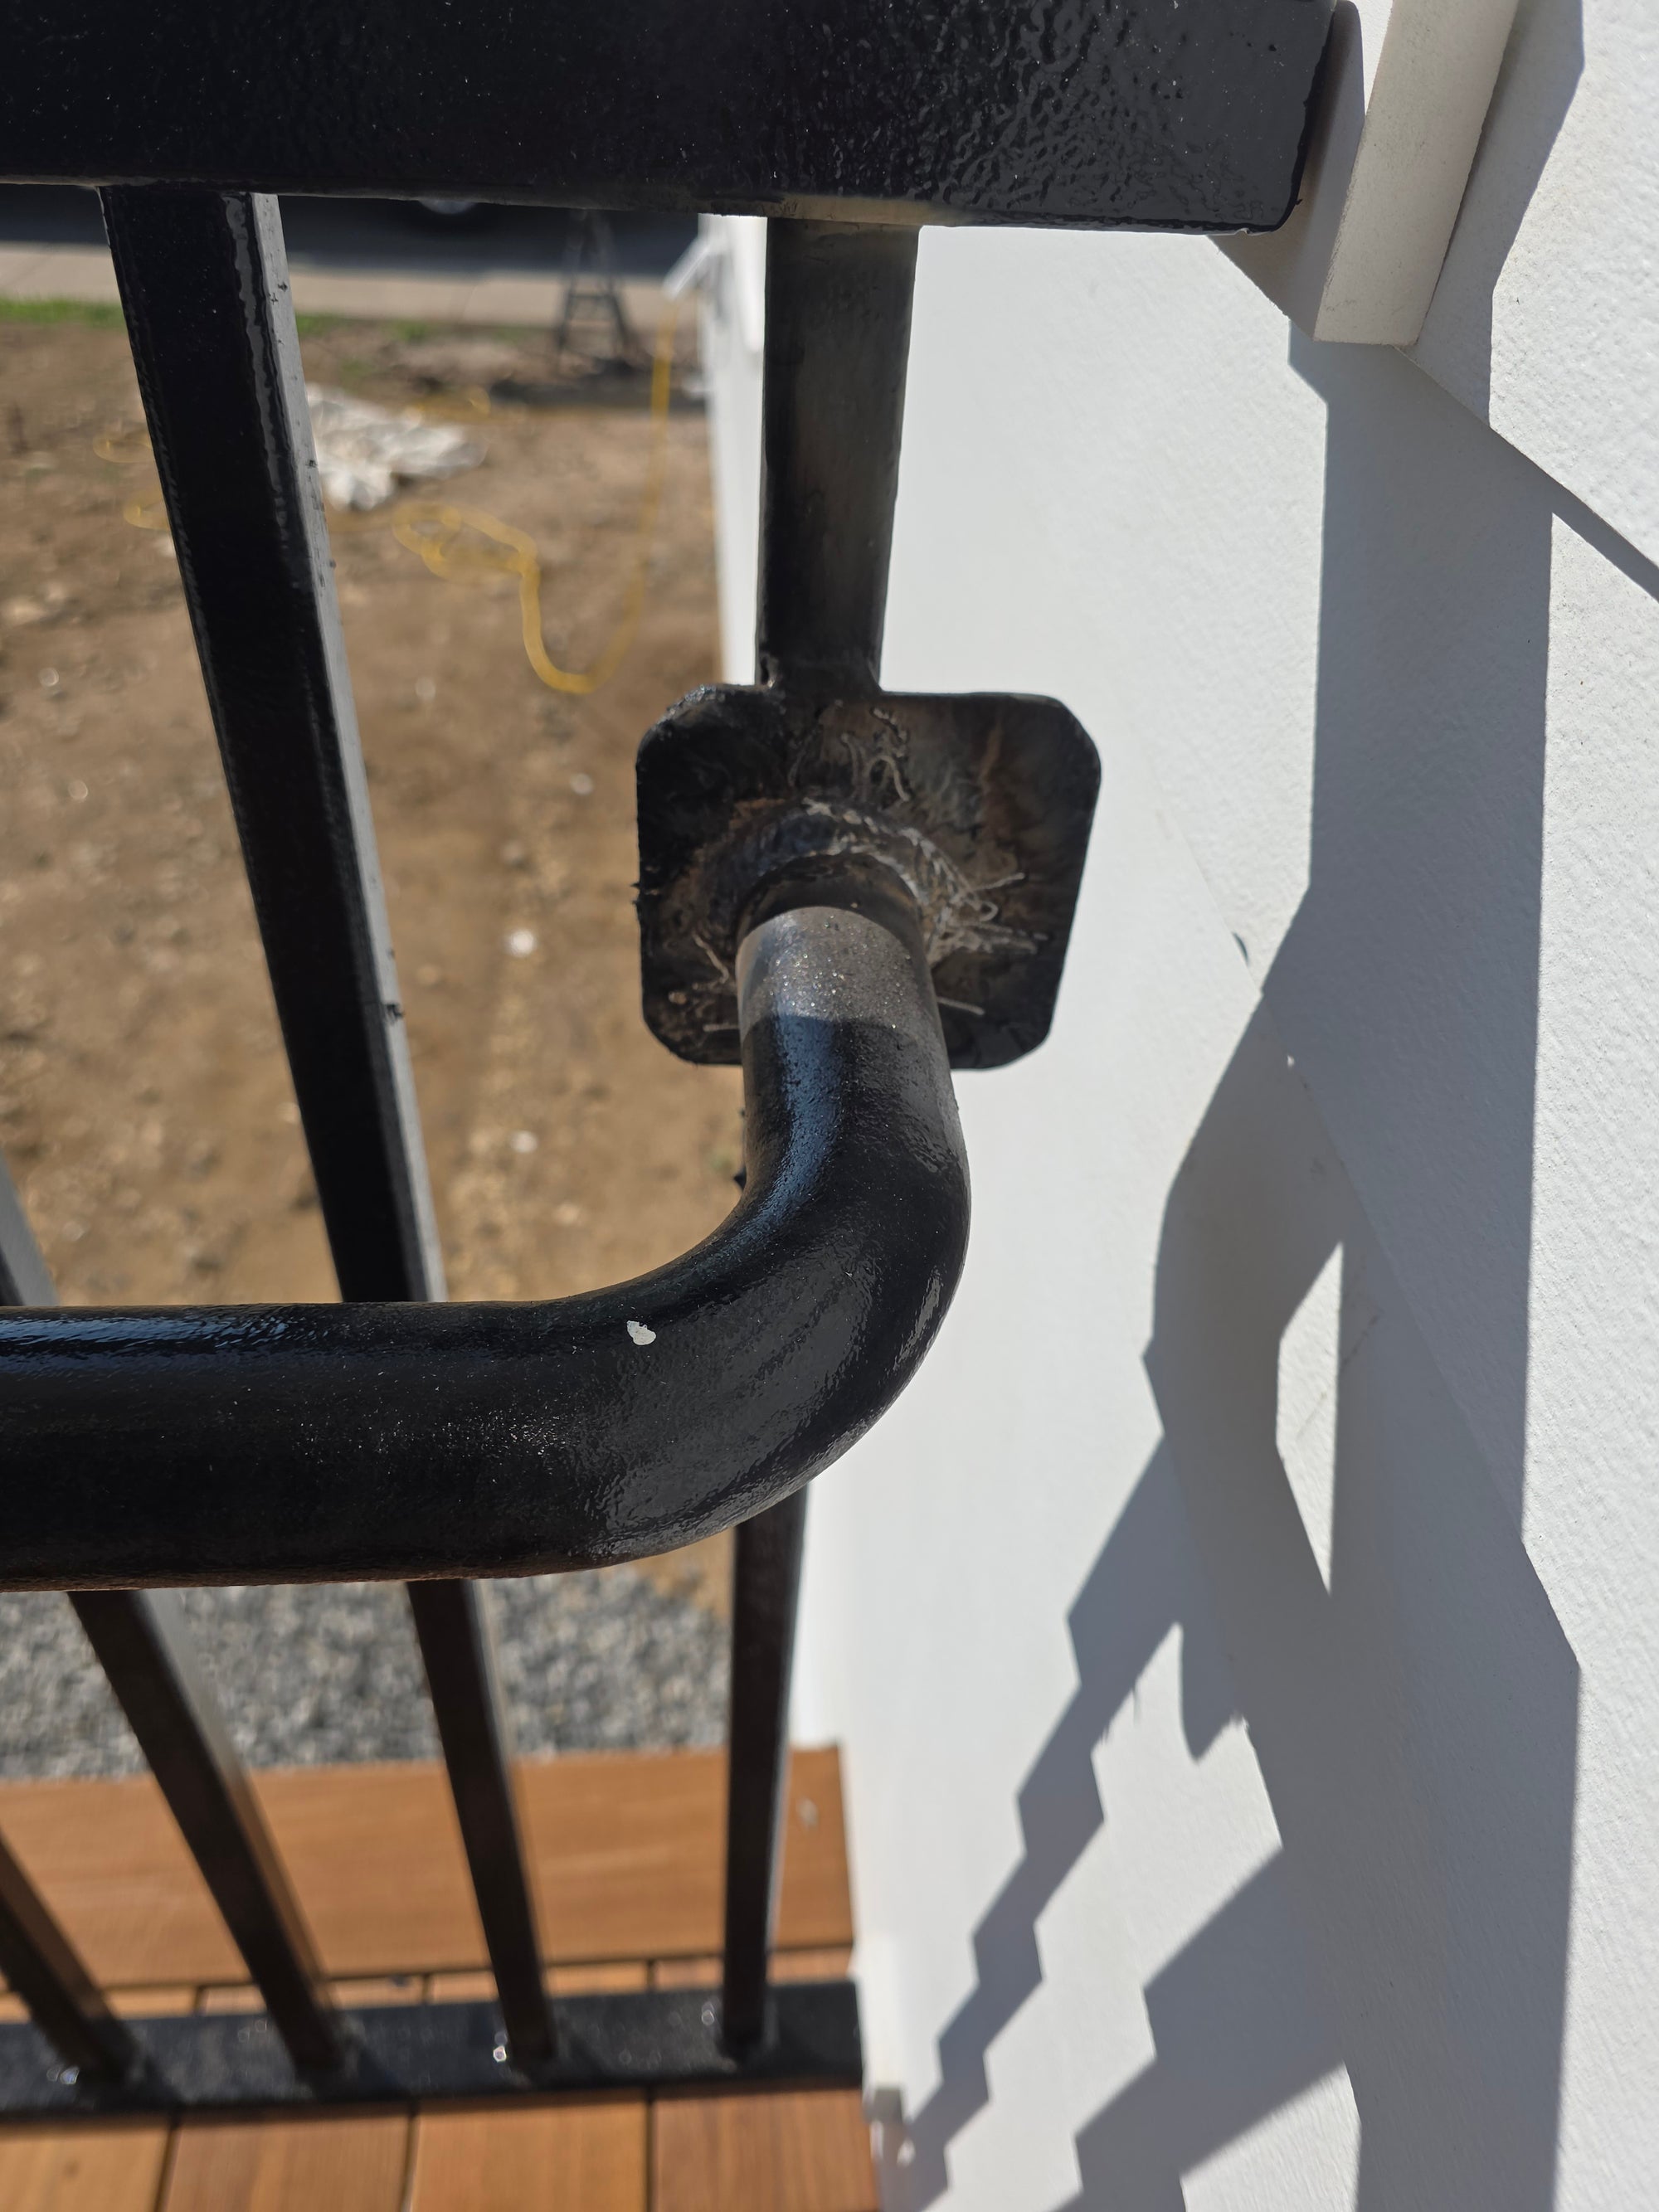
Once each landing railing was shortened, I was able to weld the handrailing onto the rear guard railing. plenty of room for your hand now between the house and that little section of handrail running into the plate on the guard railing.
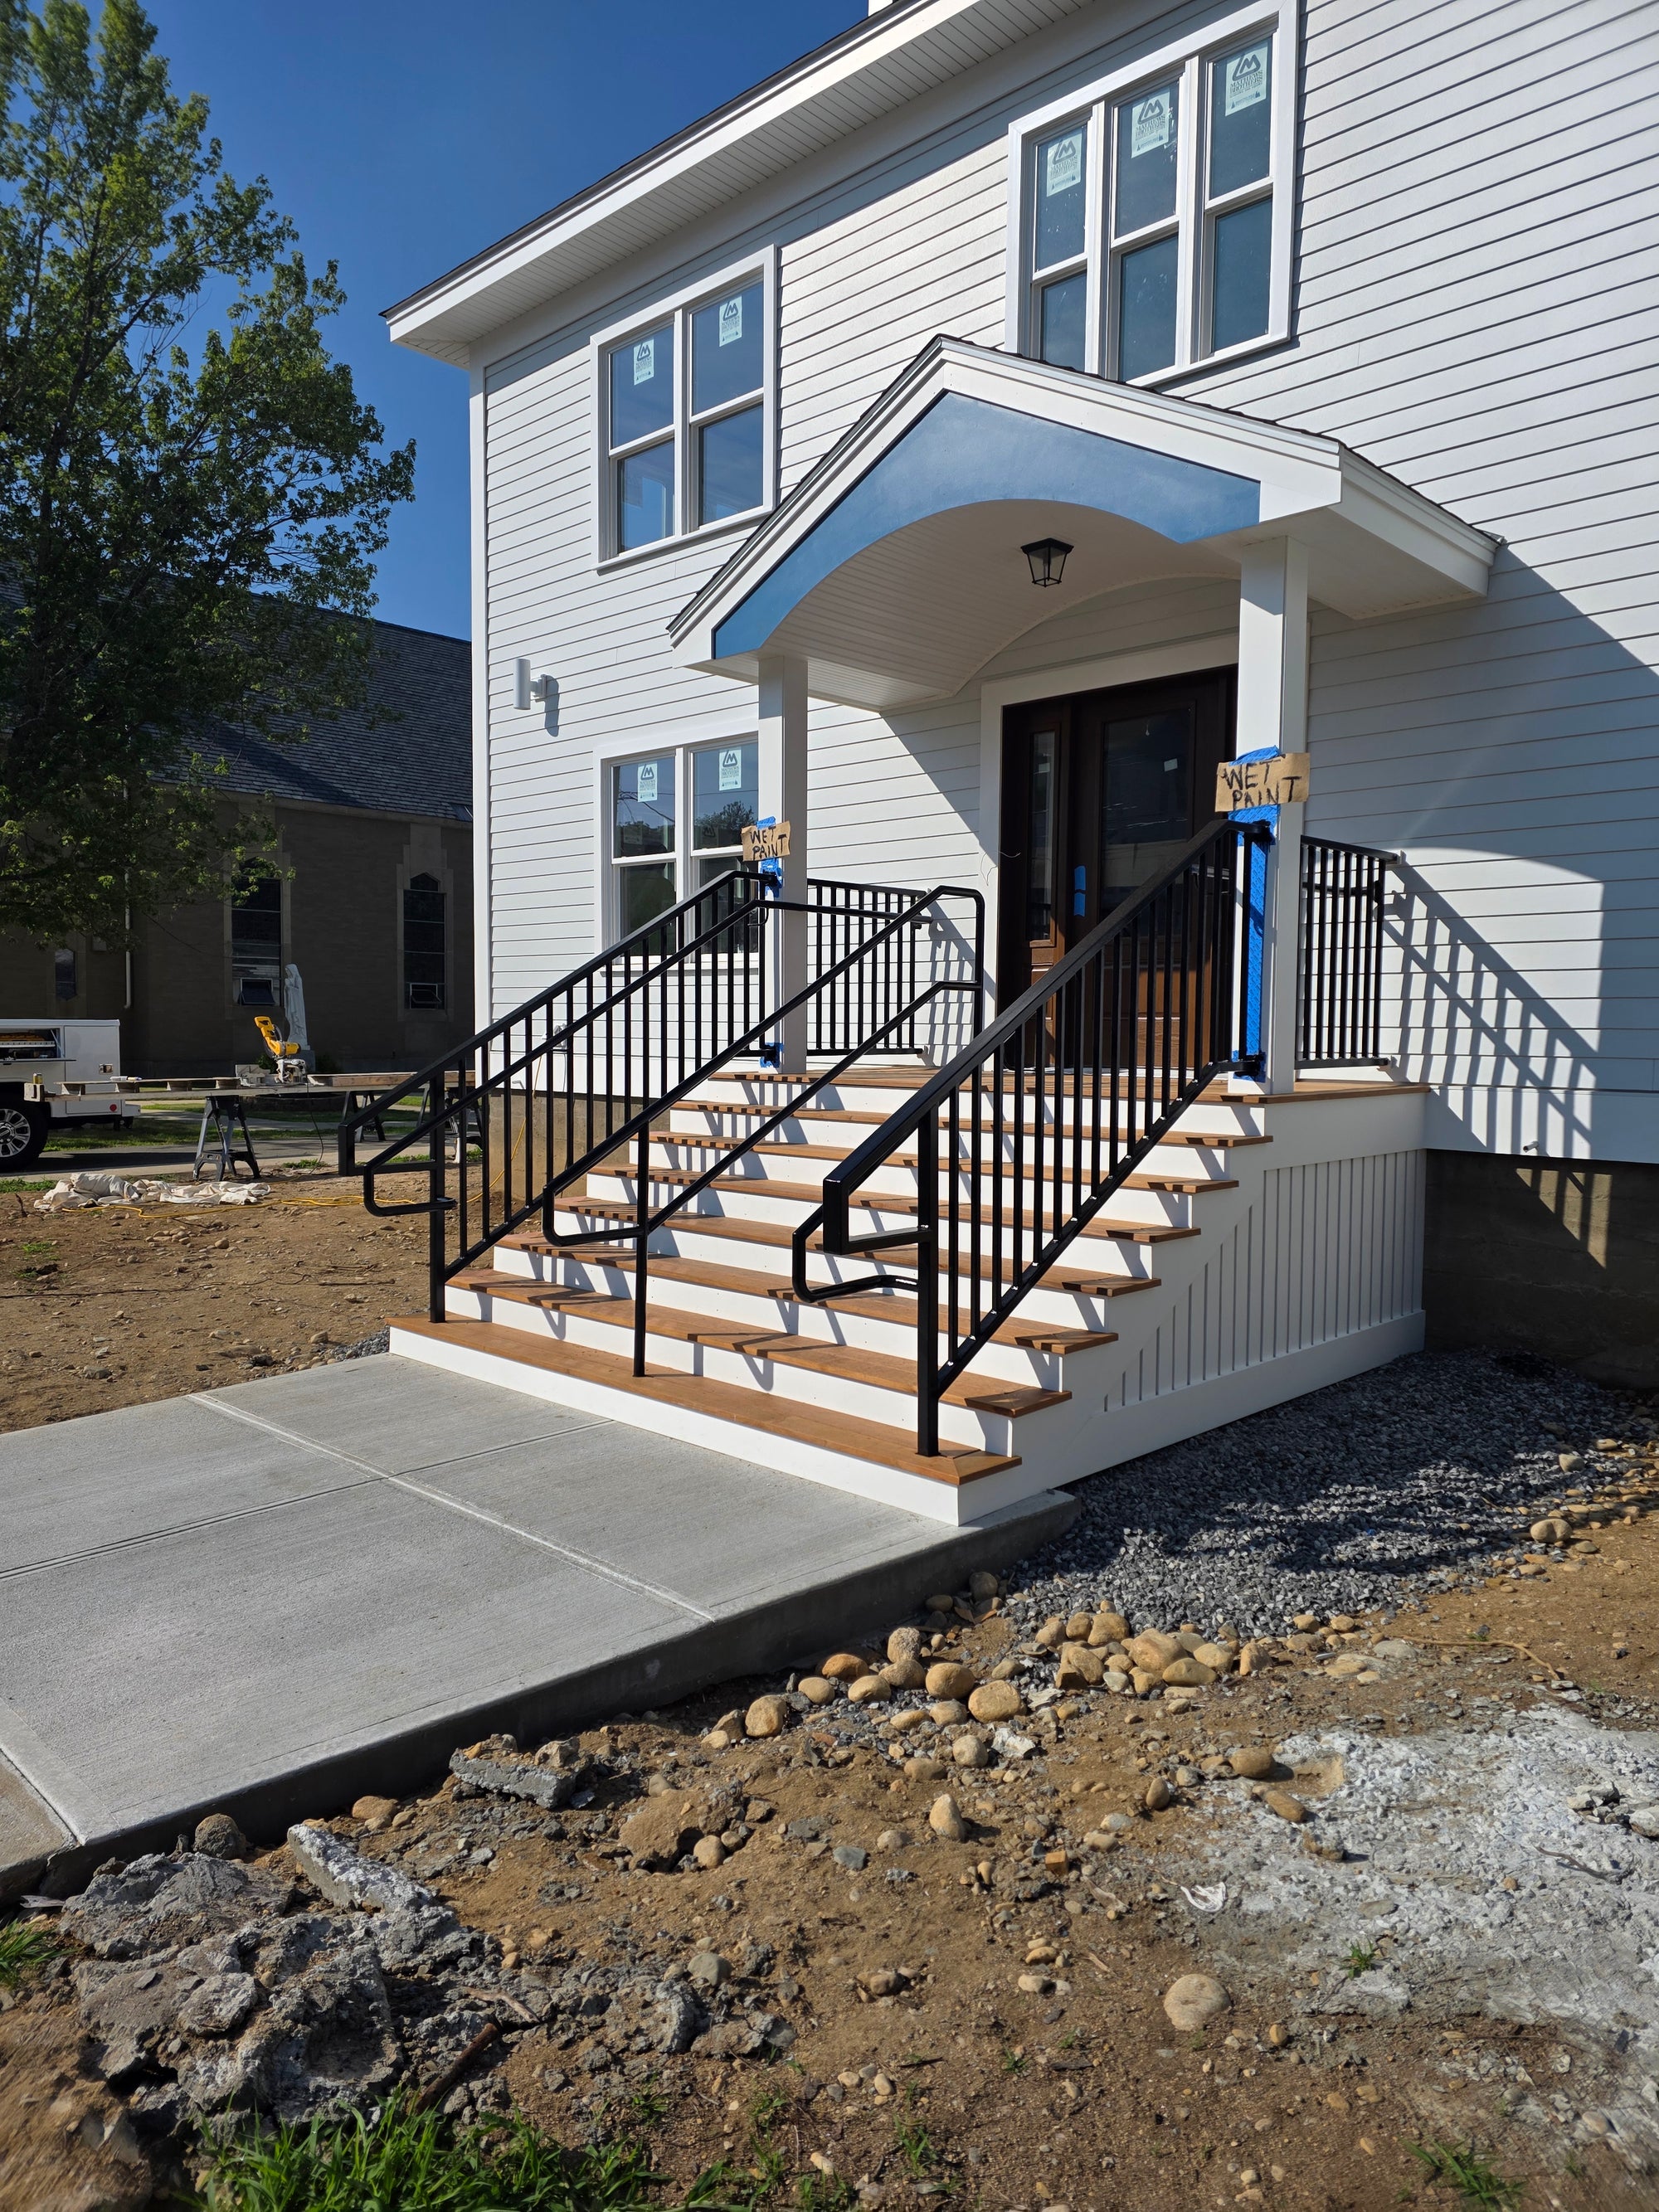
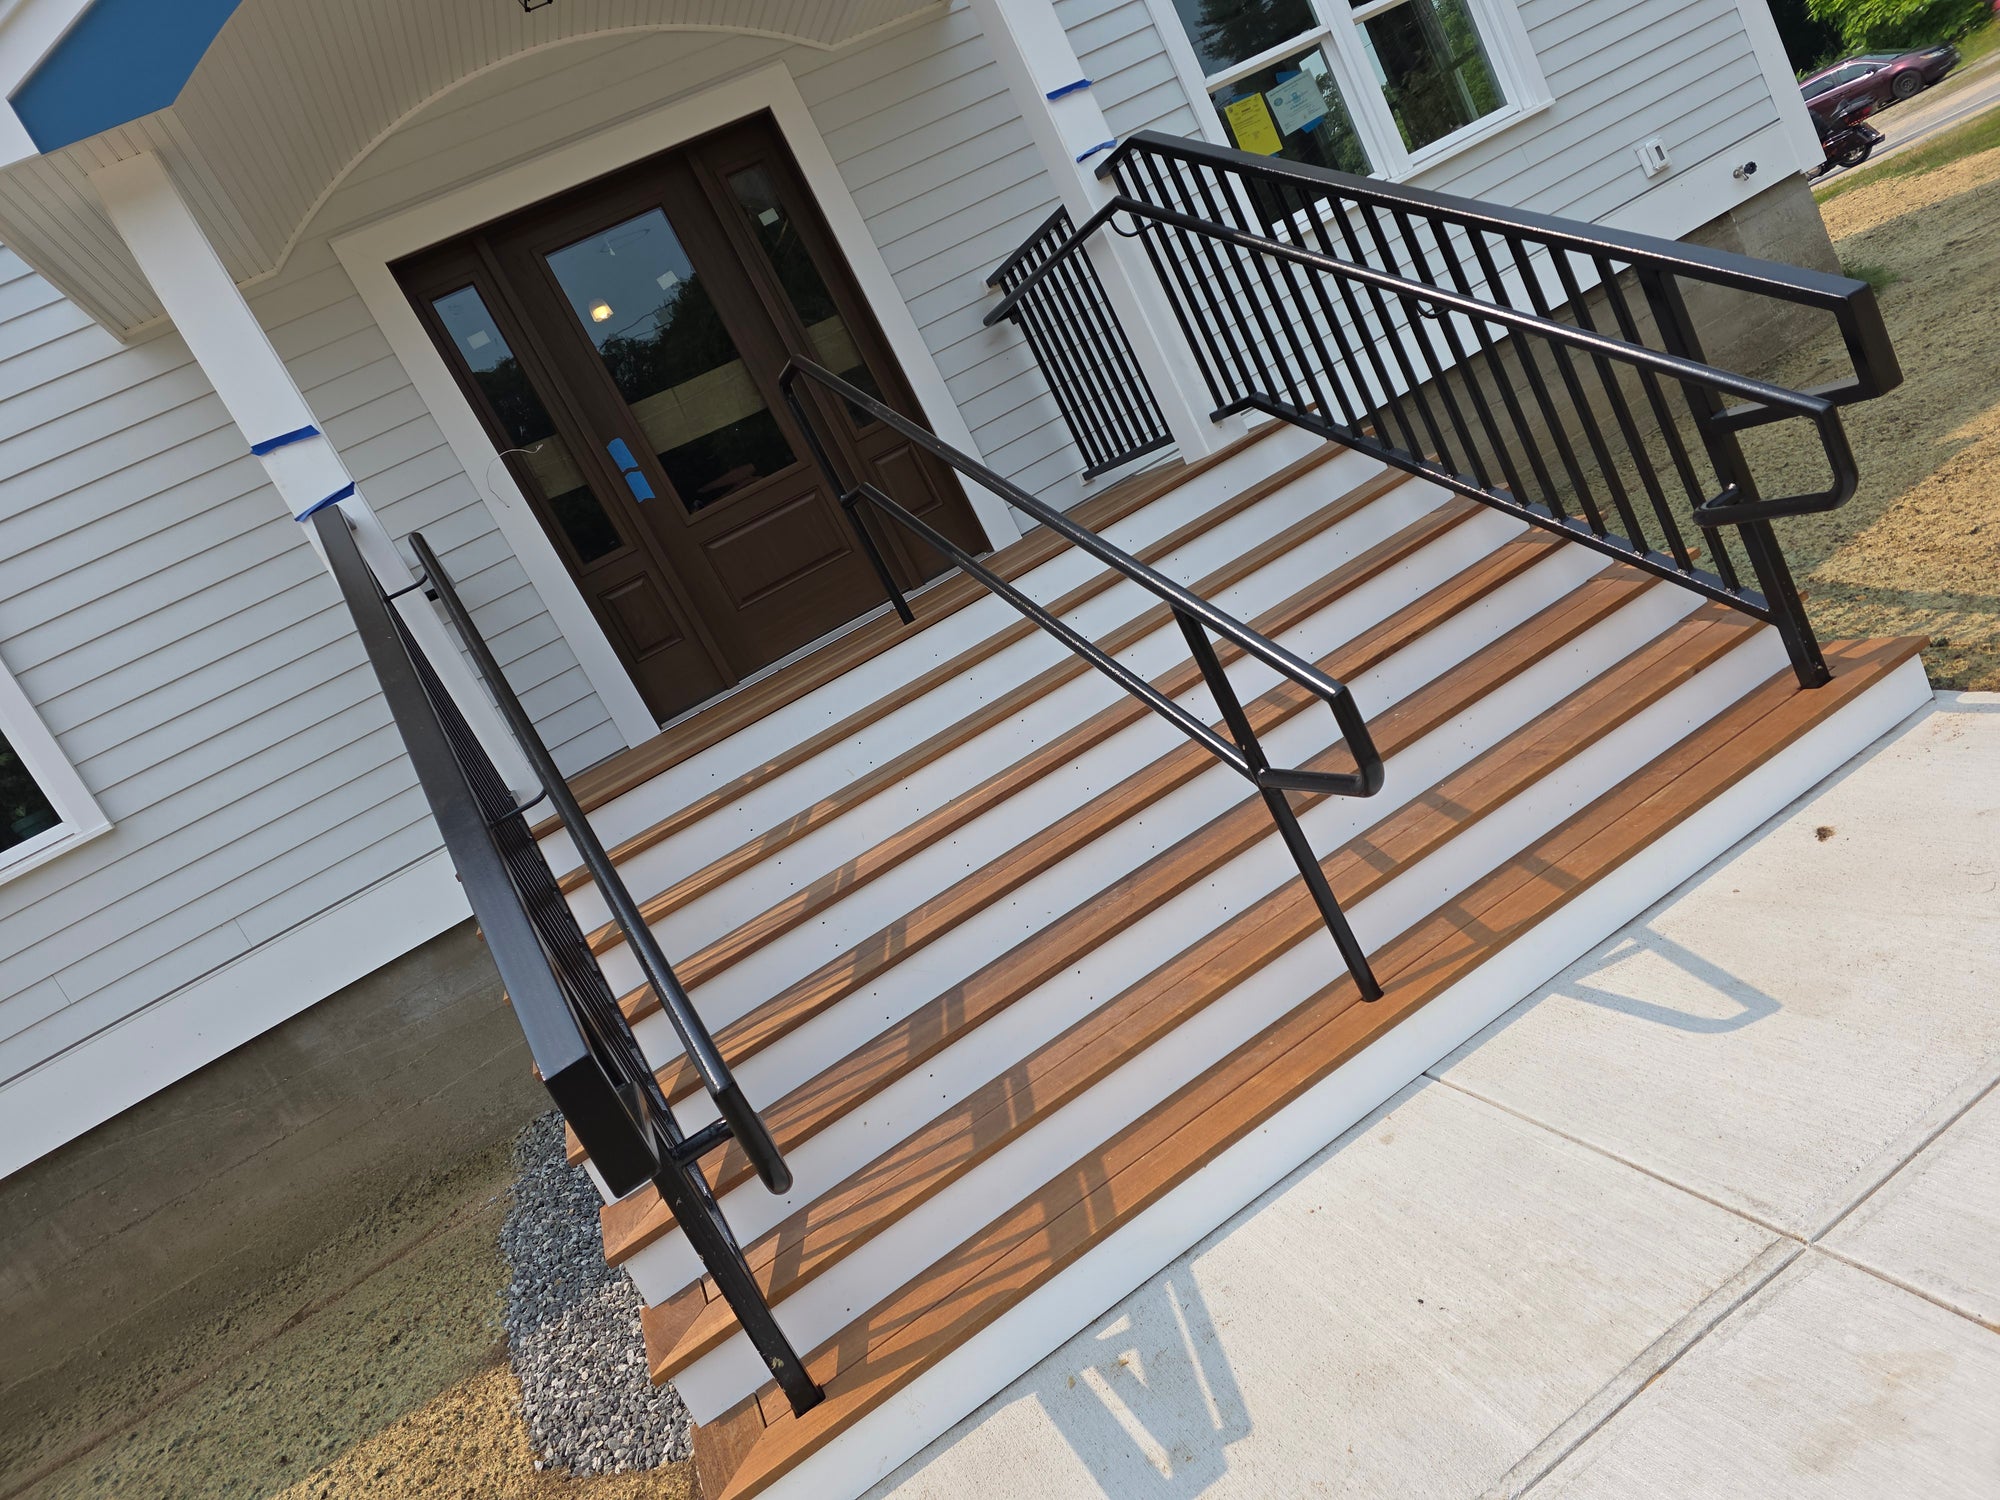
Once those final field welds were done, this was basically the final product. My work was done and it got turned over to the painter.
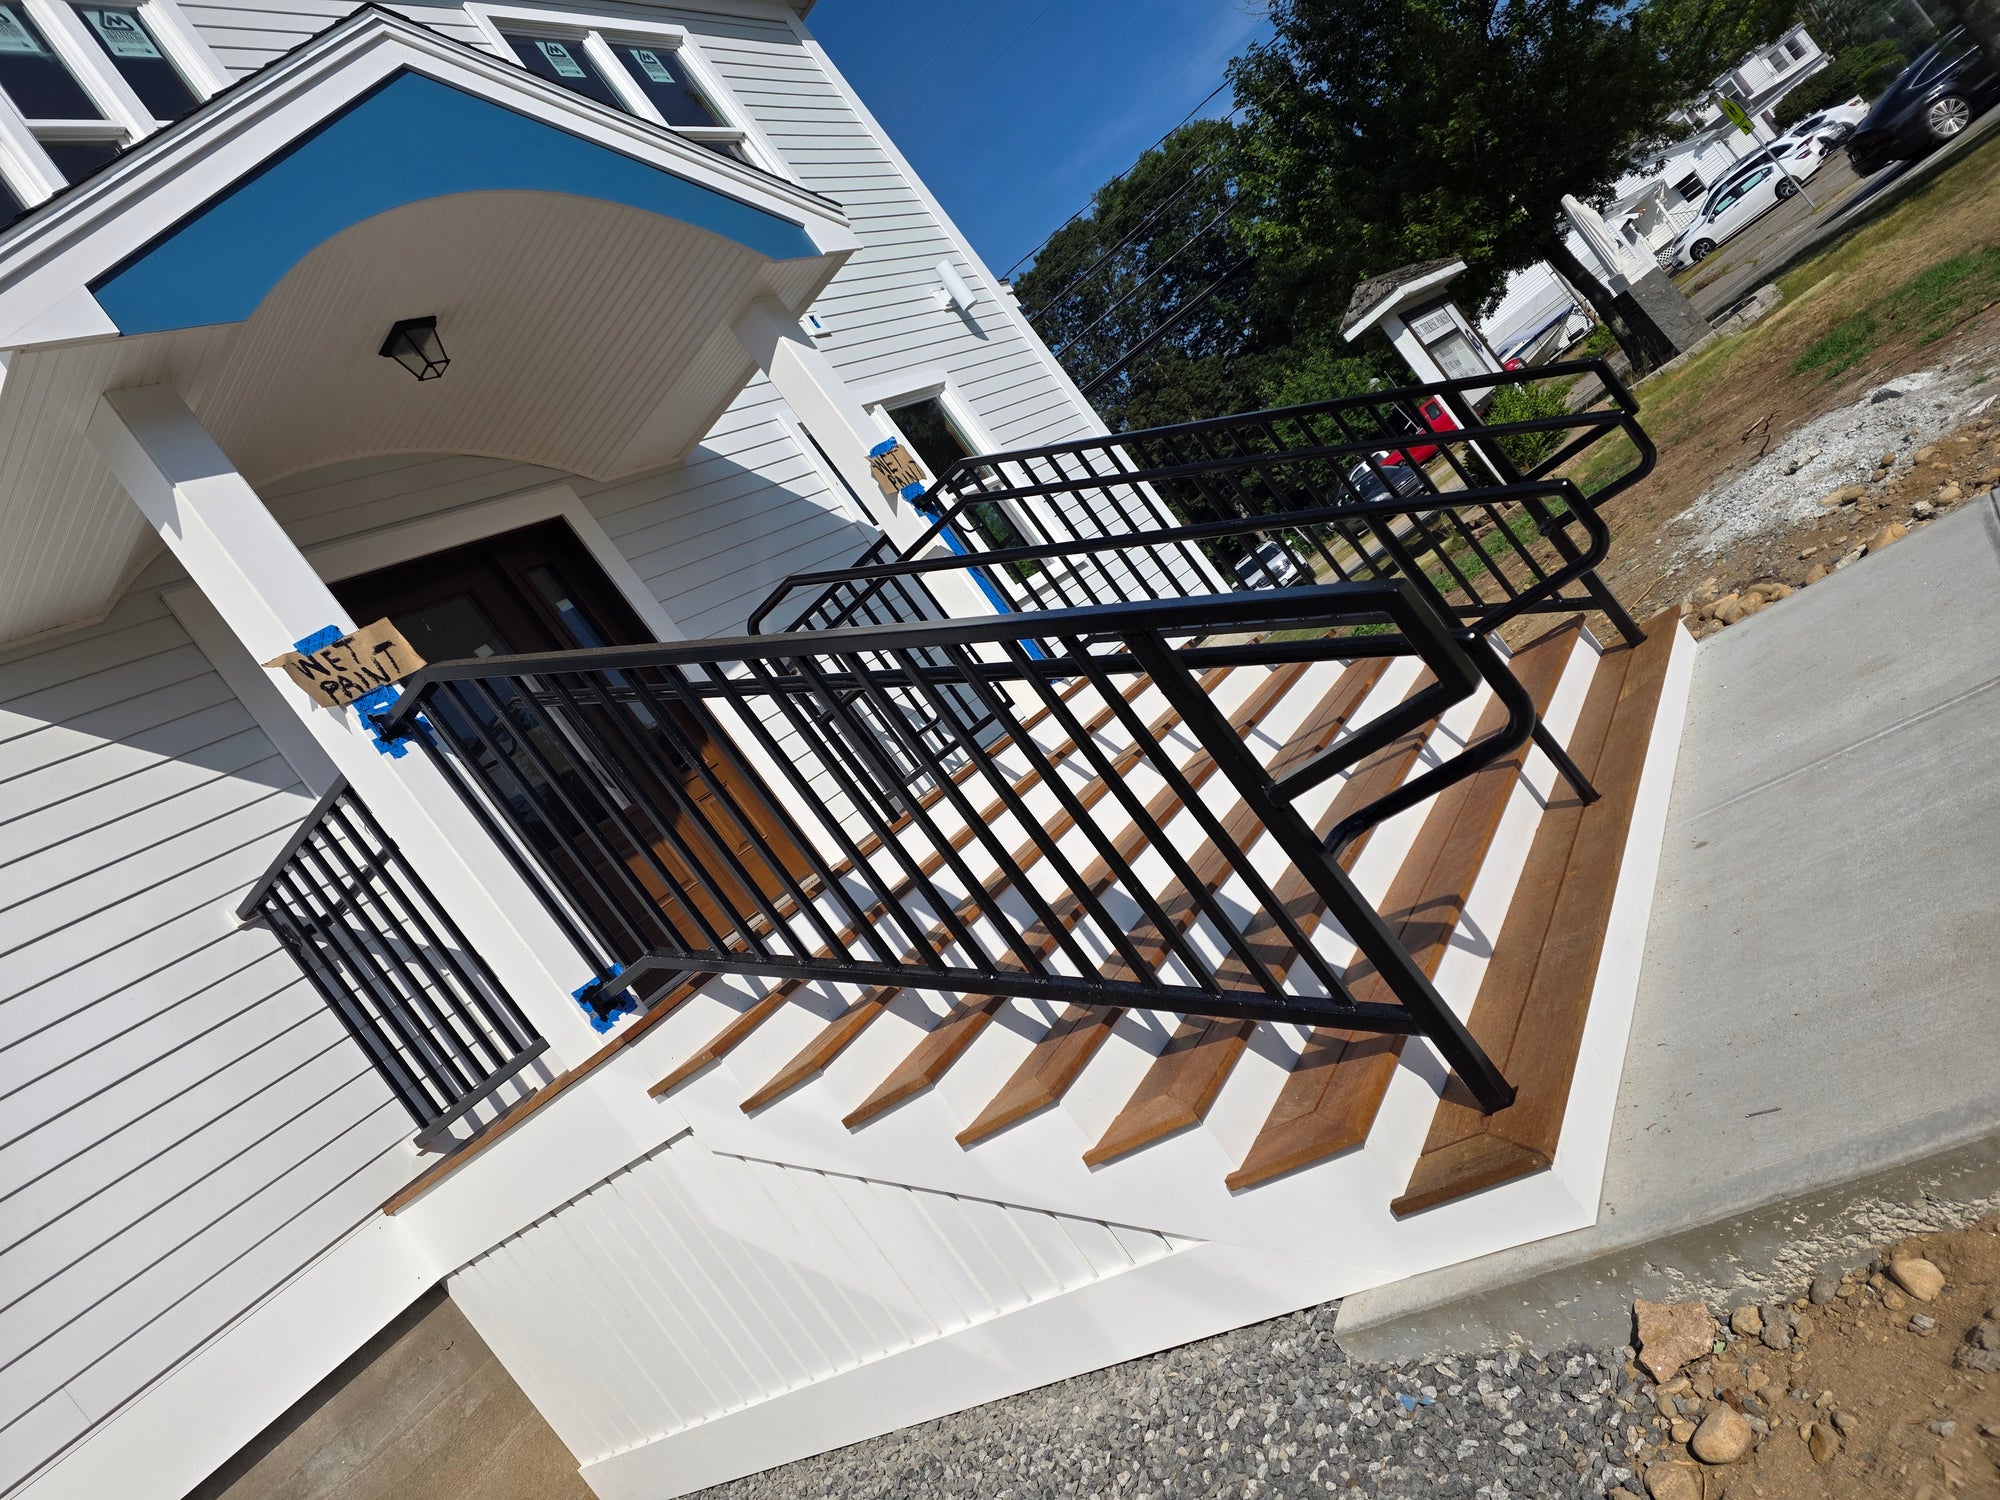
This a view from the other side. I'm always trying to catch those angles on a picture as good as I can. It makes it fun.
Each picture taken is as rewarding as the last and each one delivers a different perspective.
It was nice to see all of the returns align nicely from this vantage point.
Here's one straight one like you're about to walk up the stairs. All fasteners are hidden because the clips on the posts slide into the tube ends and there are plates beneath the deck that are welded to the legs and fastened to the wooden structure.
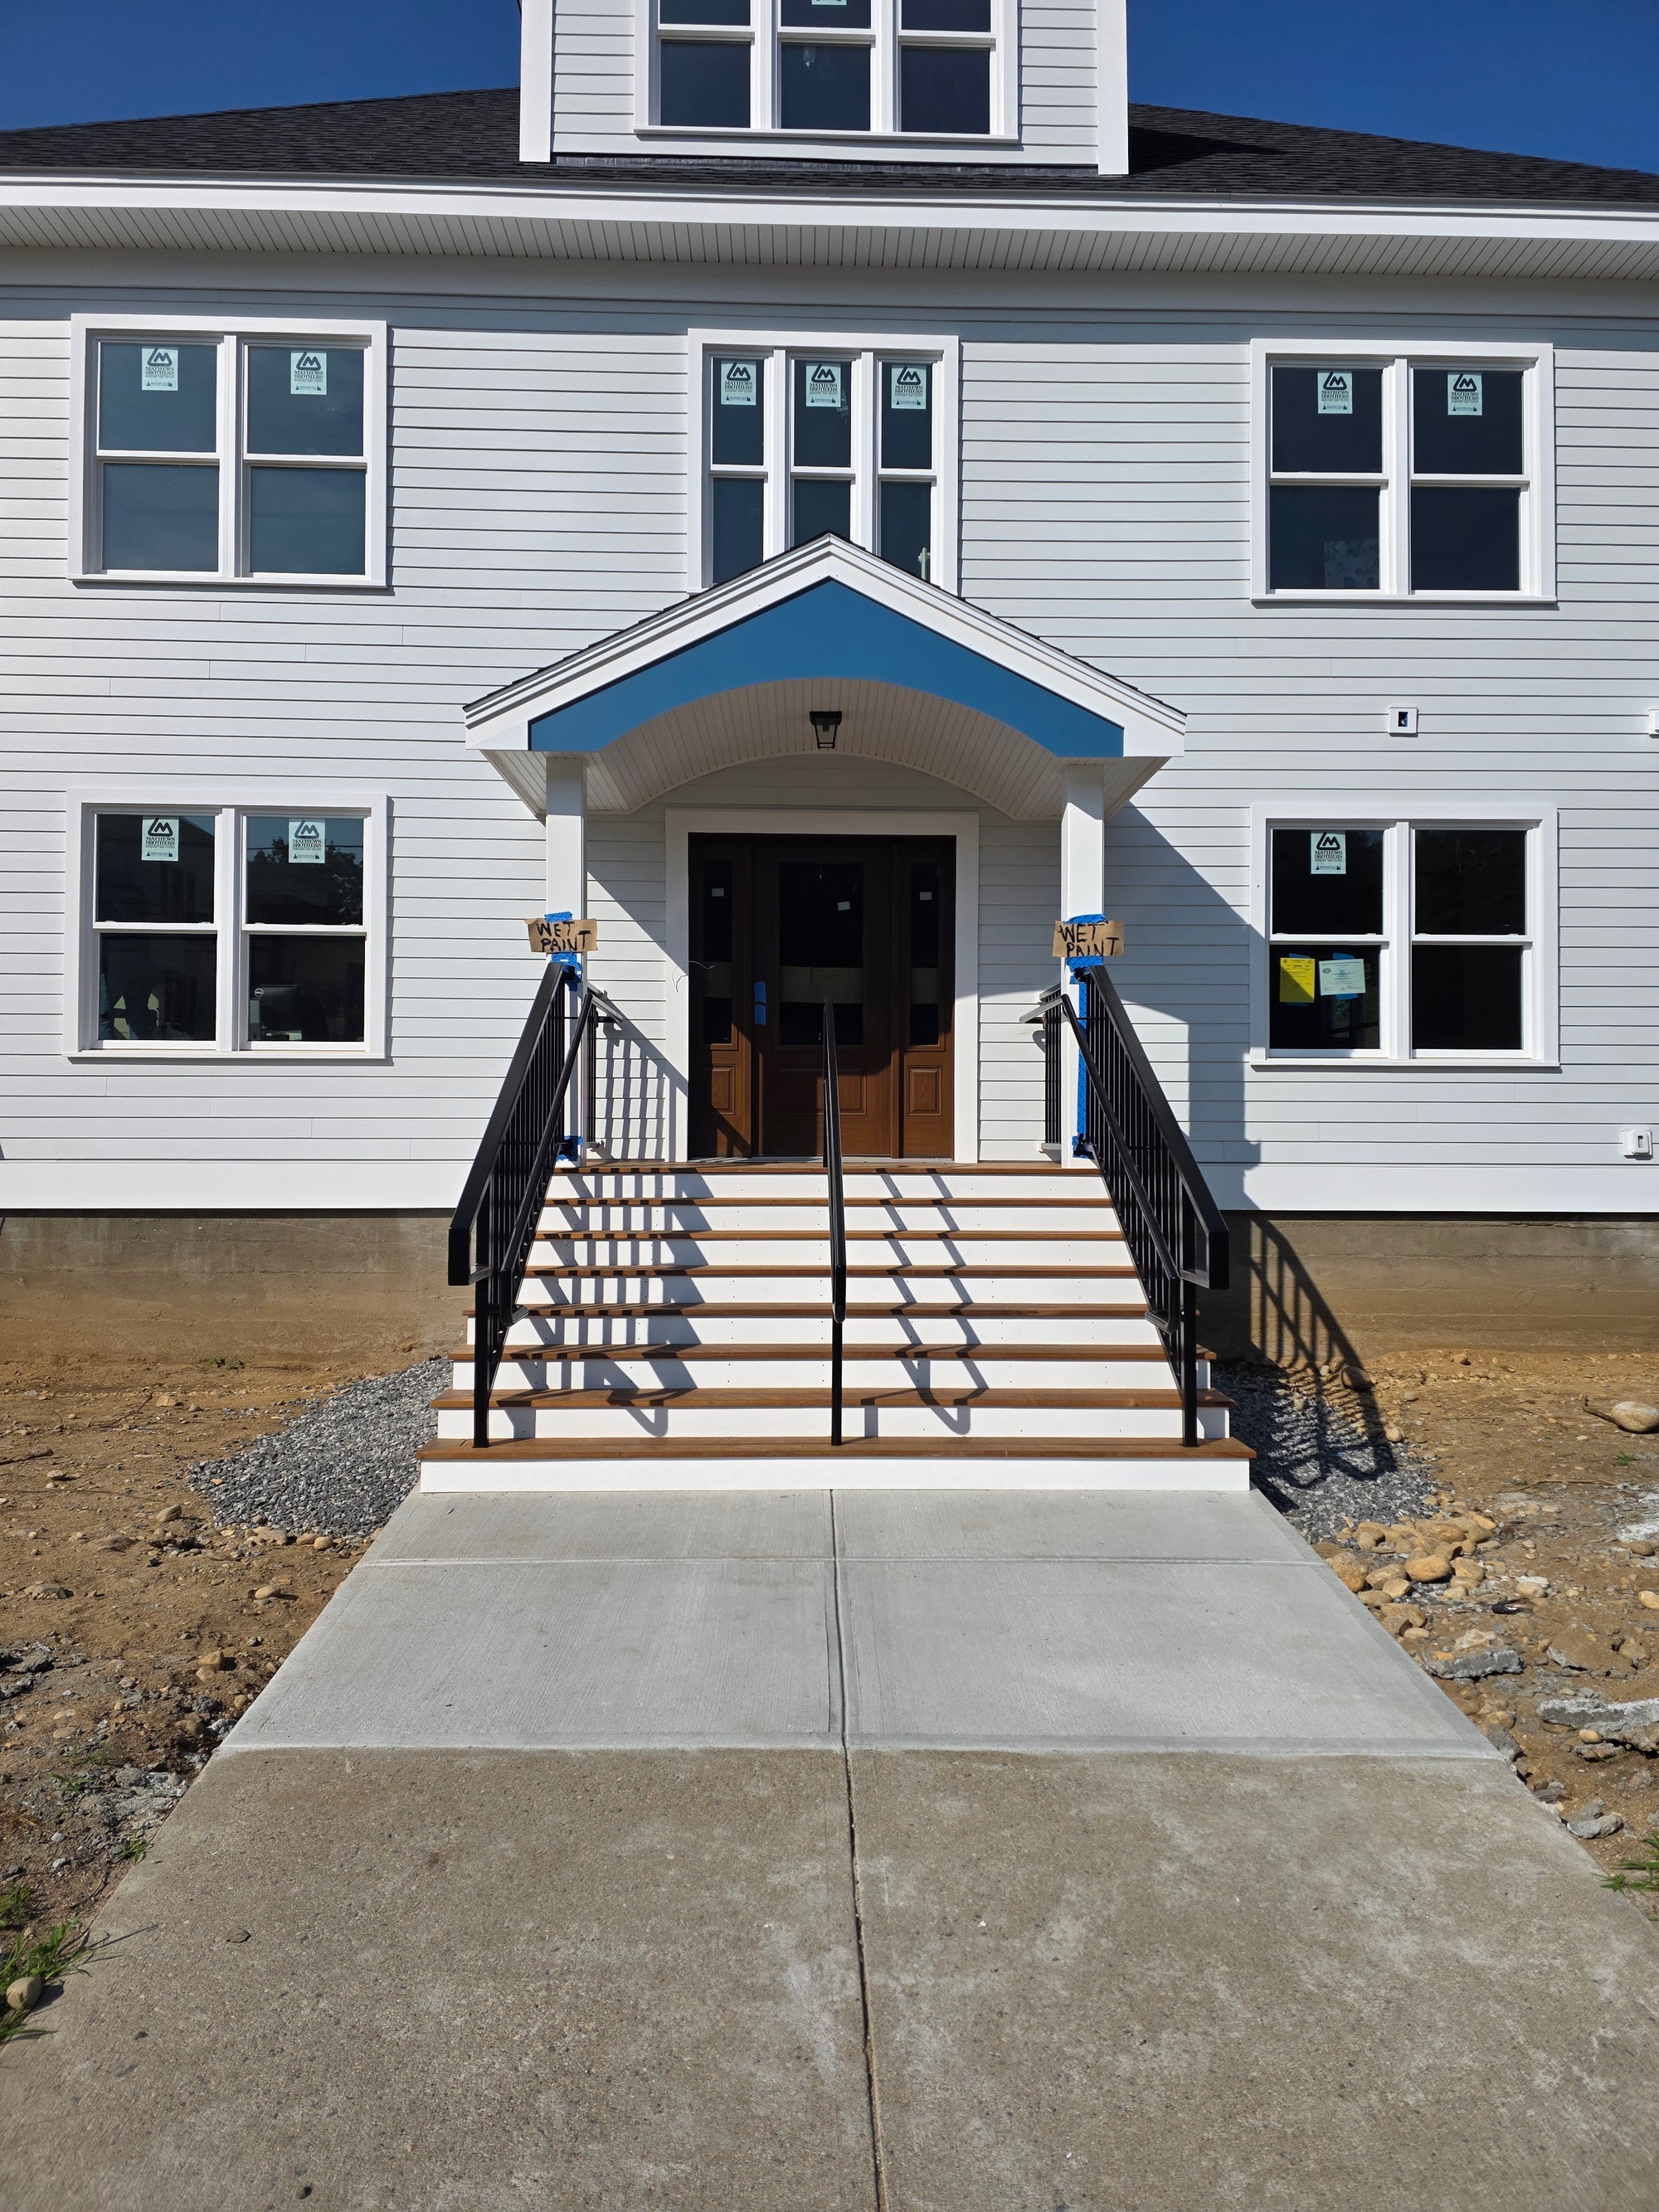
One from that same view but figured a better idea can be had by taking a few steps back.
I showed up one more time after final paint.
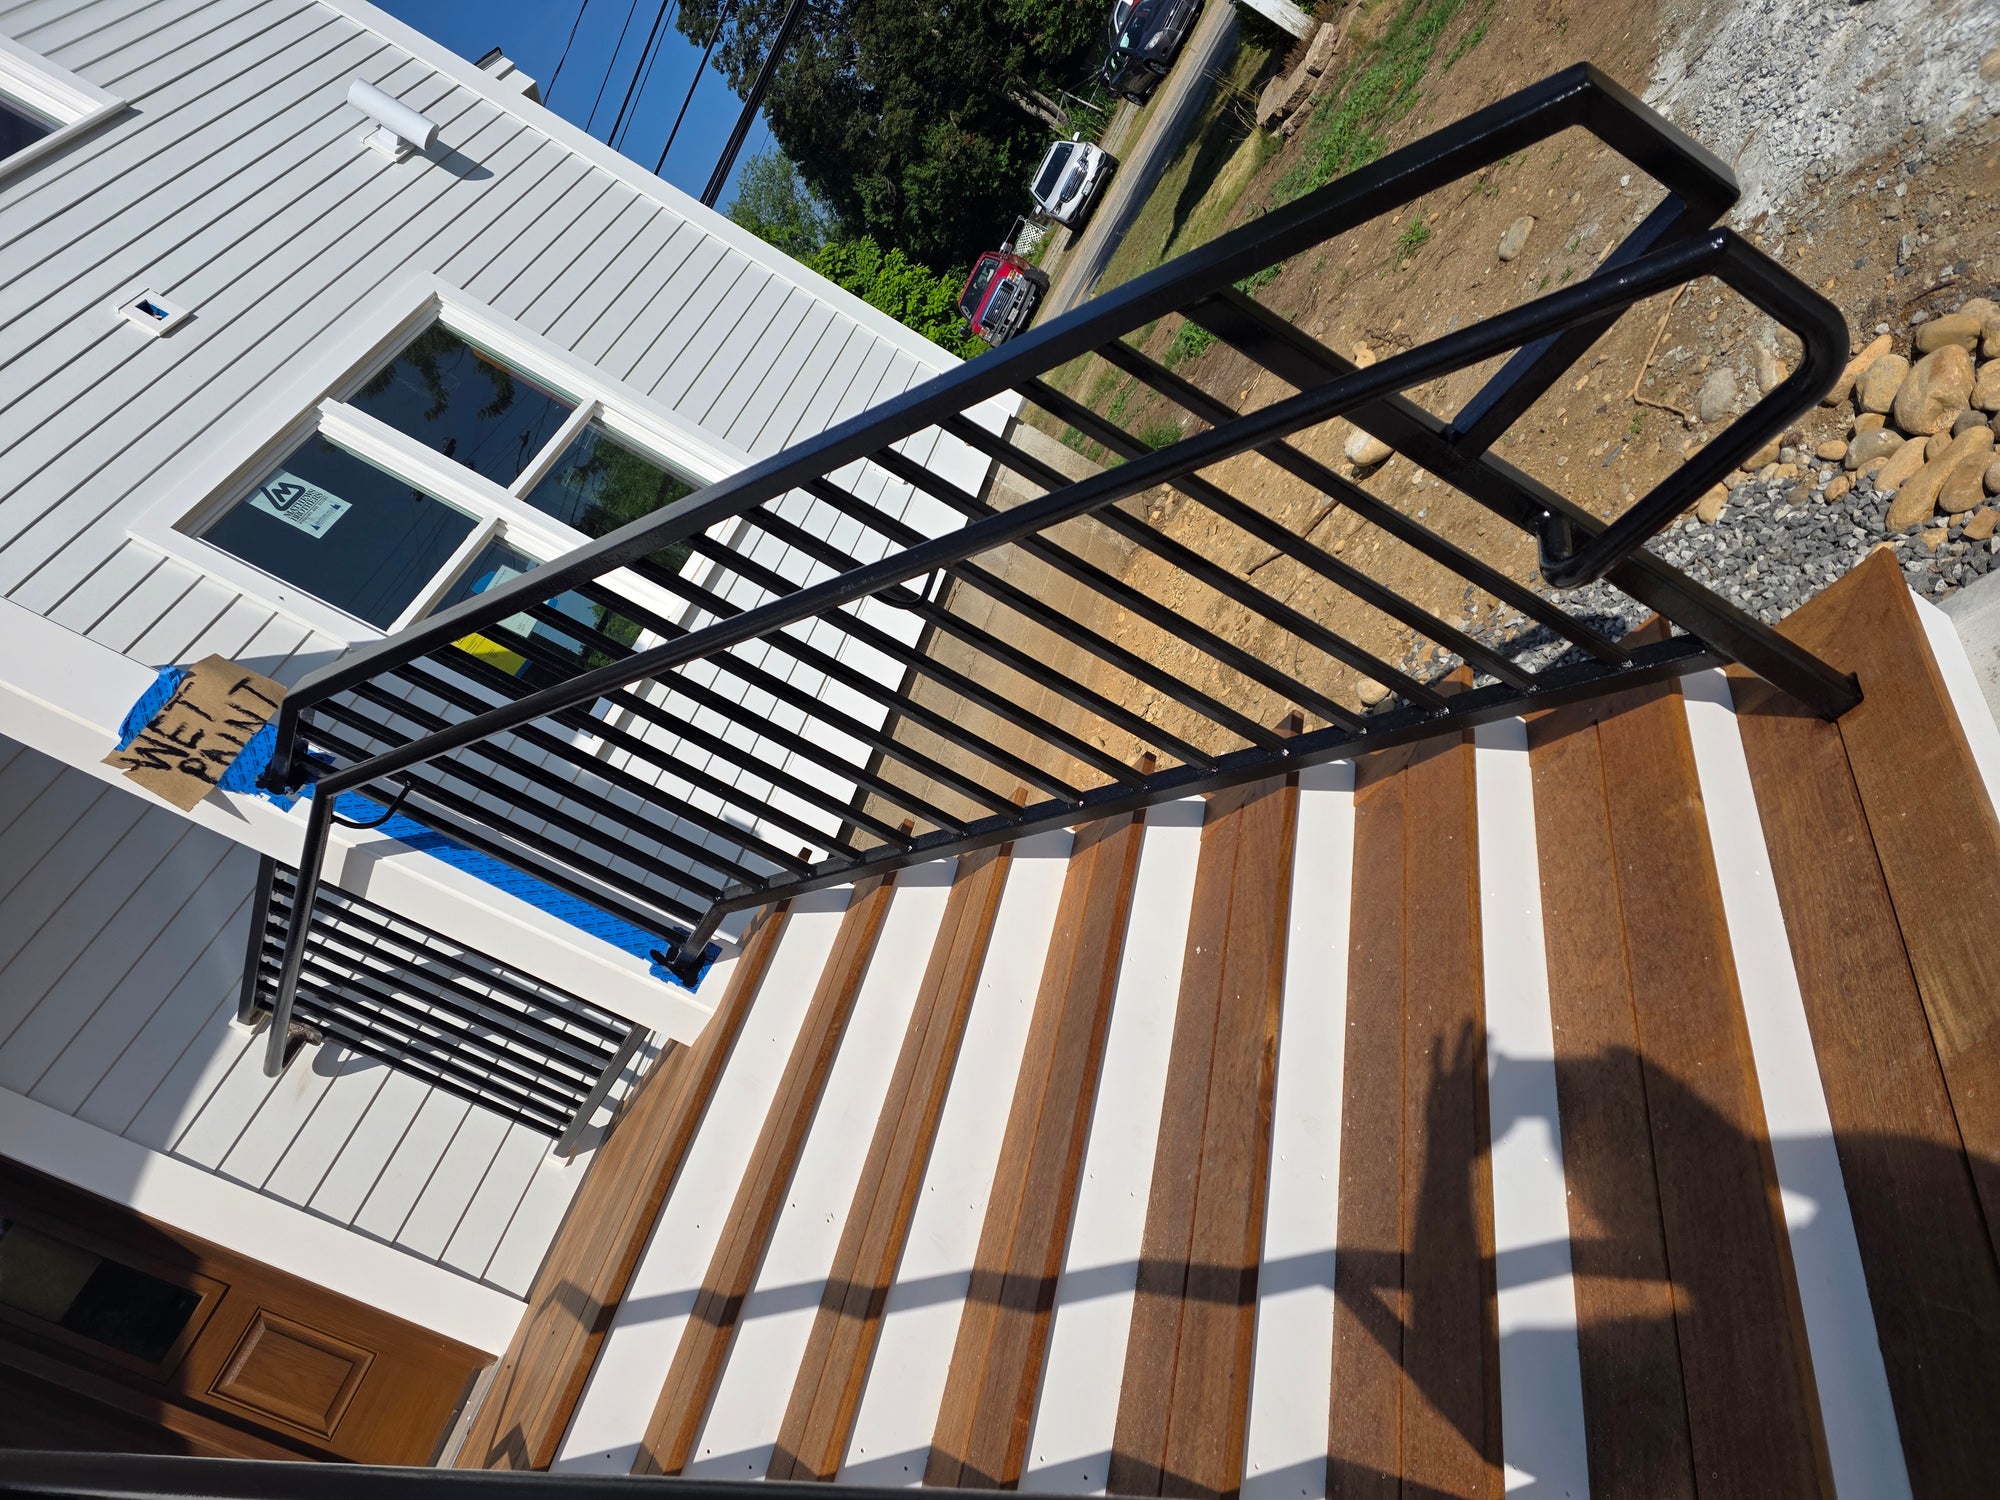
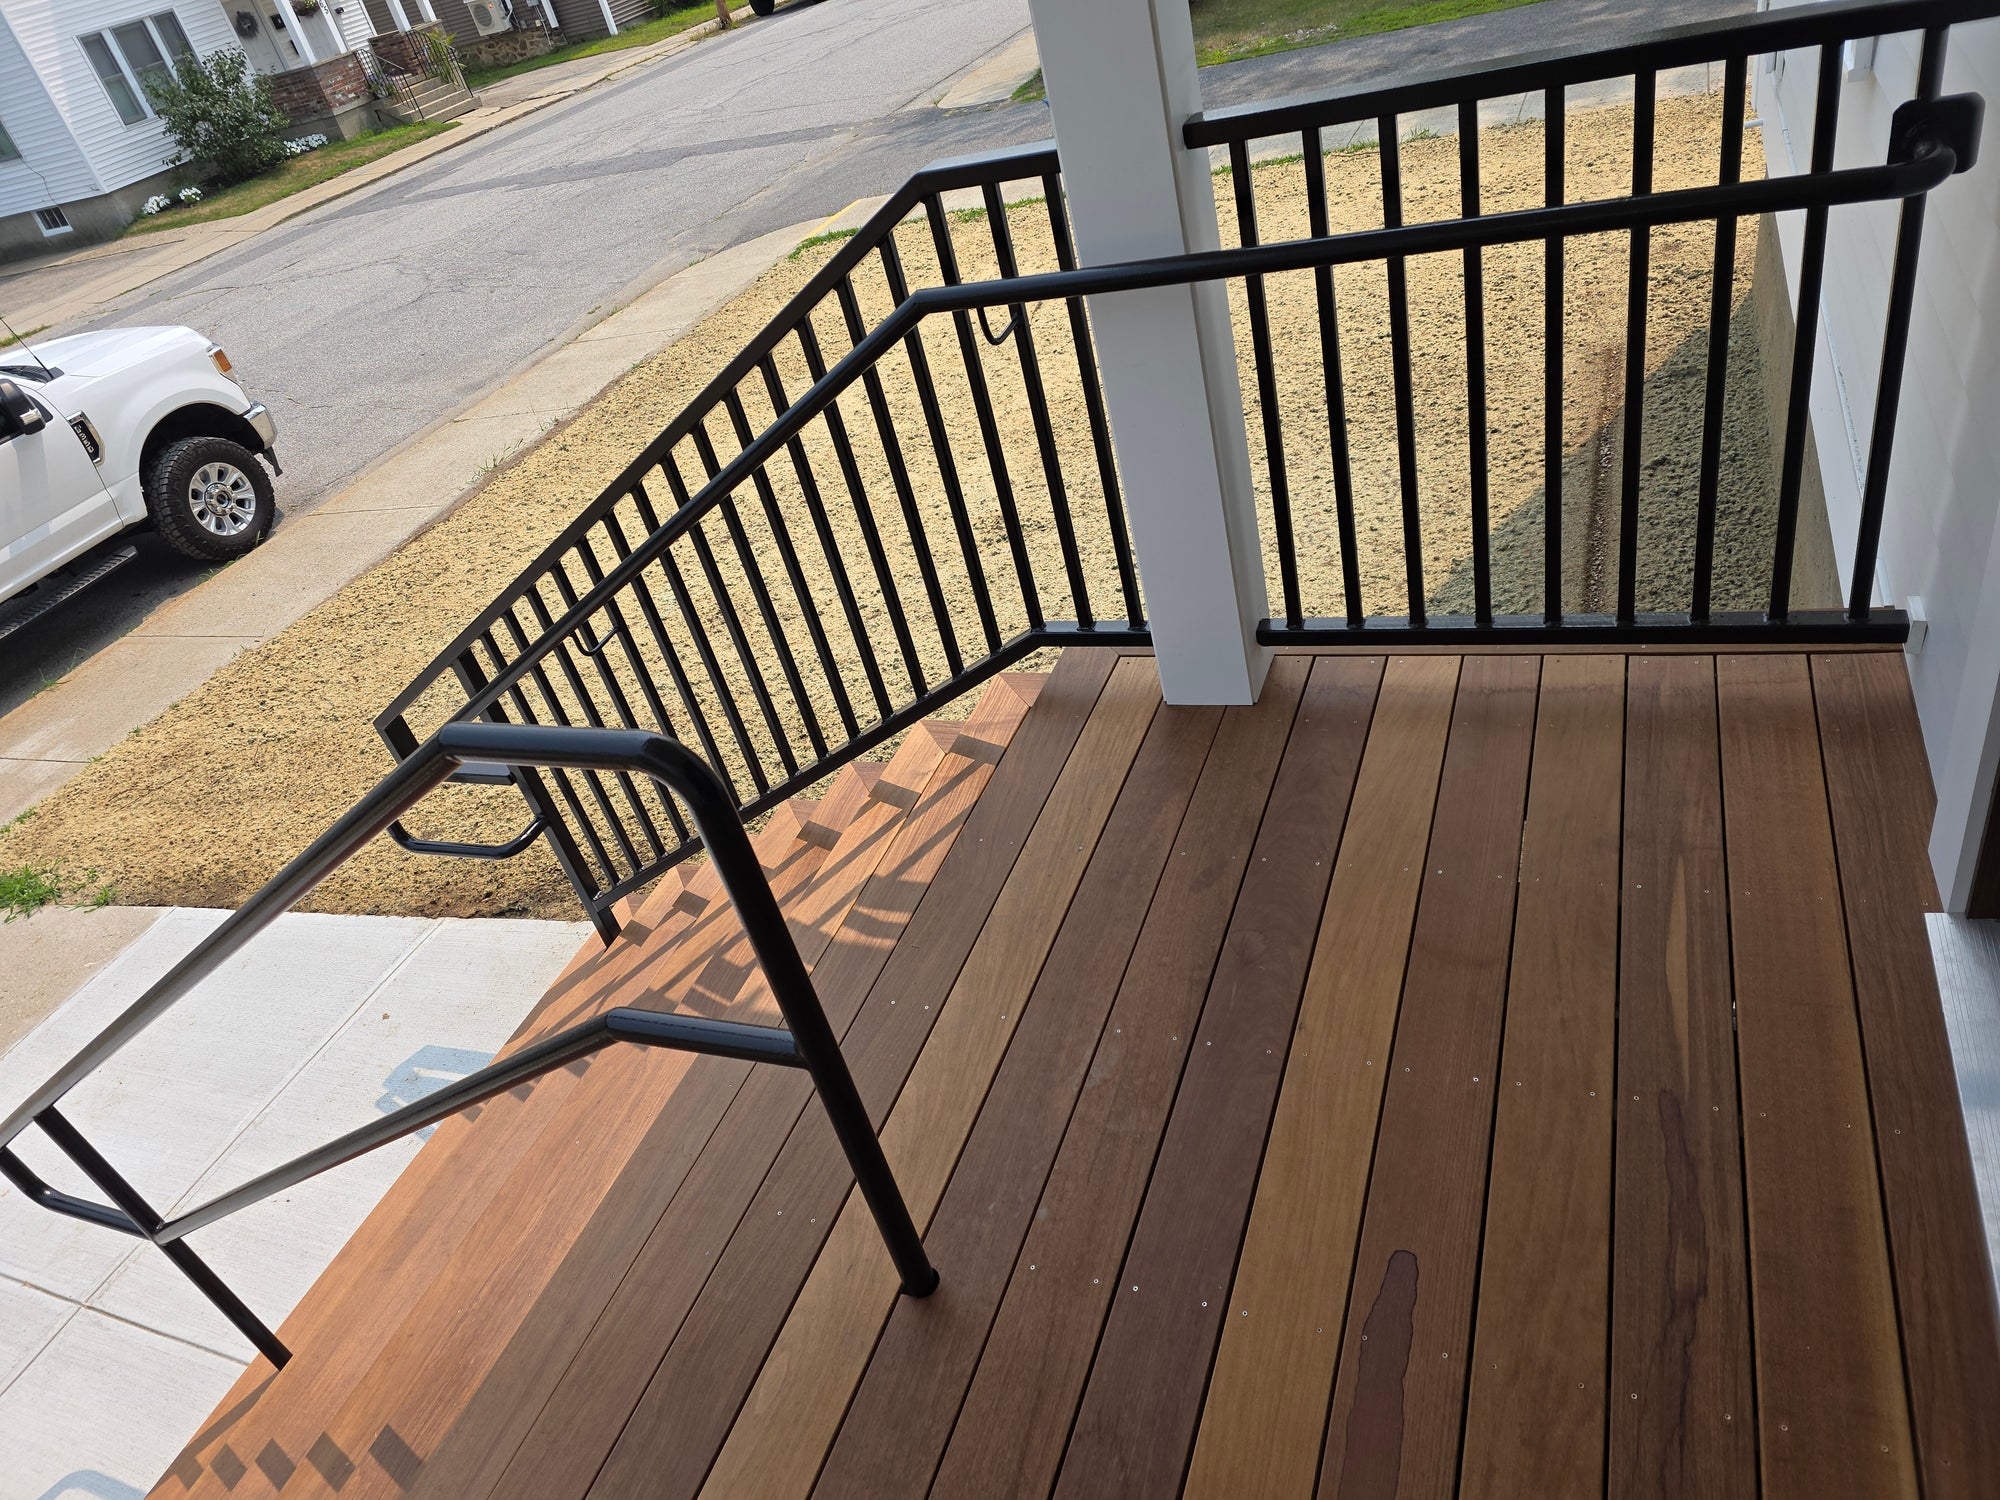
Here's a descending view. You can see the elbow that I welded is painted now.
Here's a view of the other side of the landing. All finished up!
These are right on a busy route for everyone to see. I also get to drive by them all the time now.